
 19.10.2026
The trouble with hiking emergencies is that they rarely announce themselves at the trailhead. A wrong turn, a twisted ankle, a sudden thunderstorm, or a descent that takes twice as long as expected can turn an ordinary afternoon outside into a serious problem. During my six years volunteering with a county search and rescue team, I've learned that preparation matters just as much on a short day hike as it does on a remote backcountry route.
I build my hiking emergency gear checklist around the Ten Essentials, adapting the details to the season, terrain, distance, and time it would take to reach help. You don't need an expensive expedition pack or a cupboard full of specialist equipment. You need a handful of reliable items, the knowledge to use them, and a plan for getting home before daylight disappears.
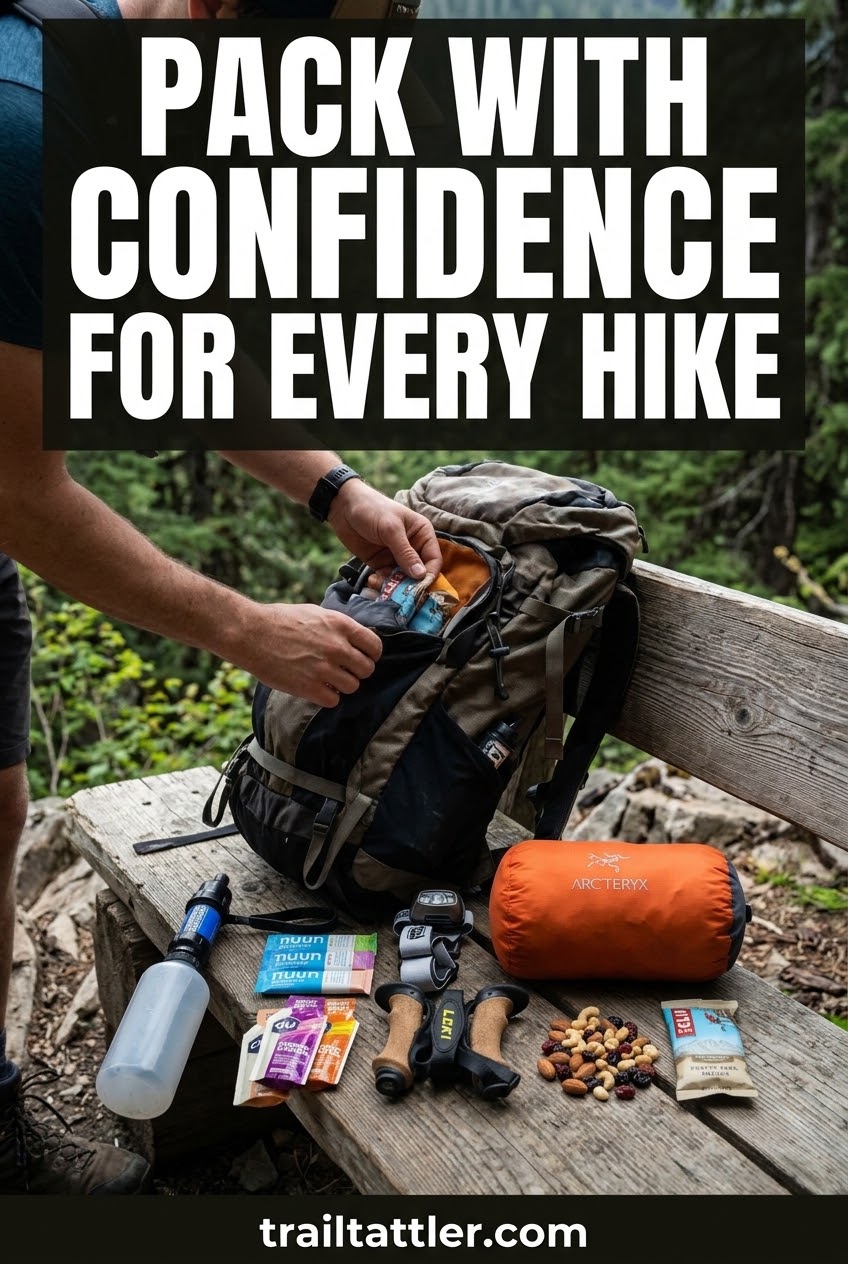
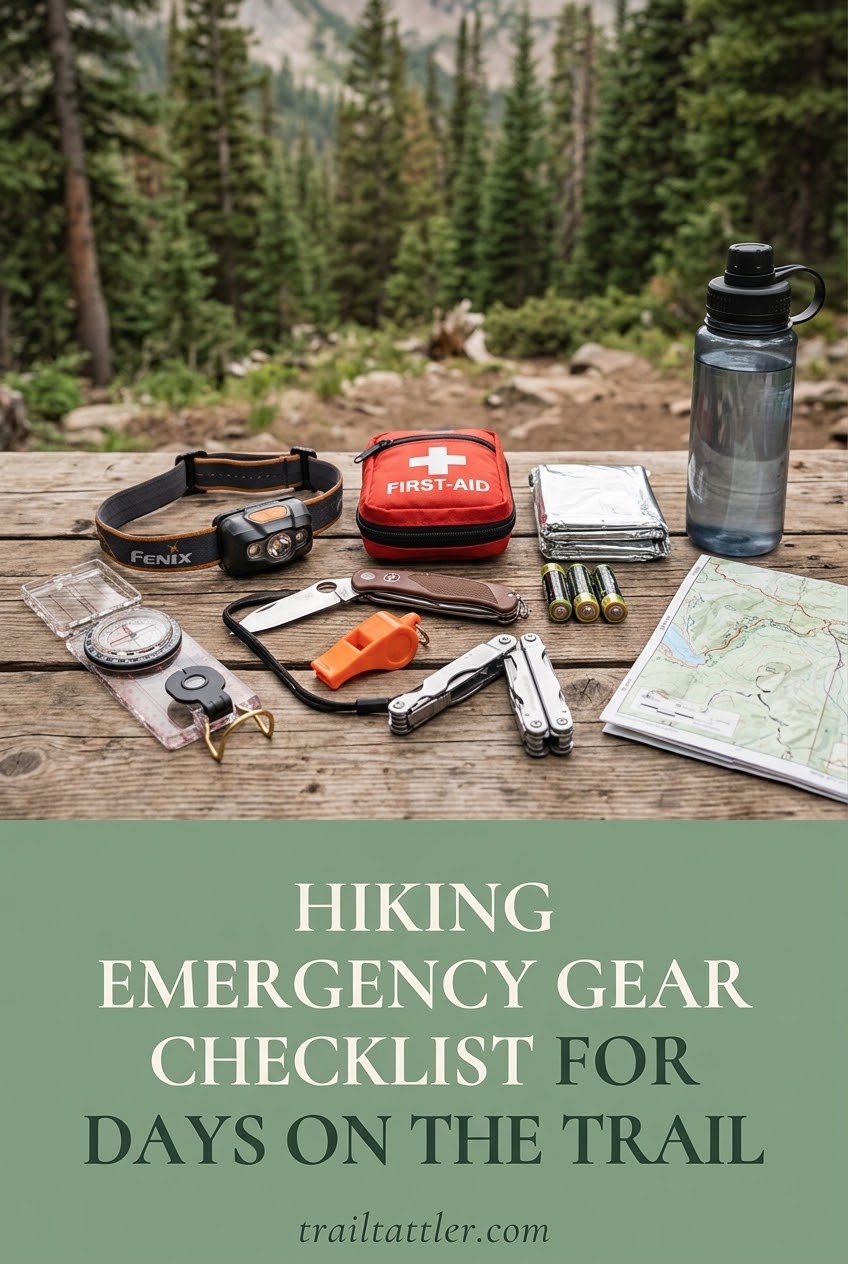
My essential emergency packing list
- First aid supplies and personal medications
- Map, compass, and a suitable communication device
- Emergency shelter and weatherproof layers
- Extra food, water, and water treatment
- Headlamp, spare batteries, and signaling equipment
- Fire-starting supplies, a repair tool, and emergency power
I use the recommendations in the National Park Service Ten Essentials guide and REI's updated Ten Essentials checklist as starting points. My final loadout changes with the hike, but I don't leave the important systems behind simply because the trail is short.
First Aid Kit and Essential Medical Supplies
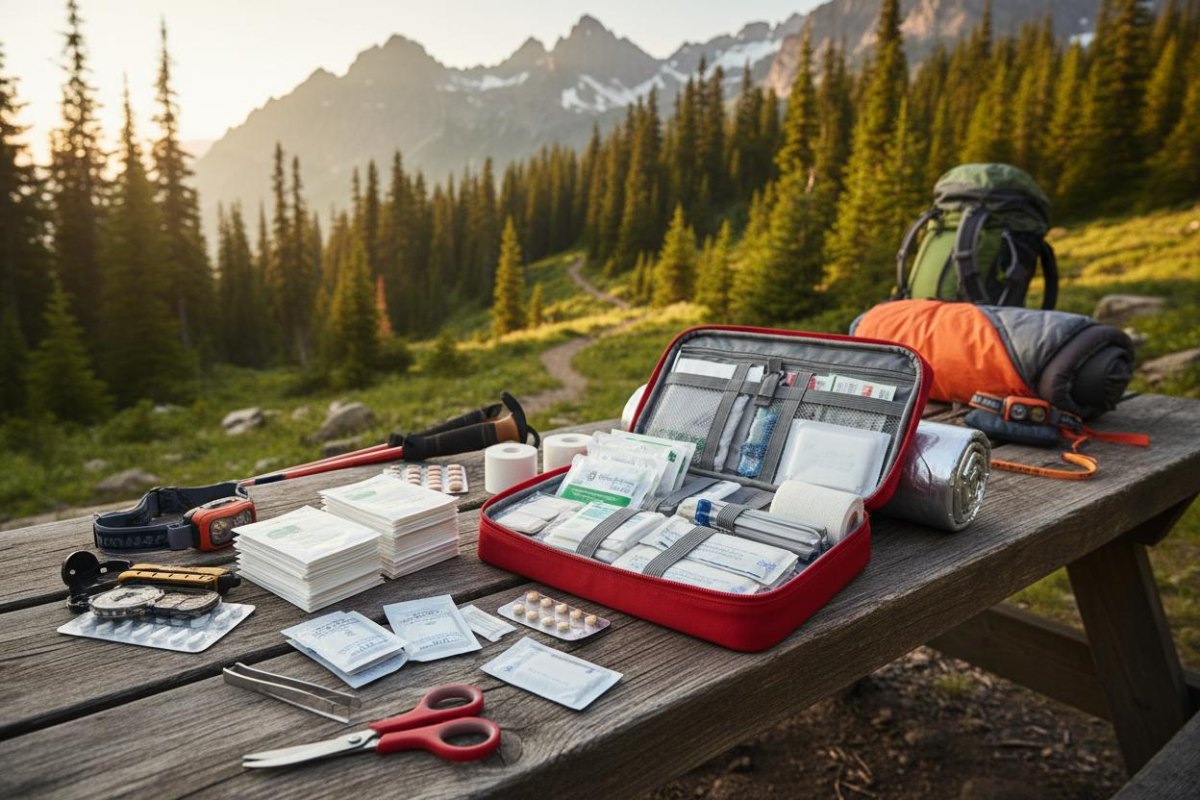
I start with a first aid kit that matches the size of my group, the length of the hike, and how far we will be from help. A compact commercial kit is a perfectly sensible starting point; I would rather see a basic kit that someone actually carries than an impressive one sitting at home. The National Park Service hiking safety guidance recommends carrying first aid supplies and checking that the contents remain usable.
- Adhesive bandages and blister dressings
- Sterile gauze, wound dressings, and medical tape
- Antiseptic wipes and disposable medical gloves
- Tweezers and small trauma shears, where appropriate
- Personal medications and any prescribed emergency medication
- A compact first aid reference and emergency contact details
I pay particular attention to blister care and wound dressings, because foot problems can turn a manageable walk into a painfully slow trip out. I also check expiration dates and replace supplies after using them. My Wilderness First Responder training has taught me to respect the limits of a small kit: serious injuries, uncontrolled bleeding, or signs of a life-threatening illness require urgent professional assistance, not improvisation with whatever happens to be in my pocket.
My practical tip is to learn basic first aid before you need it. Equipment is useful, but knowing when an injured hiker needs evacuation is just as important as knowing where the bandages are. See the REI day hiking checklist for additional first aid and foot-care items.
Navigation Tools and Emergency Communication
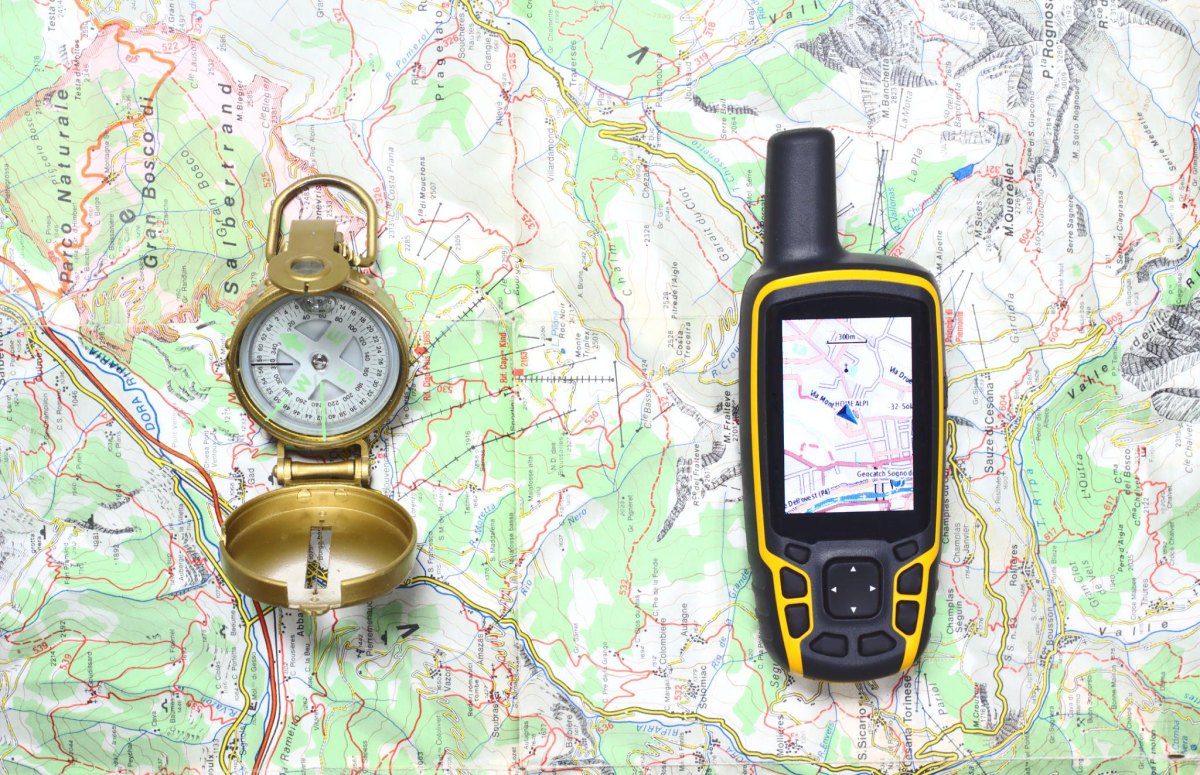
I never treat a phone's blue location dot as a complete navigation plan. Battery life, weather, damaged devices, and missing signal can all complicate a hike. Offline maps are useful, but a downloaded route is not the same thing as an independent backup. The REI hiking checklist recommends carrying navigation tools and a backup for backcountry trips.
- Paper topographic map covering the planned route
- Compass and the ability to use it
- Phone with offline maps downloaded before departure
- GPS device, satellite messenger, or personal locator beacon when warranted
- Written itinerary, emergency contacts, and a planned return time
A satellite messenger or personal locator beacon becomes particularly valuable where mobile coverage is unreliable and evacuation could be complicated. These devices are not interchangeable: satellite messengers may support two-way messaging, while a PLB is designed to send a distress alert through the appropriate rescue system. Check coverage, registration requirements, and operating instructions before relying on either.
I also tell someone responsible where I'm going, which route I intend to follow, and when I expect to return. The National Park Service's Hike Smart guidance specifically warns against relying on cellular reception in parks. If I lose the route, I stop, assess the situation, and use my navigation tools rather than wandering around in the hope that the next bend looks familiar.
Emergency Shelter and Weather Protection
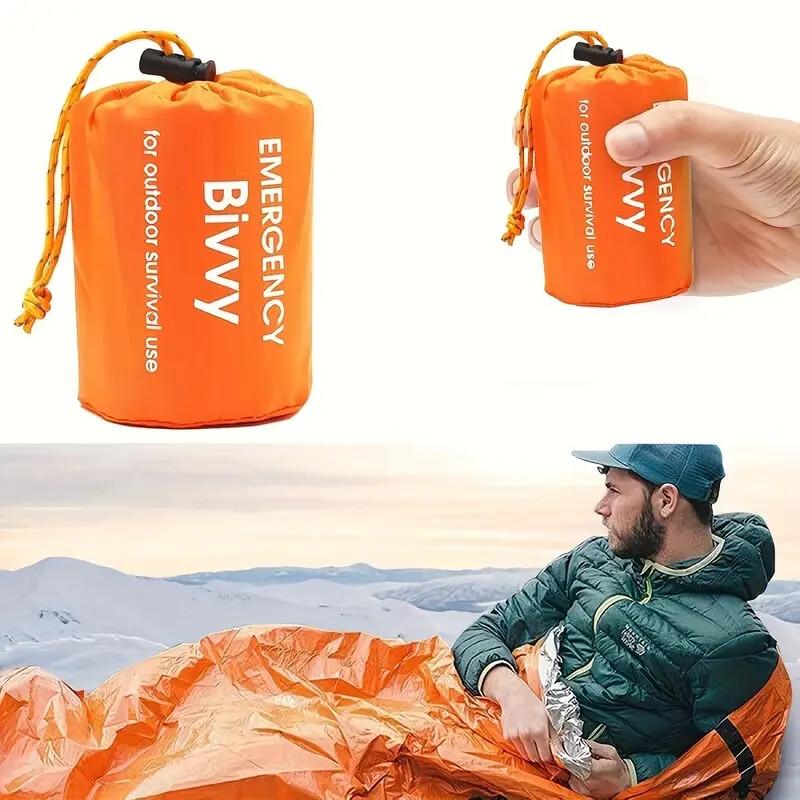
My emergency shelter is there for the hike that takes longer than planned, the injury that prevents someone from walking normally, or the weather that turns unpleasant while we're still far from the trailhead. A reflective emergency blanket is light and useful, but I don't confuse it with a fully enclosed shelter that offers better protection from wind and rain. REI includes a lightweight bivy or emergency blanket in its Ten Essentials shelter system.
- Emergency bivy sack or suitable lightweight emergency shelter
- Reflective emergency blanket
- Waterproof rain jacket and rain pants
- Waterproof stuff sack or dry bag for critical items
- Extra insulation appropriate to the forecast and terrain
The important detail is protection from wind, rain, and heat loss. Wet clothing and a breeze can become dangerous even when the temperature doesn't seem especially cold. I learned the value of dry, protective clothing long before my SAR volunteering; now I pay more attention to what happens if someone has to sit still for an hour rather than keep moving.
Don't wait until you're cold to prepare
Put your shelter and waterproof layers somewhere you can reach them without emptying your entire pack. In exposed terrain, severe weather may make continuing unsafe. Avoid exposed ridges during lightning, and never enter a creek crossing or narrow canyon when flash flooding threatens.
Before leaving, I check the forecast and the relevant land manager's alerts. The NPS hiking safety advice is clear about checking conditions and being prepared to shelter or change plans when the weather deteriorates.
Extra Food and Emergency Water Supplies
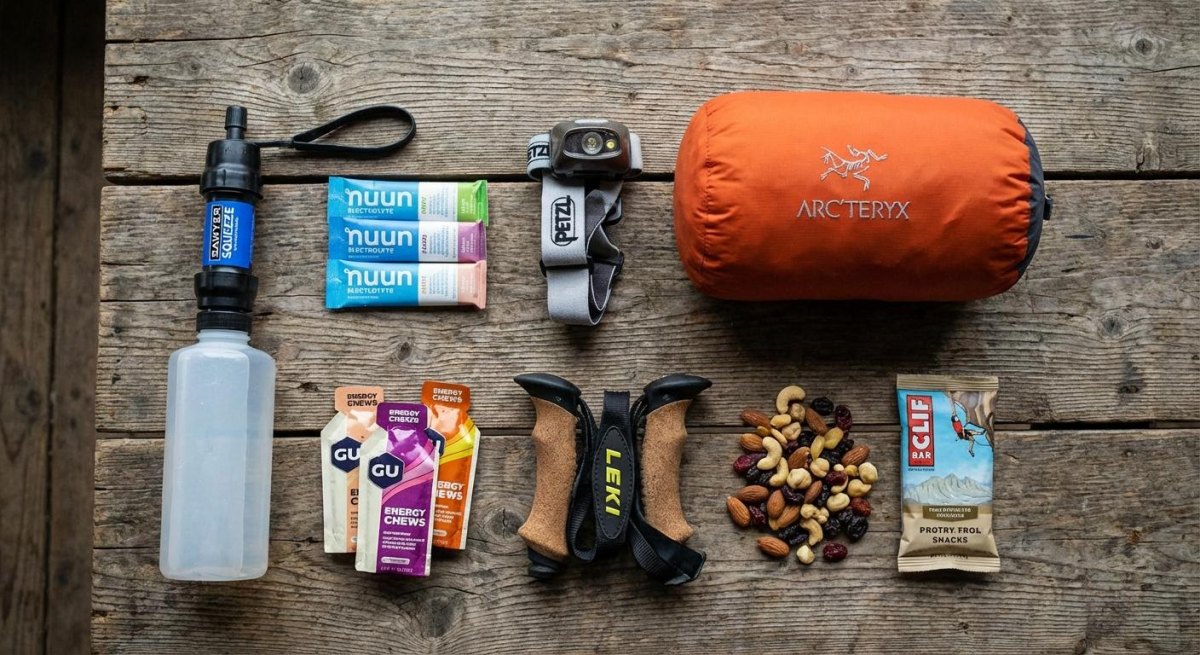
I carry more food and water than my optimistic itinerary suggests I will need. A hike can take longer because of mud, steep descents, route-finding, or an injury, and none of those problems cares whether I packed lunch for exactly four hours. The REI Ten Essentials guidance recommends extra food and water beyond the minimum expected for the trip.
- Extra calorie-dense snacks or a backup meal
- Water bottles or a hydration reservoir with suitable capacity
- Water filter or purification treatment appropriate to the water source
- Electrolyte replacement for conditions that warrant it
- A container compatible with your chosen treatment method
For food, I favour things I will actually eat when tired: energy bars, nuts, dried fruit, and other compact snacks. For water, I calculate what I need for the route, temperature, exertion, and availability of reliable sources. There is no universal quantity that works for every hiker on every trail, and a stream that looks clear is not proof that its water is safe to drink.
Water treatment is a backup, not a reason to travel light on water. Choose a filter or purification method suited to likely contaminants, and understand its limitations. Filters do not all remove viruses, for example, and some treatments need contact time. Follow the manufacturer's instructions and local advisories.
Pack for the slower trip
Estimate food and water for your planned hike, then allow a sensible reserve for delays. On hot, exposed trails, reassess the route if your water is running low. I would rather turn around early than try to stretch an inadequate supply across a long descent.
Fire-Starting Equipment and Emergency Heat
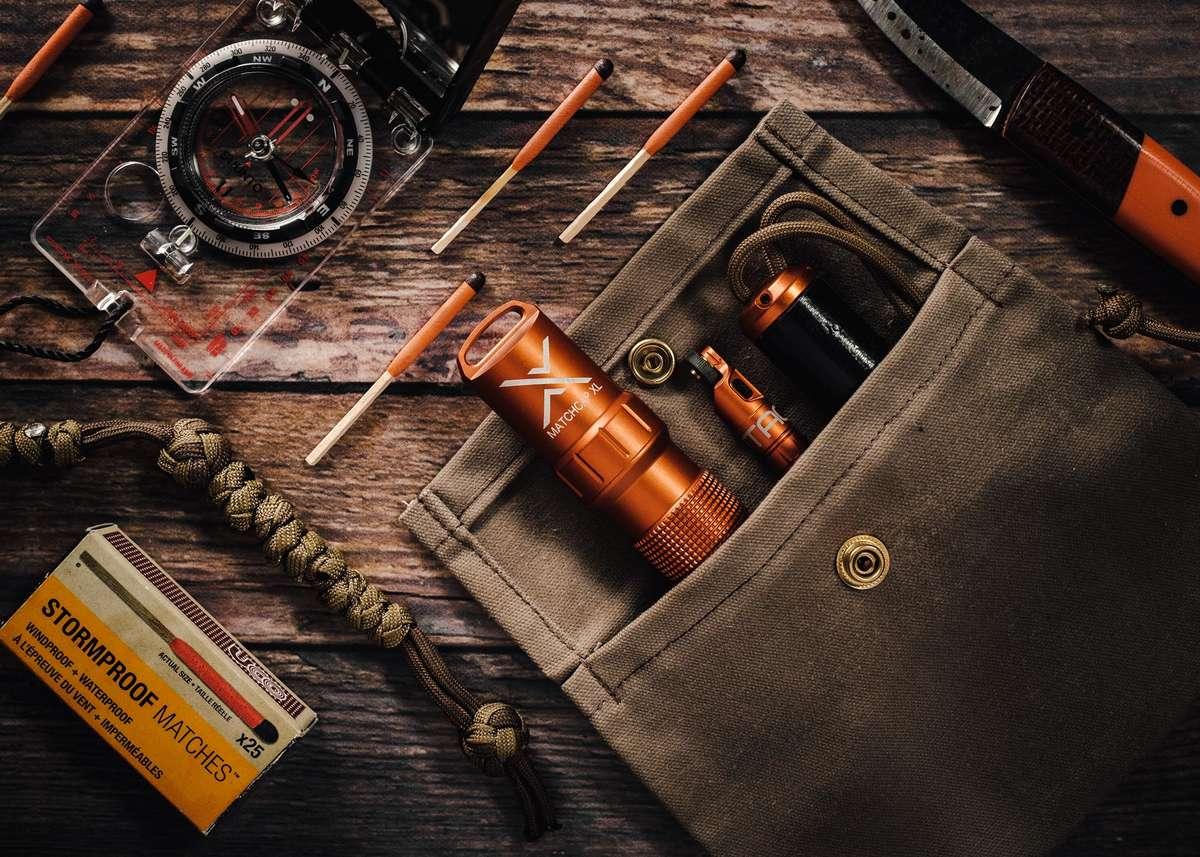
I pack a dependable lighter or waterproof matches and a backup ignition method when fire is appropriate for the terrain and conditions. A small amount of reliable tinder helps when the available natural material is wet. These supplies belong to the traditional Ten Essentials, although the ability to make a fire does not replace proper shelter and insulation. The National Park Service Ten Essentials guide identifies fire as one of the core preparedness systems.
- Reliable lighter
- Waterproof matches stored in a sealed container
- Compact fire starter or dry tinder
- Knowledge of local fire restrictions and safe practices
- Insulating clothing and emergency shelter as the primary backup for warmth
My priorities are staying dry and retaining body heat, not getting a campfire going at all costs. In wet conditions, an unprepared hiker can lose heat quickly, and building a fire may be difficult or prohibited. During droughts or periods of high fire danger, ignition sources can create serious hazards. I check restrictions for the exact park or public land before leaving home.
A fire can sometimes help with warmth or signaling, but it is not a universal emergency solution. Above treeline, in exposed terrain, or where there is no suitable fuel, a shelter and insulation may be much more dependable. I never advise lighting a fire where it is prohibited or where conditions could allow it to escape.
For a detailed packing reference, I use the REI Ten Essentials list, which discusses lighters, waterproof matches, and fire starters. For most day hikes, these items weigh very little; the judgment to use them responsibly matters considerably more.
Lighting Equipment and Spare Batteries
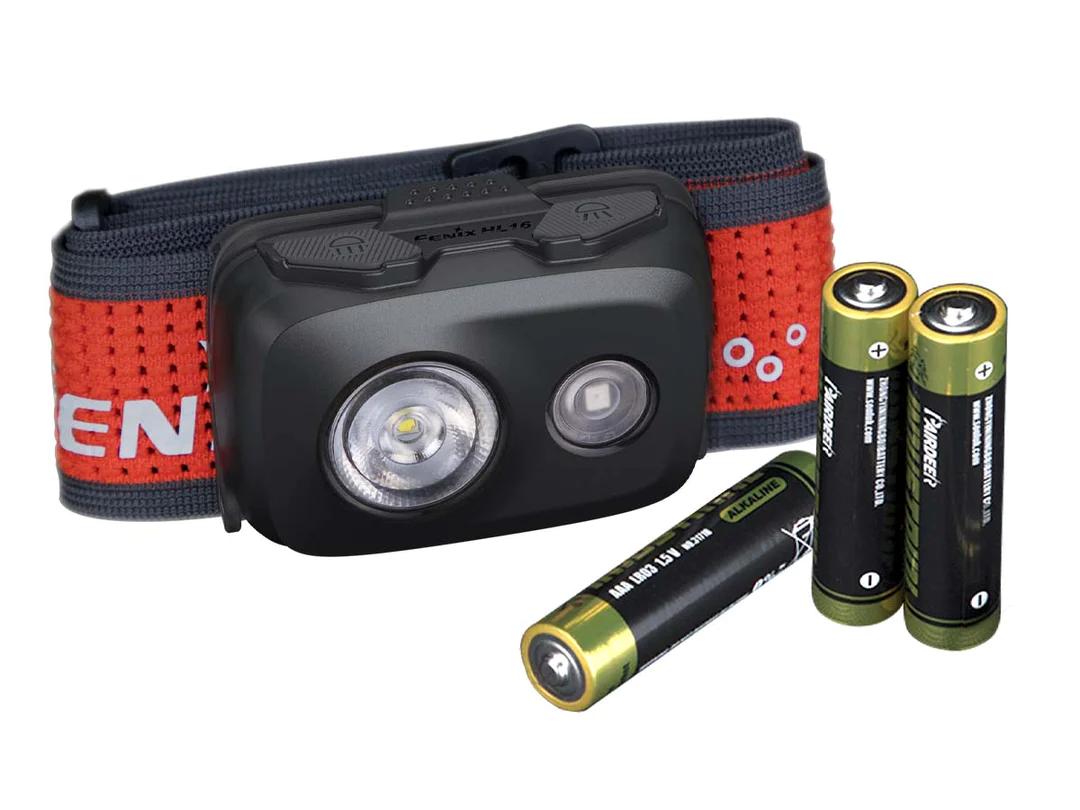
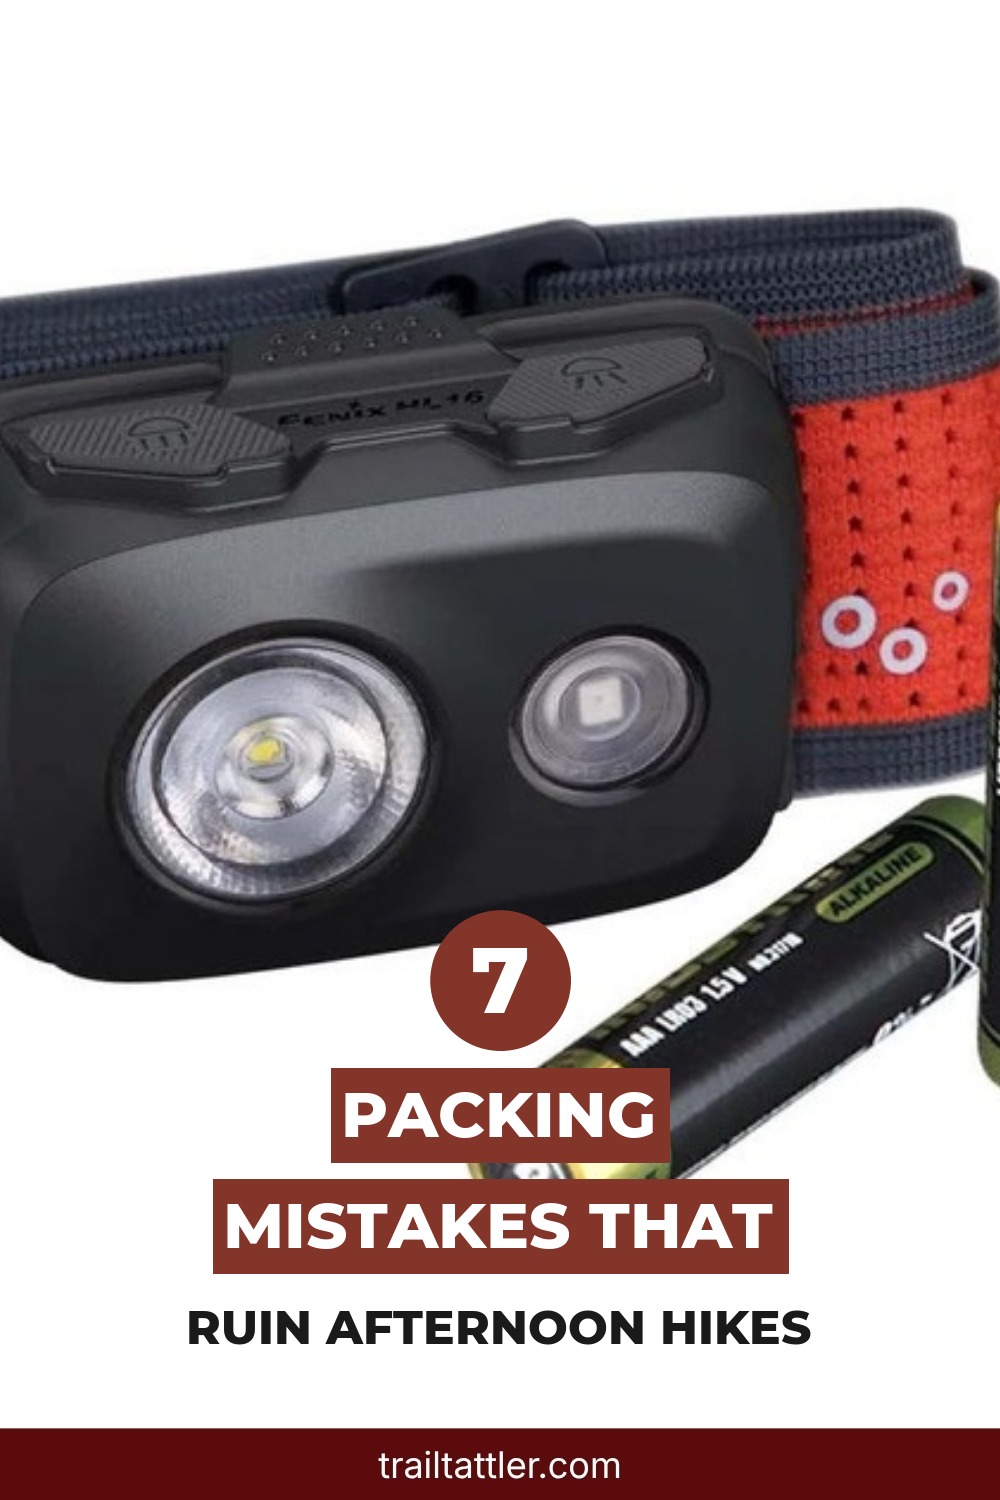
If there is one item I wish every day hiker would stop treating as optional, it is a headlamp. I have seen how easily a reasonable walk can run late, and the remaining descent may be the roughest part of the route. A phone flashlight is useful as a backup, but it drains the same battery I may need for navigation or an emergency call. The National Park Service hiking safety guide identifies illumination and spare batteries as important outdoor essentials.
- LED headlamp with a charged battery
- Spare batteries or a charged compatible backup power source
- Small backup flashlight where appropriate
- Knowledge of the lamp's controls and battery type
A hands-free headlamp makes a real difference when I need to read a map, handle first aid, or negotiate uneven ground. I check it before every outing rather than assuming the last charge is still there. On longer trips, I carry a suitable backup power option or spare batteries and keep electronics protected from moisture.
I also calculate daylight before setting out. My turnaround time needs to leave a realistic margin for the return journey, not merely get me to the viewpoint before sunset. If the trail is slower than expected, I shorten the outing rather than spend the final hour trying to win an argument with the clock.
The phone flashlight is not my plan
Keep a dedicated headlamp accessible and test it before departure. A separate light source means your navigation and communication device can remain available for the jobs only it can do.
Emergency Signaling and Rescue Equipment
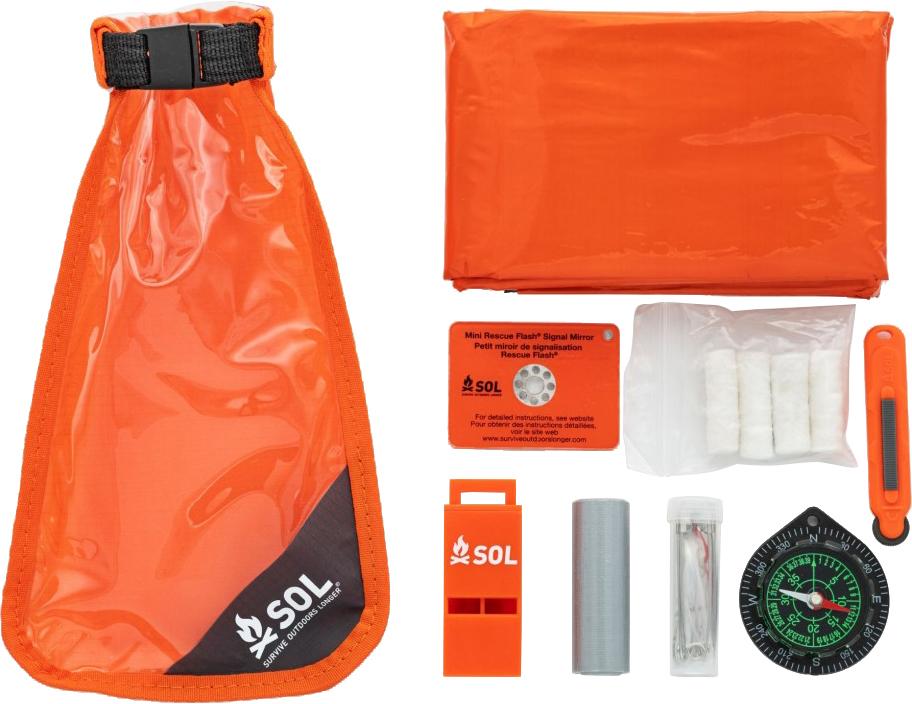
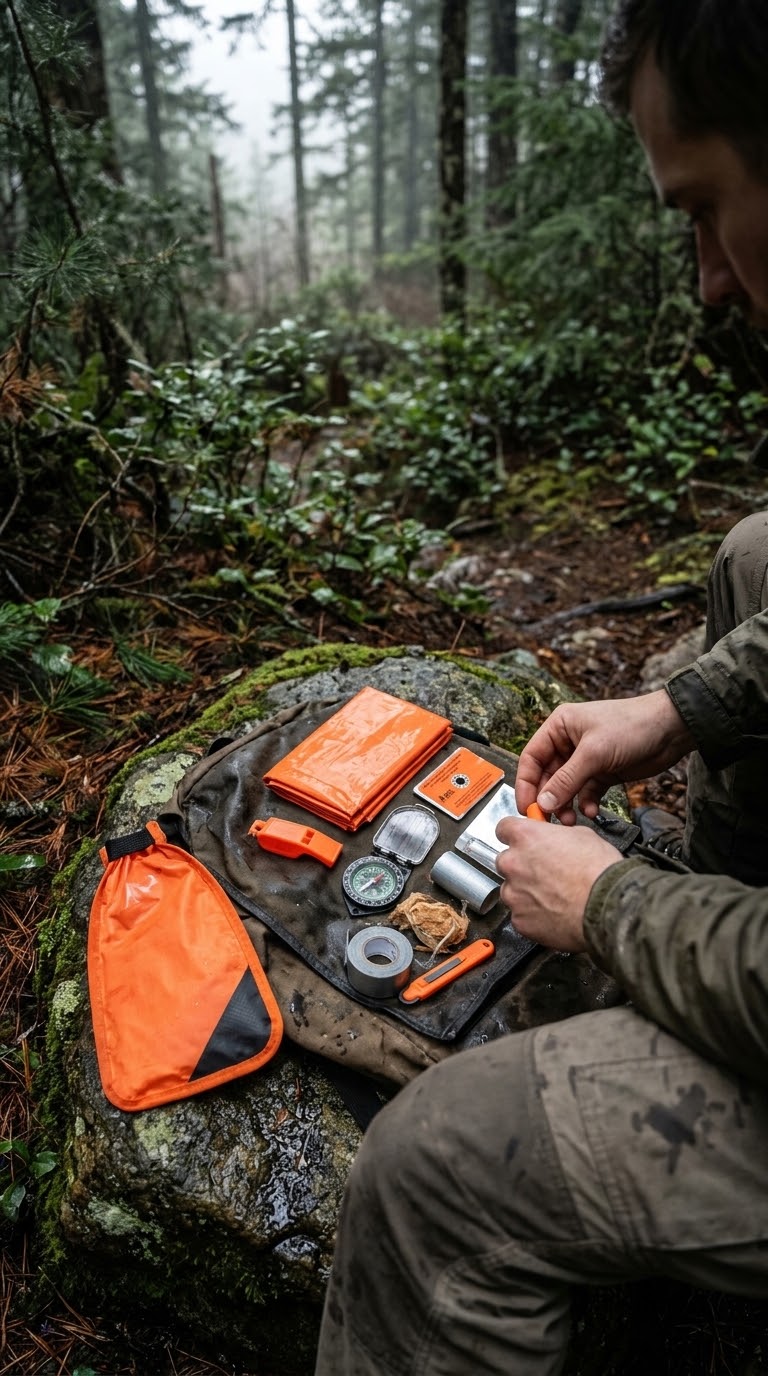
When I need help in the backcountry, I want a clear way to attract attention without exhausting myself shouting into the woods. A whistle, a reflective signal mirror, and a bright panel are simple tools that can help rescuers locate a person. For remote routes, I consider whether a satellite SOS device or personal locator beacon is appropriate. The National Park Service hiking safety guidance recommends planning for communication where cellular coverage may be absent.
- Loud emergency whistle attached to the pack or clothing
- Reflective signal mirror for suitable daylight conditions
- Brightly coloured signal panel or fabric
- Satellite messenger or PLB where the route and remoteness warrant it
- Emergency contact and itinerary information
The key is making yourself easier to locate. A whistle requires less effort than shouting repeatedly, while a bright panel can improve visibility when rescuers are searching from a distance. A mirror needs suitable light and technique, so I treat it as one signaling option rather than a guarantee of rescue.
Before using a satellite device, I learn how to activate its distress function and keep it accessible. An SOS alert is for a genuine emergency; I do not wait until every other option has failed if someone's condition is serious or the situation is becoming dangerous. I follow the device's instructions and communicate accurate location and incident details whenever possible.
One more thing: I tell someone my route and expected return time before leaving. Rescue equipment works best as part of a plan, not as a substitute for one. The NPS recommends sharing itinerary details so that someone can raise the alarm if a hiker does not return as expected.
Multi-Tool, Knife, and Repair Supplies
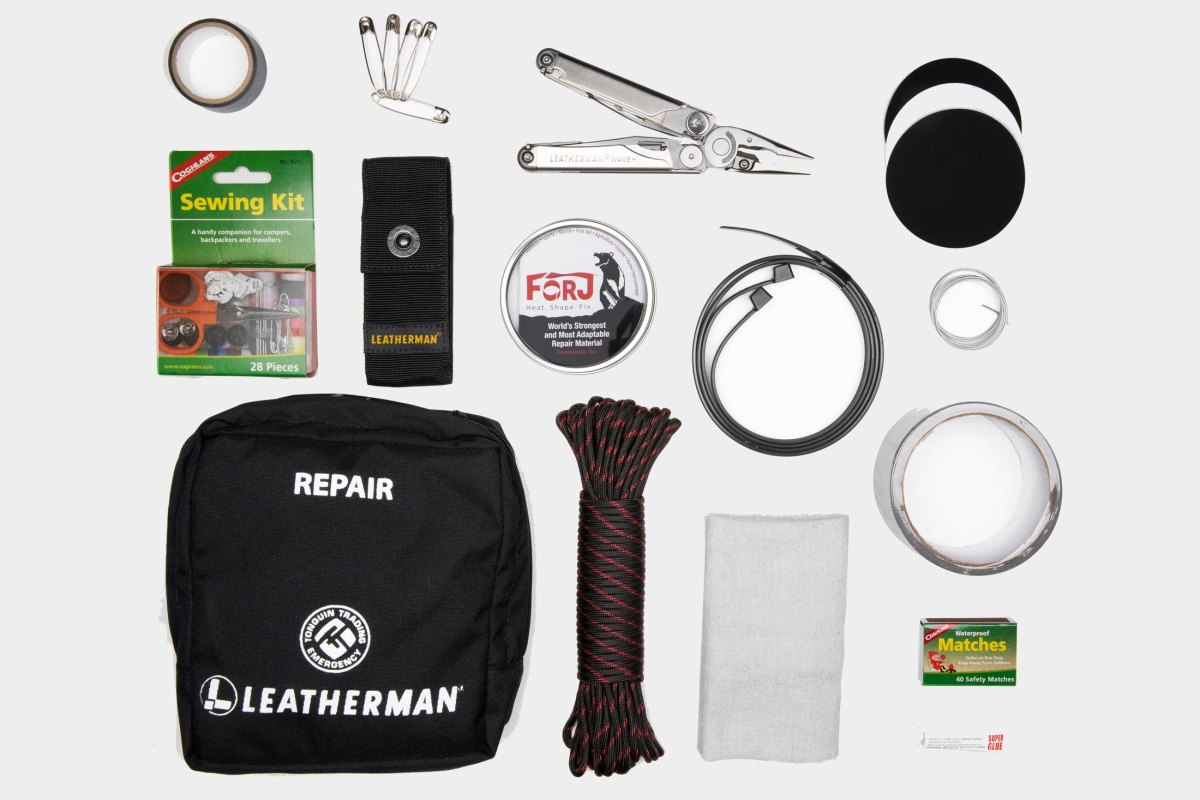
A compact knife or multi-tool earns its place by handling small, practical jobs: cutting cord, trimming repair tape, or fixing a minor equipment problem. I don't carry a heavy workshop into the woods, and I don't expect a pocket tool to solve every mechanical failure. The REI guide to knives and multi-tools explains how to choose equipment based on the tasks you actually expect to encounter.
- Small folding knife or suitable multi-tool
- Duct tape or specialist fabric repair tape
- Short length of strong cord
- Zip ties and a few safety pins
- Repair items for any specialist equipment on the trip
I favour small repairs that keep gear usable, such as securing a loose strap or patching a minor tear. A little tape wrapped around a trekking pole or stored on a flat backing can save space. Backpackers carrying poles, filters, or other specialist kit may need model-specific spares rather than a generic repair pouch.
Buy for the jobs, not the gadget count
A simple folding knife and a few useful repair supplies are enough for many day hikes. A multi-tool is worth the extra weight only if its functions suit your likely needs. Practise safe handling at home, and pack tools securely so they cannot injure you or damage other gear.
In eight years of outdoor retail, I learned that an item with twenty functions is not automatically better than one that does the three jobs you need reliably. The REI day hiking checklist also includes a knife or multi-tool and a small gear-repair kit among useful hiking supplies.
Protective Clothing and Thermal Layers
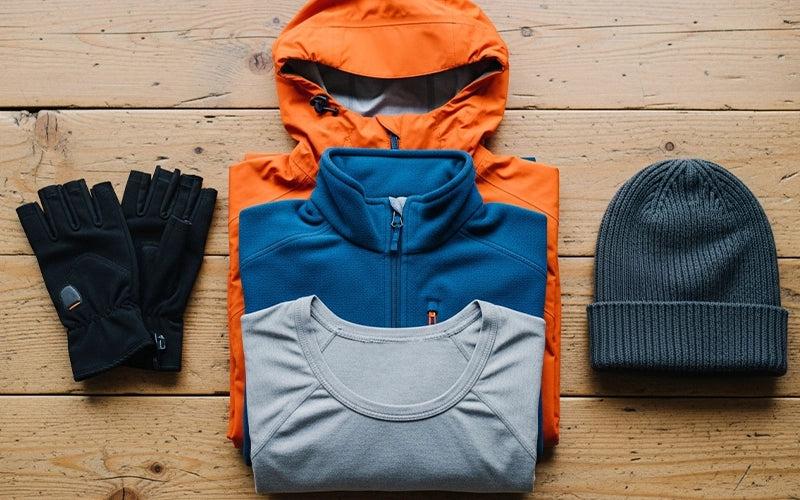
I pack clothing for the worst plausible conditions on the route, not just the temperature at the parking area. A sunny trailhead can be a poor predictor of wind on an exposed ridge, and sweat-soaked clothing becomes a liability when movement stops. The National Park Service winter weather guidance recommends adjustable layers and dry spare clothing, and explains why wool and synthetic fabrics are generally preferable to cotton in cold, wet conditions.
- Insulating fleece or suitable insulated jacket
- Waterproof, wind-resistant outer shell
- Warm hat and gloves appropriate to the forecast
- Spare socks and dry base layers in a sealed bag
- Sun hat and sunglasses for exposed routes
The goal is managing heat and moisture. I use layers I can add or remove as my effort changes, and I keep an insulating layer dry until I need it. Cotton is comfortable around town, but it absorbs moisture and dries slowly; on a cold or wet hike, that can contribute to dangerous heat loss.
Hypothermia is not exclusively a winter problem. Cold rain, wind, exhaustion, and wet clothing can create trouble even when the air temperature seems relatively mild. Uncontrolled shivering, fumbling, stumbling, or confusion are warning signs that someone may be seriously affected. Seek emergency help for severe symptoms, protect the person from further exposure, and follow appropriate first aid guidance.
I check the forecast again on the day of the hike and adjust layers for elevation, exposure, and the time I expect to return. The NPS hiking safety recommendations also stress carrying rain equipment and preparing for changing weather. If the conditions exceed my equipment or experience, I change the plan.
Hygiene, Sanitation, and Personal Protection
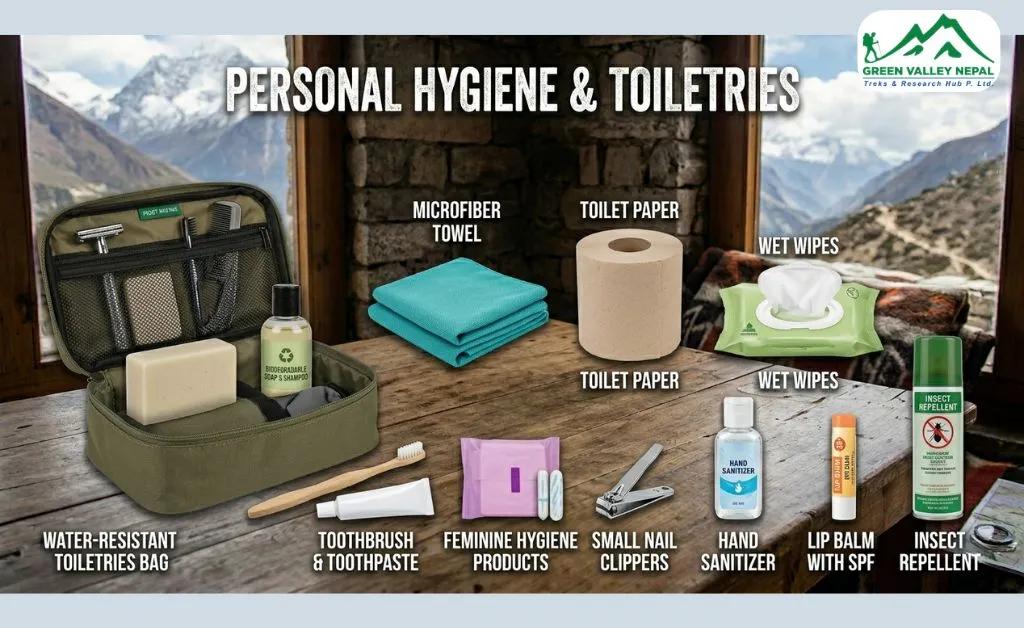
Hygiene gear rarely gets the dramatic product photos, but it earns its space on a long day outside. I carry supplies for basic hand hygiene, sun protection, insect exposure, and responsible waste disposal. REI's day hiking checklist includes items such as hand sanitizer, insect repellent, toilet paper, personal medication, sunscreen, and sunglasses.
- Sunscreen, sunglasses, and a sun-protective hat
- Insect repellent appropriate to the region and activity
- Hand sanitizer and toilet paper
- Seal-able bags for used hygiene products and rubbish
- Personal identification and essential medical information
- Any personal medication needed during the hike
I pay attention to ticks, insects, sun exposure, and waste because all four can turn an otherwise good outing into an uncomfortable or unsafe one. Protection needs vary by location and season, so I check local public health advice for tick-borne diseases and follow product labels for repellents and sunscreen.
Sanitation also means following the rules for the specific land manager. Carry out rubbish and used hygiene products. Where human waste disposal is permitted, follow local requirements for toilets or catholes, including any distance requirements from water, campsites, and trails. Some fragile environments require all human waste to be packed out. I never assume one method is legal or appropriate everywhere.
For trails in black bear country, I follow the local food-storage rules and never feed wildlife. Bear canisters are required in some areas but not all; the relevant park or land management agency determines the requirement. Good preparation includes checking those rules, current alerts, and any restrictions before departure.
Emergency Power, Backup Communication, and Gear Check
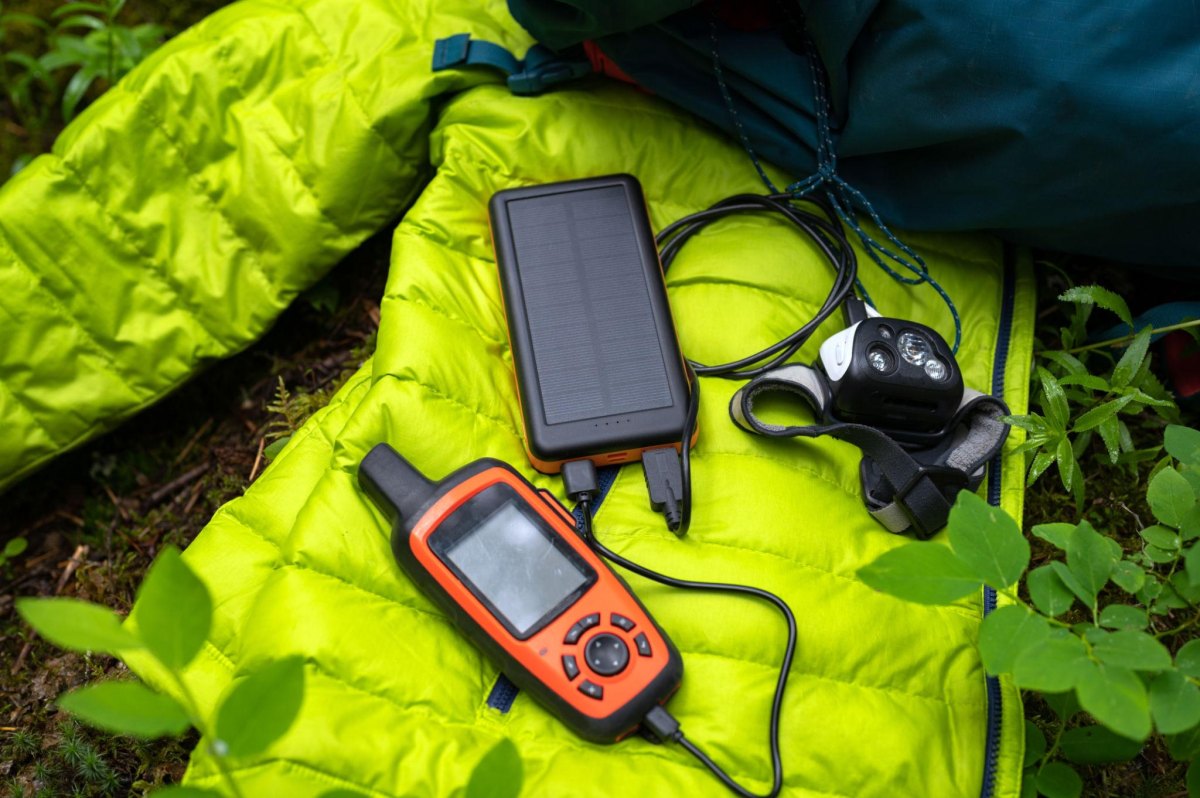
I treat emergency power as part of navigation and communication rather than as a way to keep music playing all afternoon. A power bank and charging cable can help extend a phone's useful life, but neither helps if the cable is incompatible or the battery is already flat. The REI Ten Essentials guidance includes power banks among possible navigation-system components, while the National Park Service warns that searching for a cellular signal can drain a phone quickly.
- Fully charged phone with offline maps downloaded
- Charged power bank and compatible charging cable
- Dry bag for electronics and critical documents
- Satellite communication device or PLB when appropriate
- Checked headlamp, first aid kit, shelter, food, and water
- Shared itinerary, planned return time, and turnaround point
Before leaving, I run through a final gear and route check. I confirm that essential devices turn on, batteries are charged, and I know where the important items are stored. I also check the current weather, trail closures, fire restrictions, and any permit requirements. Conditions change, so yesterday's trail report is not a substitute for today's official alert.
- Check the route. Confirm distance, elevation, expected time, exposure, water availability, and escape options.
- Check the forecast. Look for thunderstorms, excessive heat, cold rain, wind, and flash-flood warnings relevant to the area.
- Tell someone the plan. Share the intended route and expected return time, and agree on when they should raise the alarm.
- Set a turnaround time. Allow enough daylight and energy for the return, including a realistic margin for delays.
- Reassess honestly. Turn back if weather, water, daylight, or group condition makes continuing unsafe.
My final rule is simple: pack for the problem that could delay your return, not just the hike you hope to have. I don't need the same loadout for every trail, but I do need a way to navigate, stay warm and dry, manage minor injuries, find light, carry extra food and water, and call for help when the route justifies it. Those systems, combined with a sensible turnaround plan, make a far more useful checklist than buying another piece of shiny gear.
More Pinterest Visuals



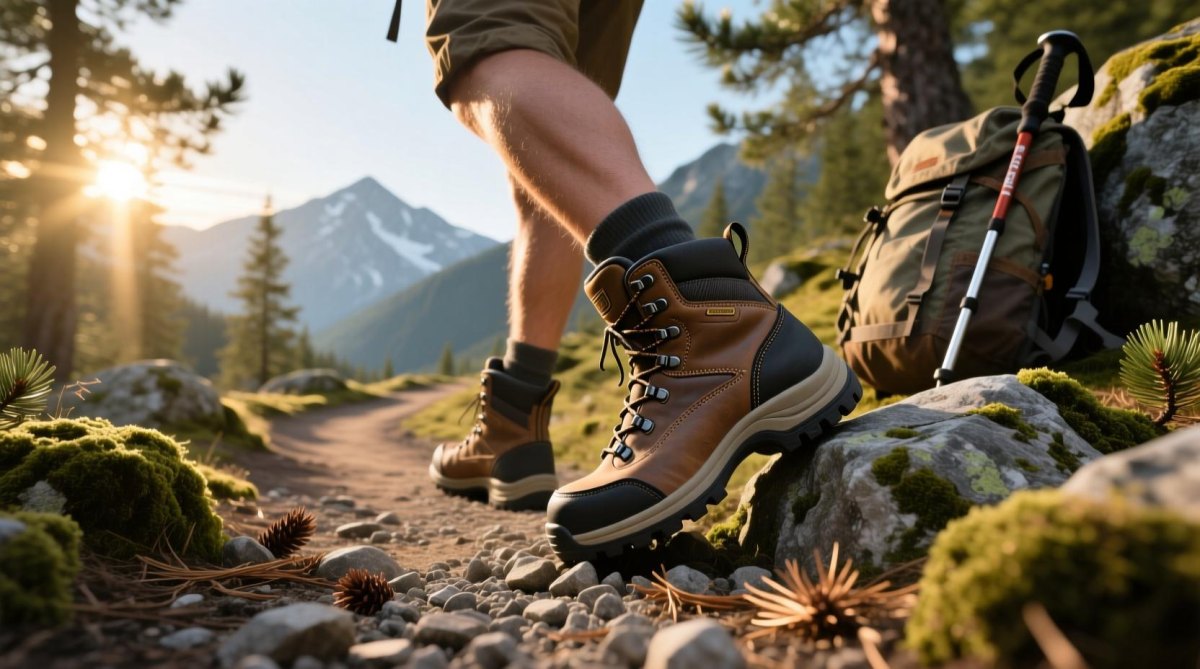 Backpacking Gear & Packing12 Wandern Für Anfänger Packliste – Alles Für Einen
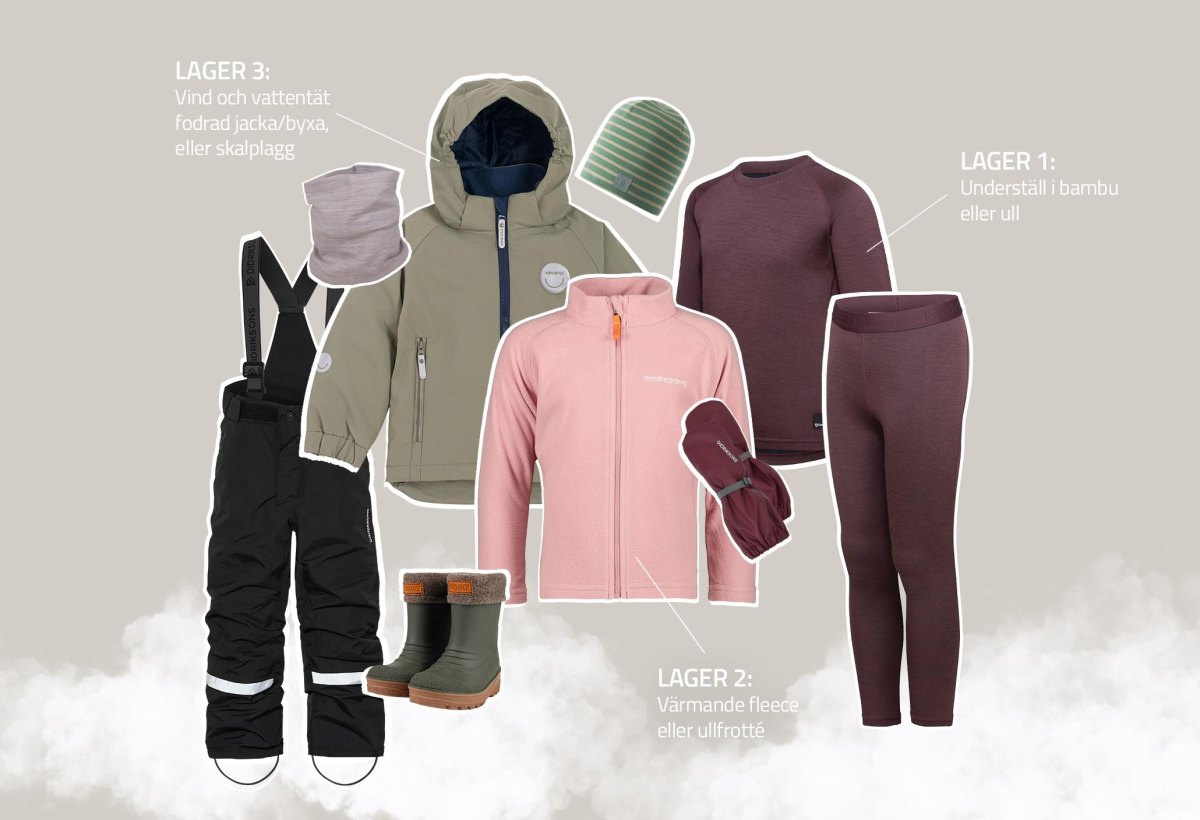 Family HikingHiking With Kids Checklist for a Safer, Happier Trail Day
 Hiking Destinations17 Best Autumn Hiking Trails In Canada For Fall Color Season
 Hiking with Dogs7 Dog-Friendly Hikes in Maine Worth Exploring With Your Best Friend