
A family hike can go sideways over something remarkably small: wet socks, an empty water bottle, a snack crisis at the wrong junction, or a trail that takes twice as long as the sign suggests. I've spent years in outdoor retail and six years volunteering with a county search and rescue team, and I've learned that the ordinary details matter most. You don't need a mountain of expensive gear to take kids hiking. You need the right equipment, a realistic route, and a plan that still works when somebody gets tired. This hiking with kids checklist covers what I would pack, what I'd leave at home, and the safety checks I'd make before leaving the trailhead. I've drawn on current guidance from organizations including the National Park Service, the Met Office, and the CDC, while keeping one principle front and center: the family sets the pace, not the mileage target.
Quick checklist before you leave
- Check the forecast, trail conditions, closures, and daylight.
- Pack layers, suitable footwear, water, food, and sun protection.
- Carry first aid, navigation tools, lighting, and emergency supplies.
- Tell someone your route and expected return time.
- Choose a turnaround time and be prepared to shorten the hike.
Weather-Appropriate Clothing
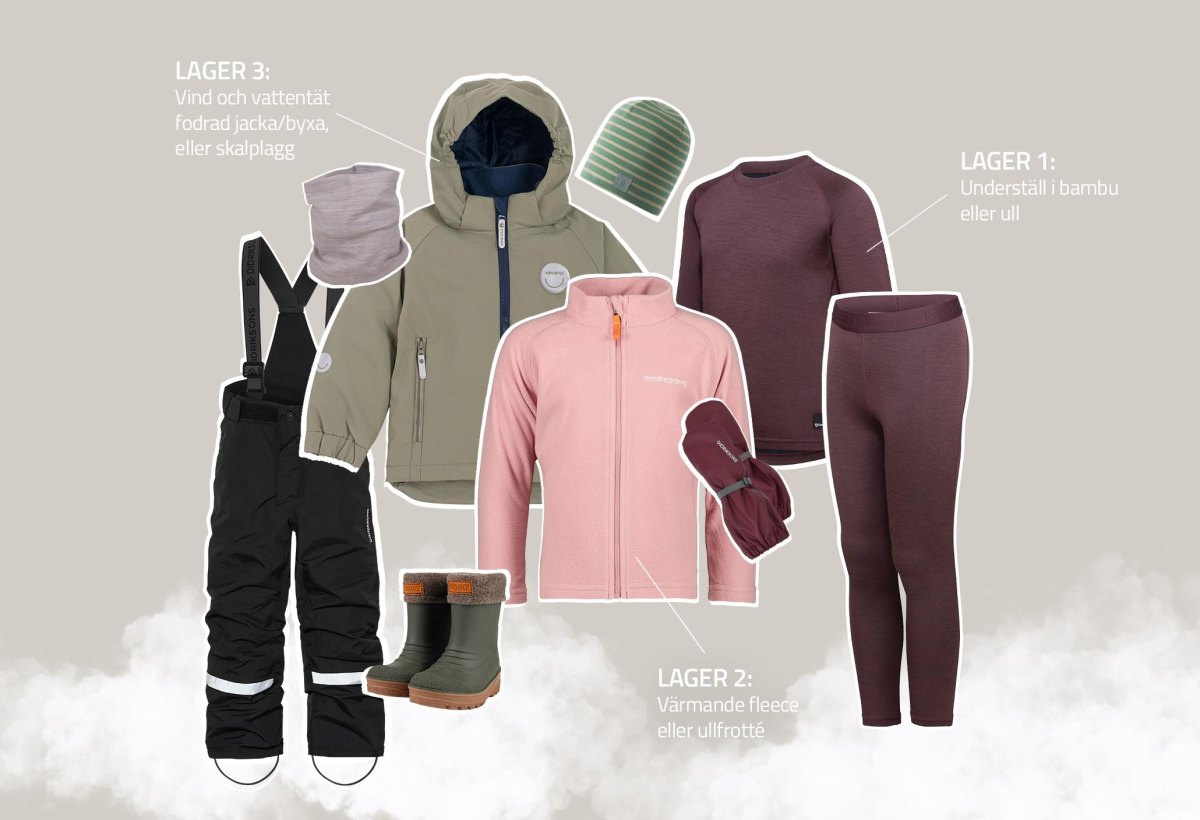
I pack children's clothing in layers because a sunny trailhead tells me very little about conditions farther up the hill. The Met Office's guidance on hillwalking with children makes the same practical point: mountain weather changes, and children need clothing that helps them stay comfortable as conditions shift. Start with a moisture-wicking base layer, add a fleece or other insulating layer, and carry a waterproof outer jacket. In cold or exposed conditions, pack a warm hat and gloves, too.
I also bring spare socks and a dry layer in a waterproof bag. Wet clothing can turn a cheerful walk into a miserable one, and prolonged exposure to cold and wet conditions can become dangerous. I learned my lesson about cotton the hard way on Mount Monadnock in November. Jeans and damp cotton sweatshirts are not the hill's idea of a good time. Check the forecast immediately before departure, and change the plan if conditions are beyond your family's equipment or experience.
My packing rule
I pack for the weather we might encounter along the route, not just the temperature in the parking lot.Sturdy Hiking Shoes
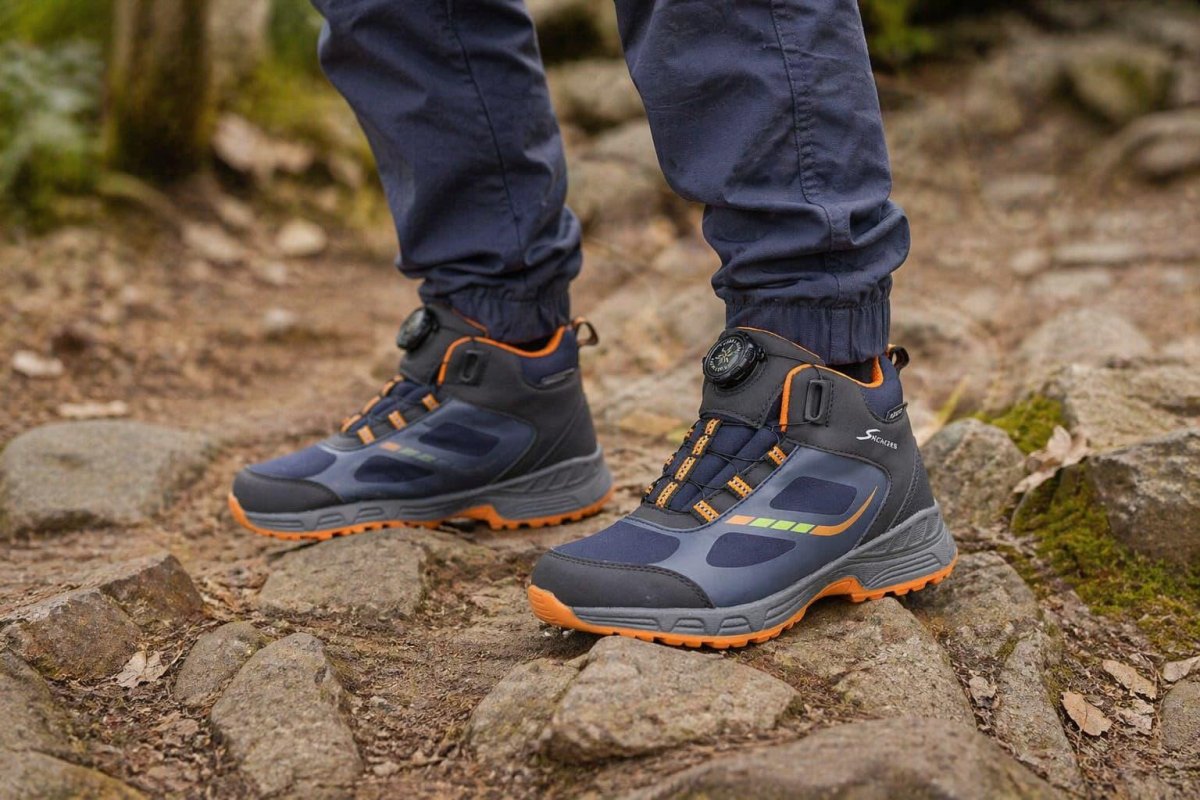
Footwear is one of the few places where I pay close attention to fit before looking at features. Eight years in outdoor retail taught me that an impressive-looking boot cannot compensate for a poor fit. The American Podiatric Medical Association's children's footwear guidance emphasizes room for growing feet and secure fastening. For a family hike, I want comfortable shoes that stay securely on, with enough room for the toes and a sole suited to the actual trail surface.
Light hiking shoes or trail shoes can work well on firm, maintained paths. Rockier, muddy, or uneven terrain may call for footwear with more protection and traction. Boots are not automatically better for every child or every route. Have your child walk, bend, and step up and down in the shoes before the trip. Pack well-fitting spare socks, and check for rubbing at the heel and toes during breaks. I would much rather deal with a five-minute shoe adjustment than a blister that dictates the rest of the day.
Avoid this common mistake
Don't debut stiff new boots on a long family hike. Test unfamiliar footwear on short walks first.Kid-Friendly Snacks
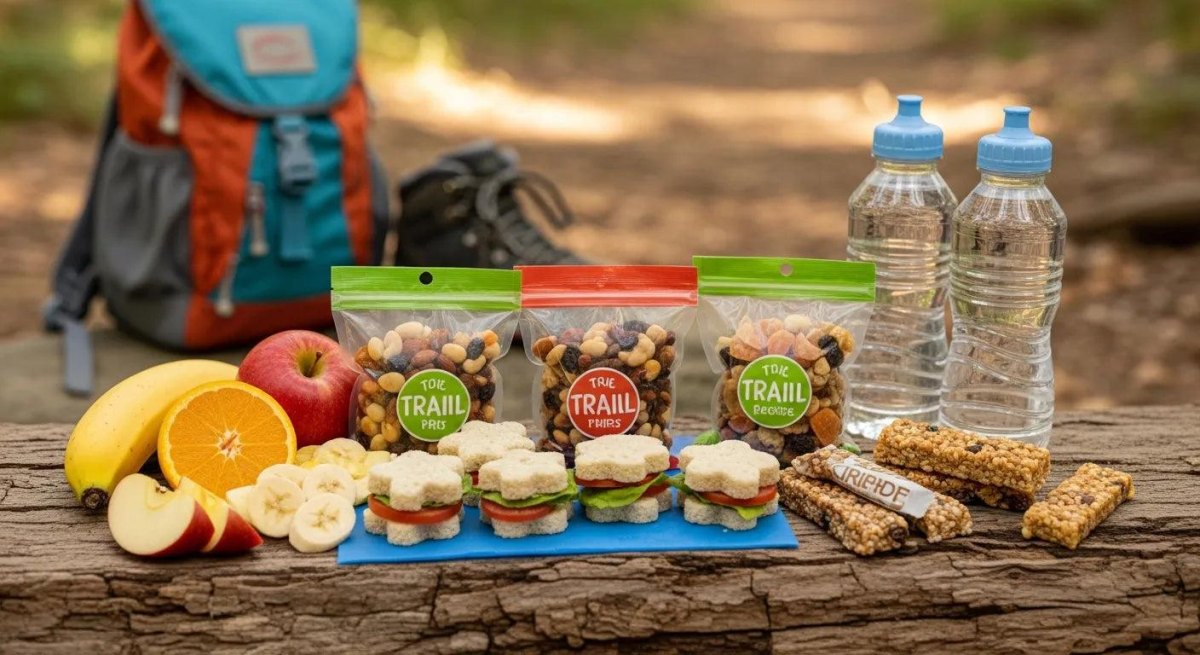
I plan snacks as part of the route, not as a reward that appears only when we reach the destination. Children may burn through their enthusiasm before their legs are actually tired, and a regular snack break gives everyone a chance to reset. I pack easy-to-eat, familiar foods such as fruit, crackers, sandwiches, dried fruit, or granola bars, with options that account for allergies and dietary needs. The National Park Service's hiking safety guidance recommends carrying the Ten Essentials, including extra food for unexpected delays.
I divide snacks into small containers or bags so I can hand them out without unpacking the entire backpack. For longer outings, I bring a little more than our planned schedule requires. Extra food is a safety margin, not permission to ignore a sensible turnaround time. I also keep food secure around wildlife, follow local food-storage rules, and pack out every wrapper and leftover. A trail snack should make the day easier, not leave a trail-maintenance volunteer like me collecting your packaging later.
- Pack a mix of familiar snacks and something filling.
- Account for allergies and dietary restrictions.
- Carry a little extra for delays.
- Keep food accessible and pack out all waste.
Plenty of Drinking Water
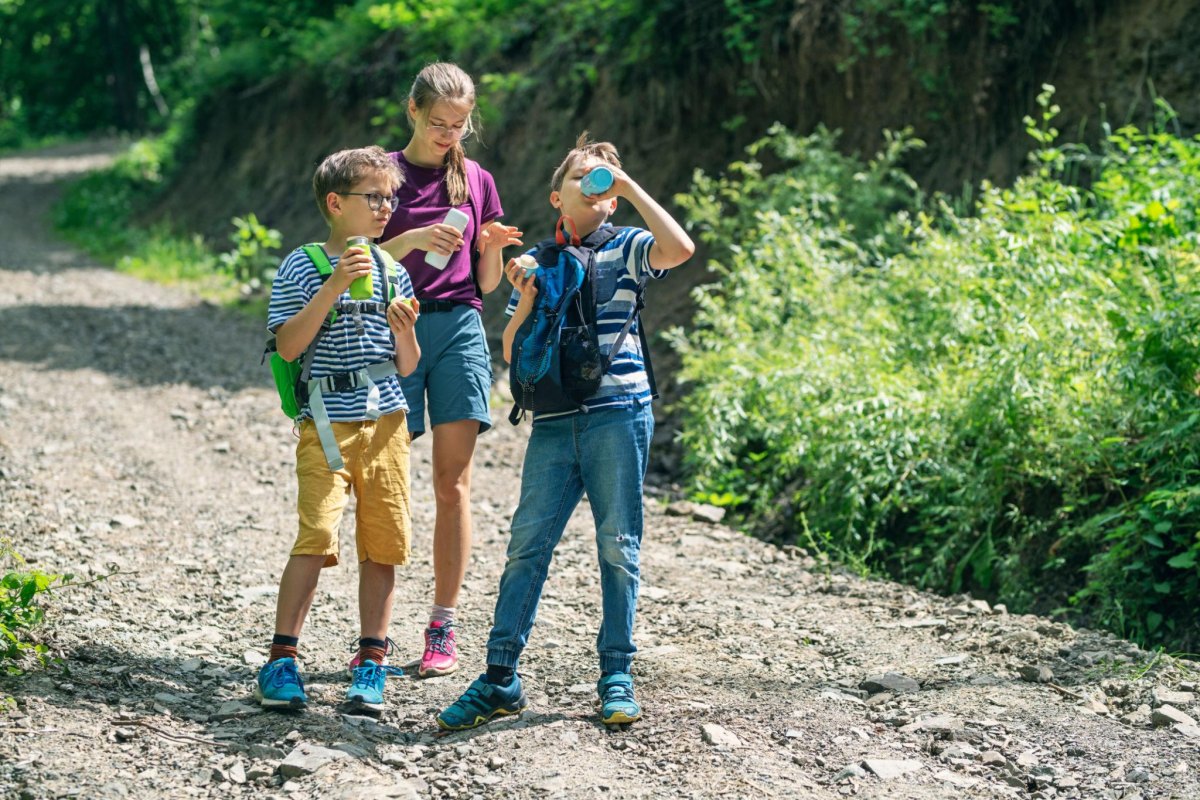
Water planning deserves more thought than throwing one bottle into the bag and hoping for the best. I estimate what the whole group will need based on the weather, effort, route length, and access to reliable water. Children need regular opportunities to drink, especially in warm weather. The CDC's outdoor safety guidance for children recommends regular food and water intake and adjusting activity during high temperatures.
Give each child a bottle they can open and close independently, then make drinking part of your break routine. I carry a reserve rather than counting on a stream to refill our supplies. Natural water is not automatically safe to drink, even when it looks clear; untreated sources can contain harmful organisms. If a route requires refilling, bring an appropriate treatment method and know how to use it. Turn around before water becomes scarce, not after someone is already struggling in the heat.
Heat changes the plan
If a child develops concerning symptoms such as unusual weakness, dizziness, confusion, or worsening heat-related distress, stop the activity and seek appropriate medical or emergency assistance. Severe symptoms require urgent help.A Comfortable Backpack
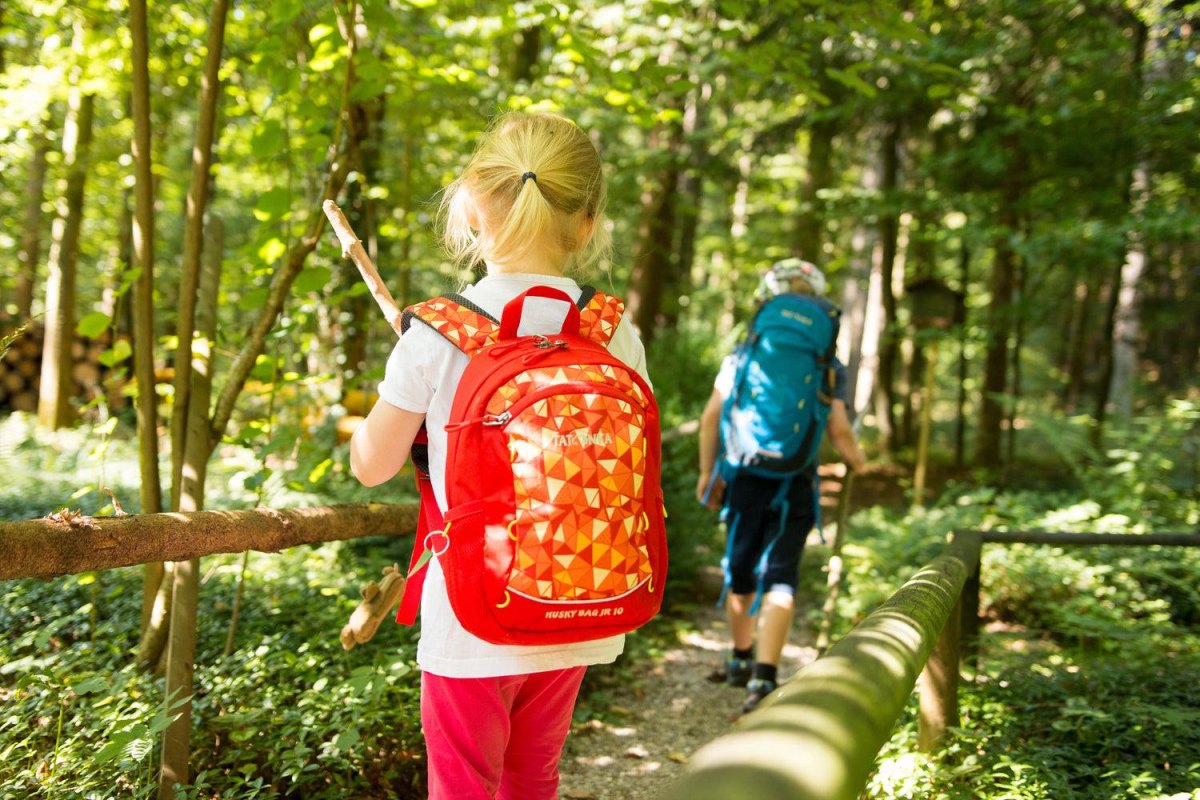
A child's backpack should carry a few useful things, not become a miniature version of my gear room. I look for a lightweight pack with comfortable straps, a secure closure, and a size suited to the child's body. A chest strap can help keep shoulder straps in place, but it should not dig in or restrict movement. Try the pack with the actual items inside before hiking, and adjust it while your child is wearing their usual trail clothing.
I usually let children carry their own light layer, a small snack, and a water bottle if they are comfortable doing so. Adults should carry the heavier shared safety equipment, first-aid kit, and reserve supplies. The point is to build confidence, not to turn a family outing into a load-carrying exercise. Comfort matters more than capacity, and a smaller pack that fits properly is often the better choice. Recheck the fit as children grow, because last season's perfect pack may now sit awkwardly.
- Check shoulder straps and chest-strap adjustment.
- Keep the load light and balanced.
- Put frequently used items within easy reach.
- Keep essential adult safety gear with an adult.
Sun Protection
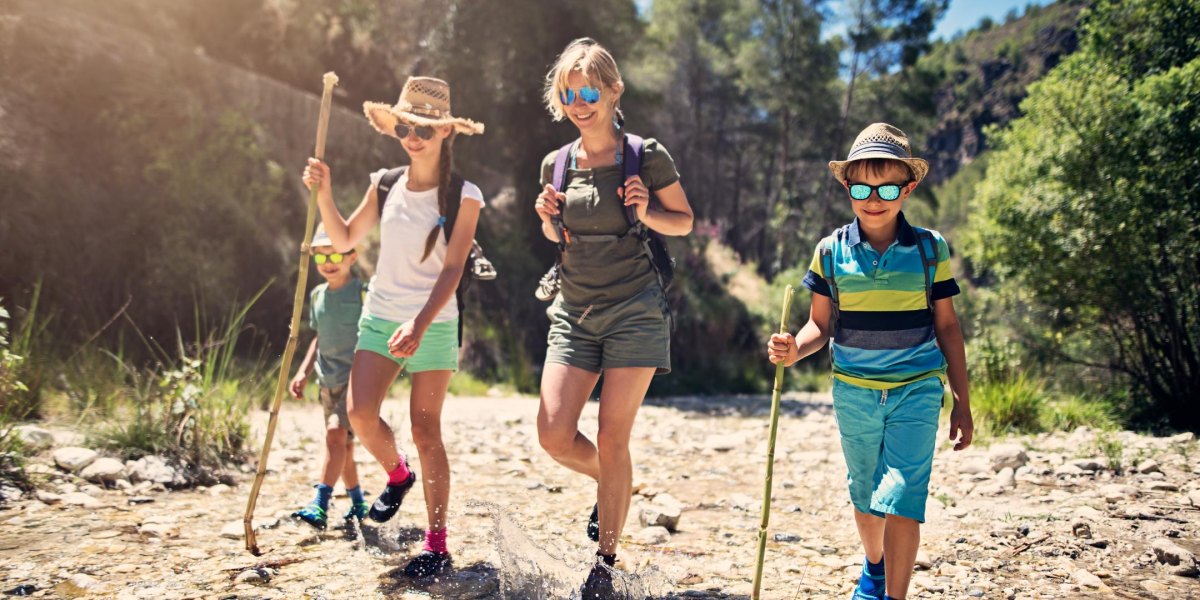
Cloud cover does not mean ultraviolet radiation has disappeared, and shade can be patchy on exposed trails. I pack sunscreen, a brimmed hat, and sunglasses as routine equipment rather than optional extras. The CDC recommends protective clothing, sunglasses, sunscreen, and shade during the strongest sunlight hours. Follow the sunscreen label for application and reapplication, especially after heavy sweating or water exposure.
I also look at the route before choosing the start time. A shaded woodland walk and an exposed ridge have very different sun and heat demands, even if the mileage is identical. On hot days, I prefer an earlier start, frequent breaks, and a route with realistic escape options. Sun protection includes planning: if the forecast points to dangerous heat, shifting the hike or choosing a shorter, cooler alternative is better than relying on sunscreen to solve every problem.
Make it easy to reapply
Keep sunscreen where an adult can reach it quickly, and check children's hats and sunglasses at every major break.First Aid and Personal Care
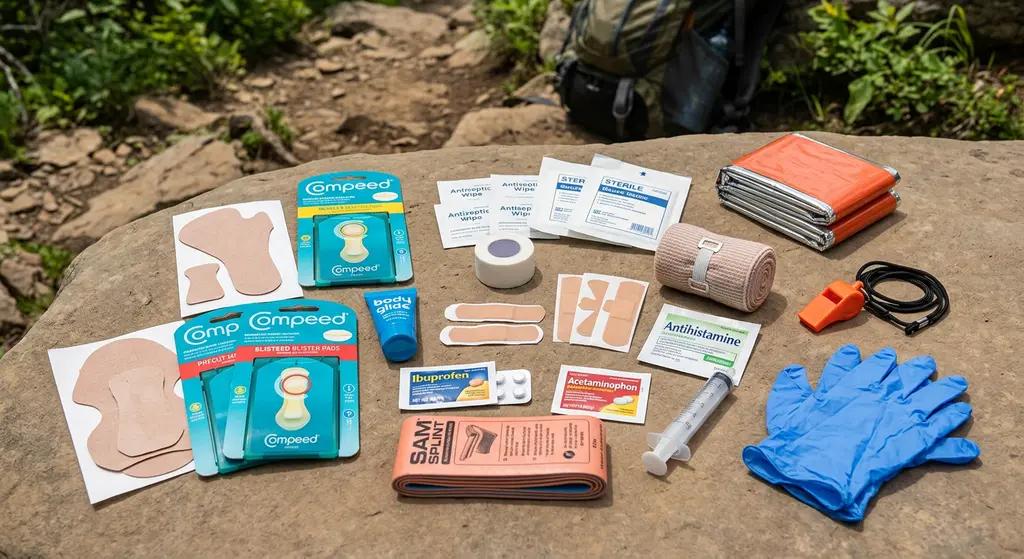
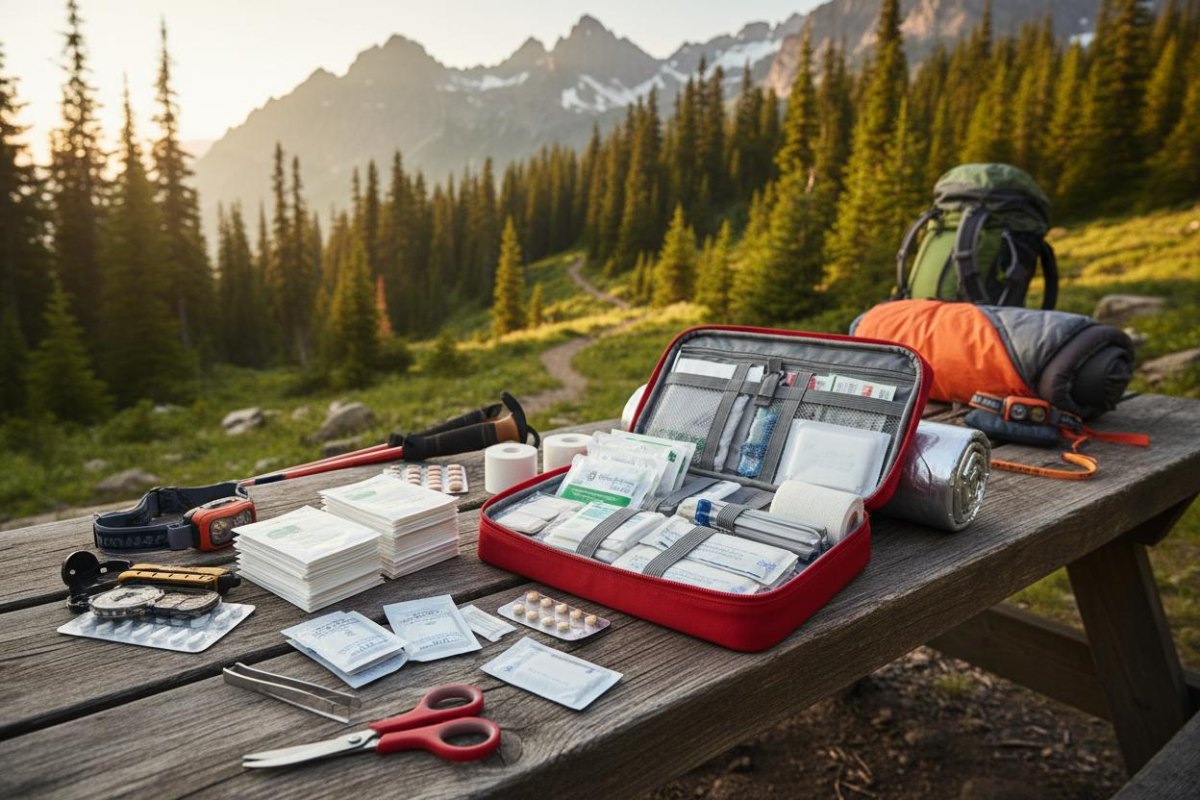
My first-aid kit is built around the small problems that can derail a day and the supplies needed while getting help for something more serious. For family hiking, I carry adhesive bandages, blister dressings, antiseptic wipes, gauze, and gloves, plus any personal medical supplies the group needs. The National Park Service's Ten Essentials guidance treats first aid as a core part of outdoor preparation, not an optional extra for difficult routes.
I also pack tissues, hand-cleaning supplies, and insect repellent appropriate for the children and the destination. Follow product labels and age restrictions; for younger children, an adult should apply repellent according to its instructions and keep it away from their hands and eyes. Check the kit before each outing for missing, damaged, or expired supplies. My Wilderness First Responder training informs my approach to prevention and recognizing when a situation exceeds basic first aid, but it does not make me a doctor. Serious injuries or concerning symptoms call for emergency assistance and professional medical care.
- Restock bandages and blister supplies.
- Pack personal medications and relevant emergency information.
- Include insect protection suitable for the child's age.
- Know when to stop hiking and seek medical help.
Maps and Navigation Tools
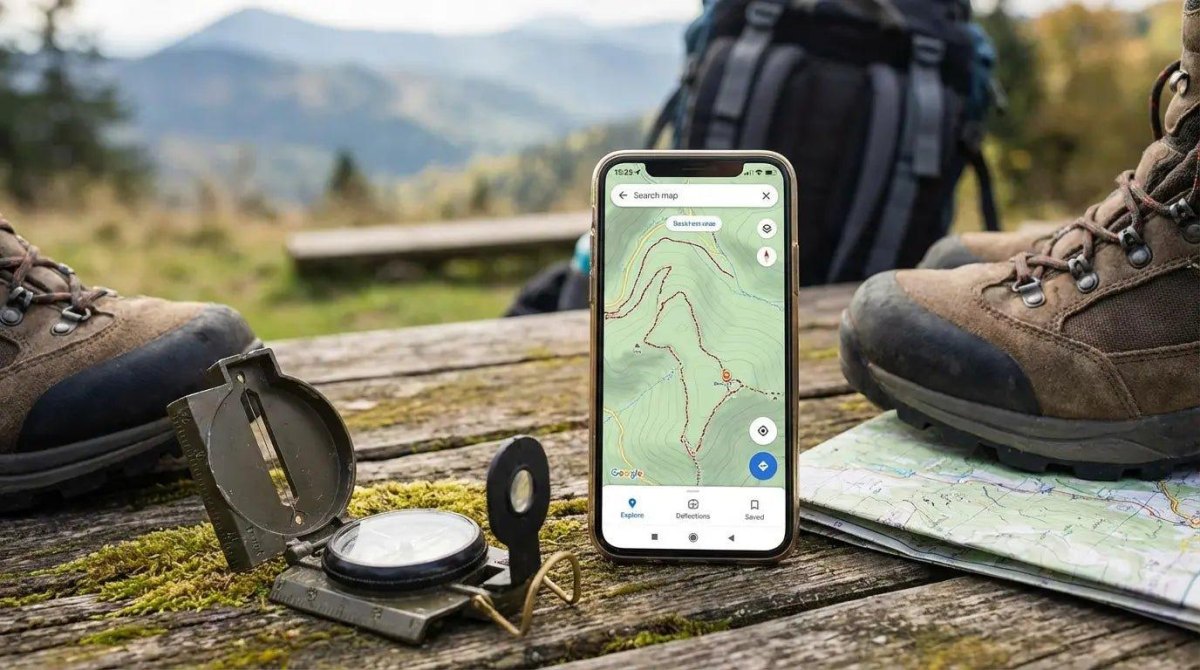
I never treat a phone's map screen as the entire navigation plan. Batteries die, devices get wet, and cell service can vanish a few turns beyond the trailhead. The National Park Service recommends carrying and knowing how to use a map, compass, or GPS navigation system, and its outdoor emergency planning advice encourages hikers to review routes and recognizable landmarks before leaving.
Before a family hike, I download an offline map, review junctions, check the route's distance and elevation gain, and carry a suitable paper map when the terrain warrants it. I also look at the surface, exposure, water access, and likely walking time for the slowest member of the group. Navigation is a skill, not just an app, so I make sure I can identify our position and follow the route without relying on a signal. Check official land-manager alerts and closures before departure, since a familiar trail can still have a new hazard or restriction.
Before leaving home
Share your route and expected return time with someone who is not joining the hike. Tell them what to do if you miss your check-in.Trail Activities and Entertainment
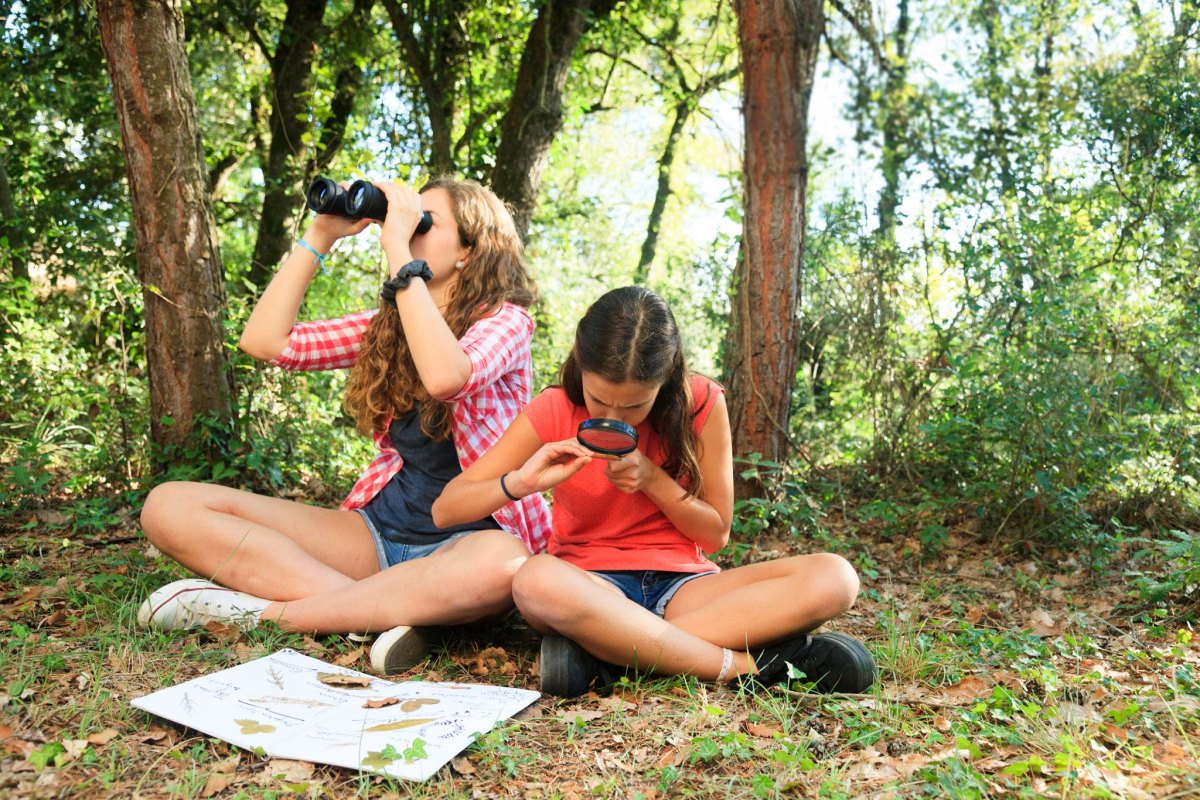
Children often enjoy a hike more when the destination is not the only interesting thing on the trail. I keep a few simple ideas ready: a nature scavenger hunt, a leaf-identification guide, a notebook, or binoculars for observing wildlife from a respectful distance. The Met Office's advice on walking with children also recommends engaging children with their surroundings to help maintain enthusiasm. Curiosity can be the day's best activity, and it does not require a bag full of toys.
I might ask a child to spot three different leaf shapes or listen for bird calls, but I avoid collecting plants, disturbing animals, or wandering off the marked path for a better look. Binoculars and identification cards are useful only when they add to the experience rather than clutter the pack. Keep the activities flexible: if the trail is steep, slippery, or exposed, save games for a safe stopping point. Exploration is wonderful, but the edge of a drop is not the place to play distracted detective.
- Choose a simple scavenger hunt or nature guide.
- Observe wildlife from a safe distance.
- Stay on the established trail.
- Keep hands-on activities for safe, stable places to stop.
Emergency Essentials
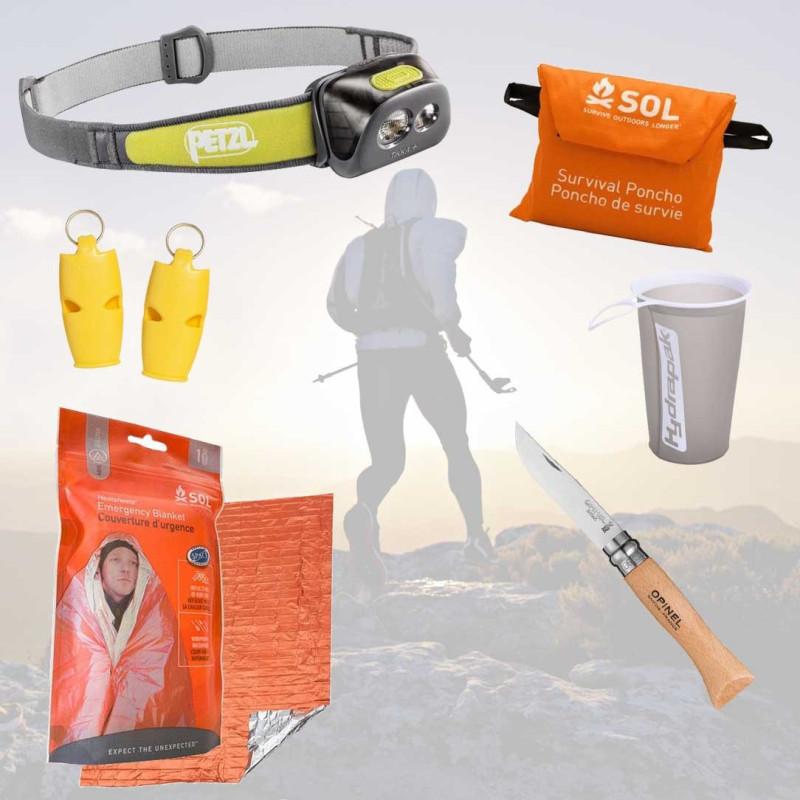
This is the section I take especially seriously after six years volunteering with search and rescue. Ordinary day hikes can become complicated when people underestimate daylight, weather, or how long the return journey will take. The National Park Service's Ten Essentials include navigation, sun protection, insulation, lighting, first aid, fire-starting supplies, repair tools, food, water, and emergency shelter. Adapt the full system to the route, the weather, the group, and the consequences of being delayed.
For a family day hike, I consider a headlamp for each person or a practical group lighting plan, a whistle, extra layers, emergency shelter, a first-aid kit, and a way to contact emergency services. I bring a charged phone, but I do not assume it will have signal or enough battery for a long delay. On remote routes, consider whether a satellite communicator or personal locator beacon is appropriate and learn its use beforehand. Set a firm turnaround time based on daylight and the expected return journey, with enough margin for tired legs and stops. If weather worsens, a child is struggling, or the schedule slips badly, shorten the hike or turn back. That is good judgment, not failure.
Don't leave lighting behind
A headlamp is useful even when you expect to finish well before sunset. An unexpected delay can turn daylight into a problem faster than you think.Child Carrier or Hiking Poles
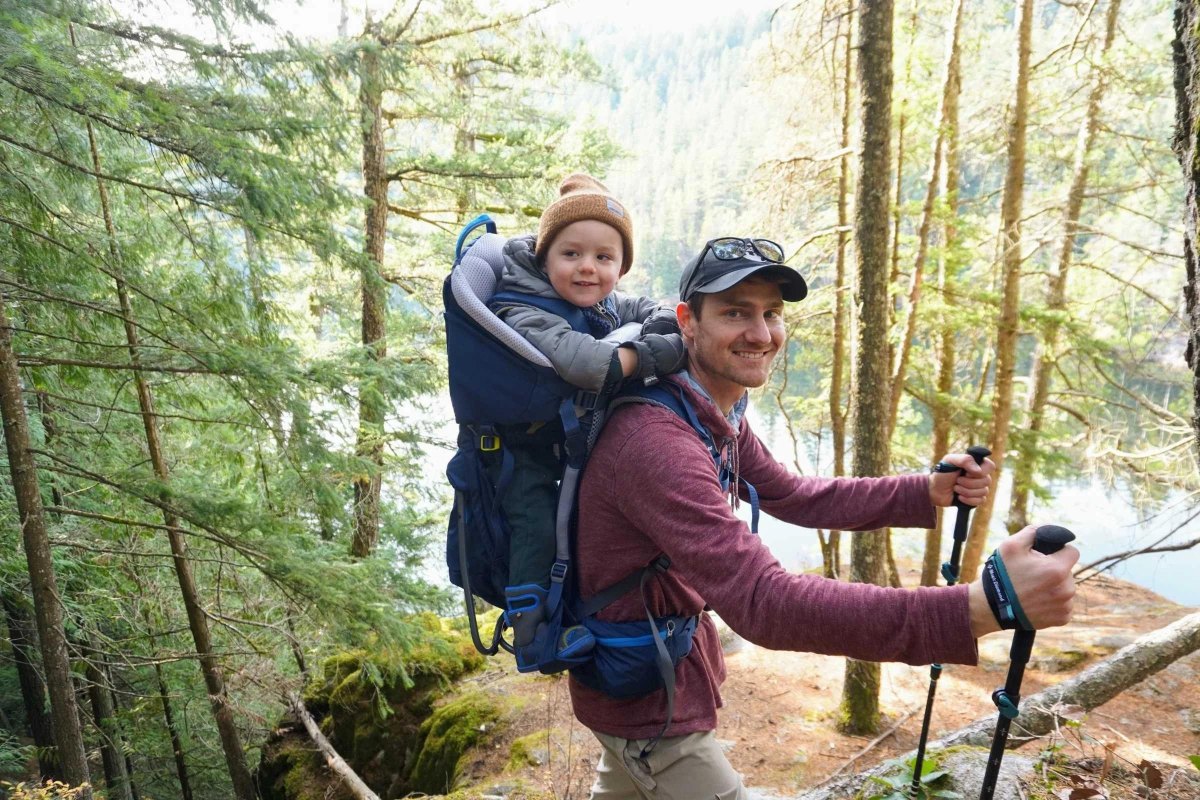
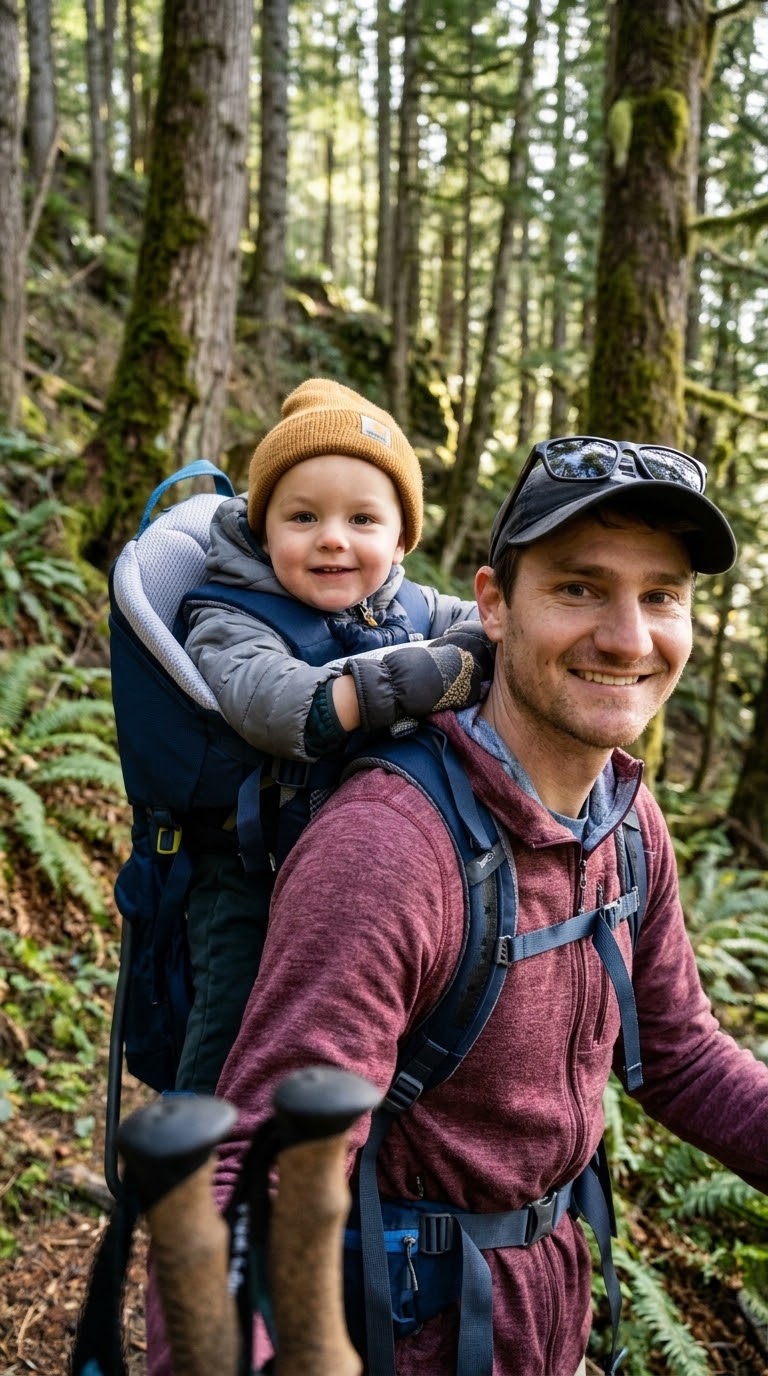
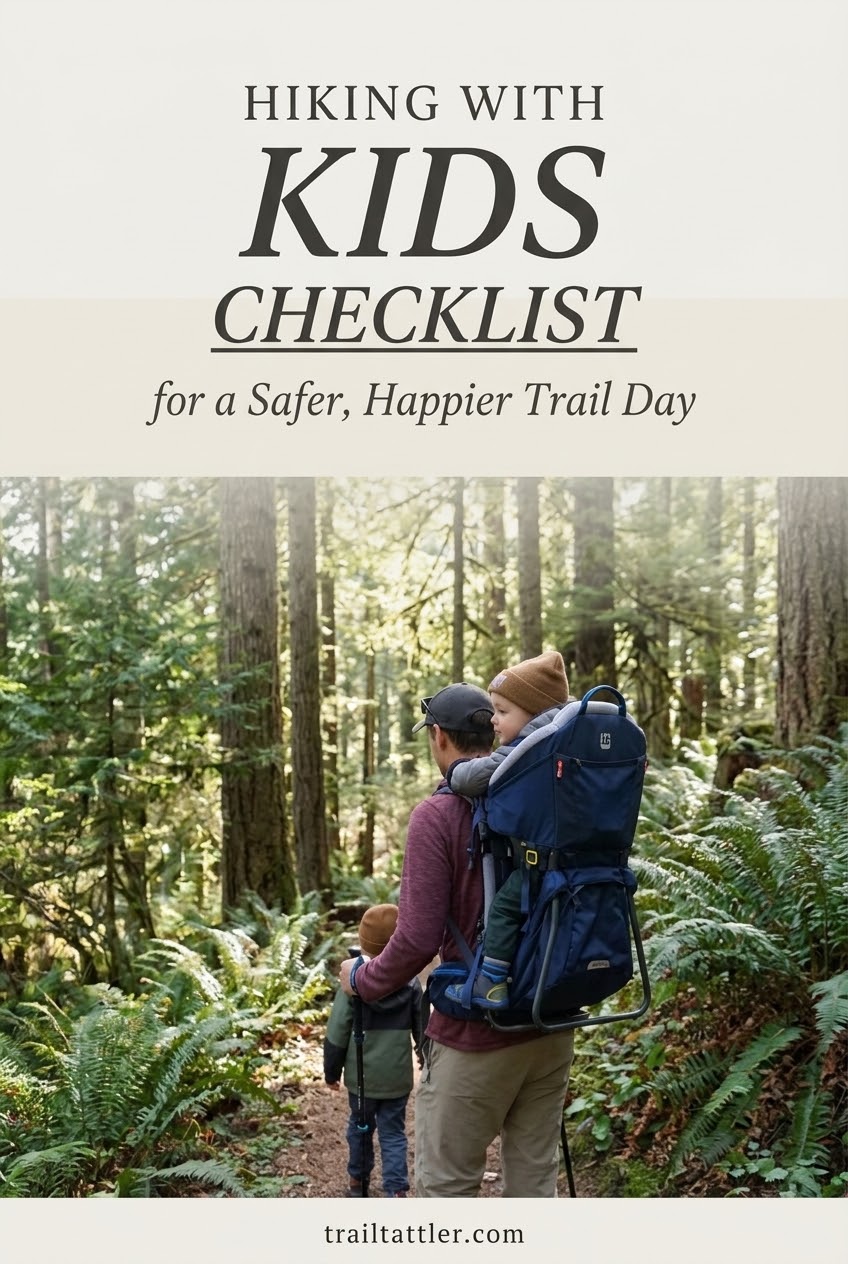
Some children can walk the whole route comfortably; others need a carrier for part of the outing. I decide based on the child's age, size, stamina, terrain, and the adult's ability to carry the extra load safely. A properly fitted child carrier should meet the manufacturer's weight and size limits, keep the child secure, and let the adult move without losing balance. Practice with the loaded carrier on easy ground before taking it onto uneven trails, and check the manufacturer's guidance for age, fit, and positioning.
Hiking poles are another optional tool, particularly on uneven ground, but they are not a requirement for every child. I introduce them only when a child can use them without poking others, tripping, or becoming distracted. Poles should be appropriately sized, and adults should supervise their use. Choose equipment for the actual terrain, not because it looks adventurous in a photograph. If the route requires carrying a child over difficult or exposed ground, I would reconsider the route before assuming a carrier makes it safe.
Test before the trail
Check the carrier's fit, straps, buckles, and manufacturer's limits at home. If the child or adult is uncomfortable on level ground, change the setup before hiking.Waste Bags and Leave-No-Trace Supplies
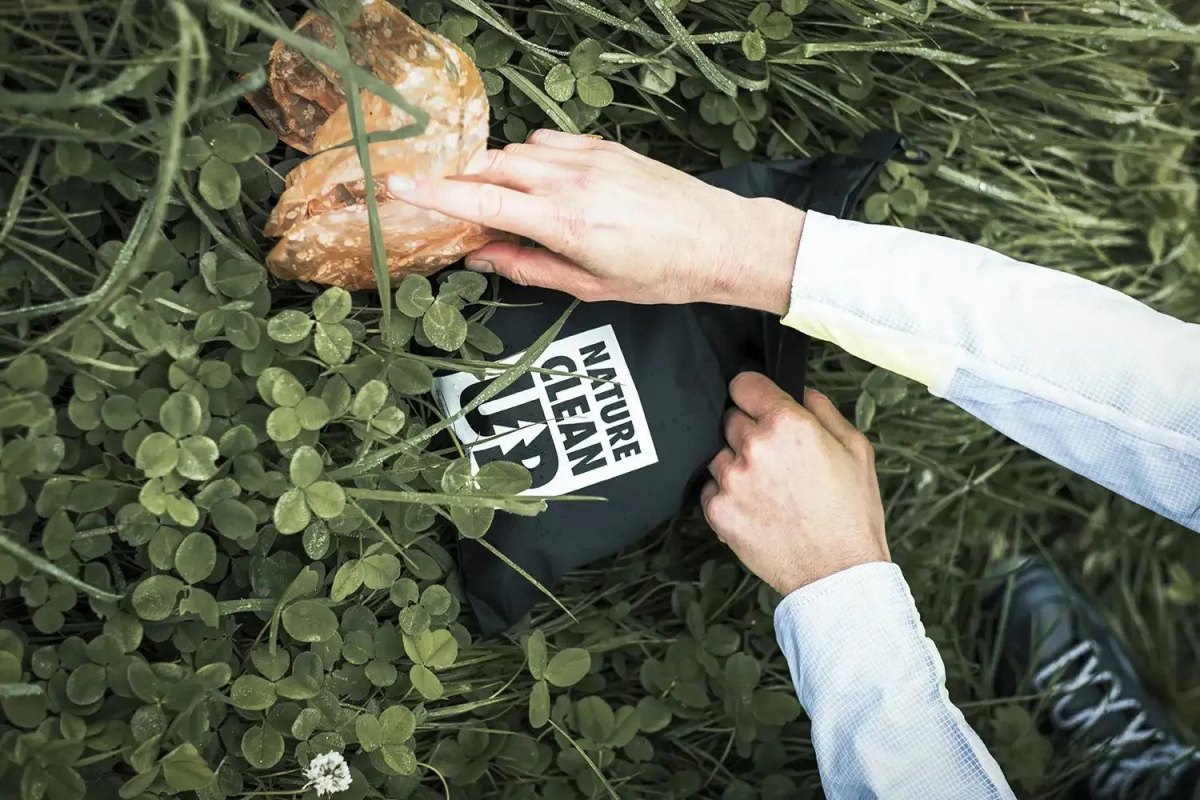
I carry waste bags because whatever goes into the woods with us should come back out with us. The National Park Service's hiking safety guidance explicitly advises hikers to pack out their trash. From my trail-maintenance work, I can tell you that wrappers and food scraps are not harmless little souvenirs; they can attract wildlife, litter the corridor, and add work for volunteers. Pack out every wrapper, tissue, and leftover, including waste that does not fit neatly into a snack container.
I use a small reusable bag or a dedicated rubbish pouch and keep it separate from clean food and clothing. Follow local guidance for human waste and toilet paper, especially in remote areas where facilities are absent. Stay on the established tread, do not cut switchbacks, and walk through muddy sections rather than widening the trail around them when it is safe to do so. Leave plants, rocks, and wildlife where they belong, and check the land manager's rules before the trip. Leave No Trace is not complicated, but it does require a little planning before the first snack wrapper appears.
- Bring a sealable waste bag.
- Pack out all rubbish and food scraps.
- Follow local toilet and waste-disposal rules.
- Stay on the trail and respect wildlife.
Positive Attitude and Flexible Plans
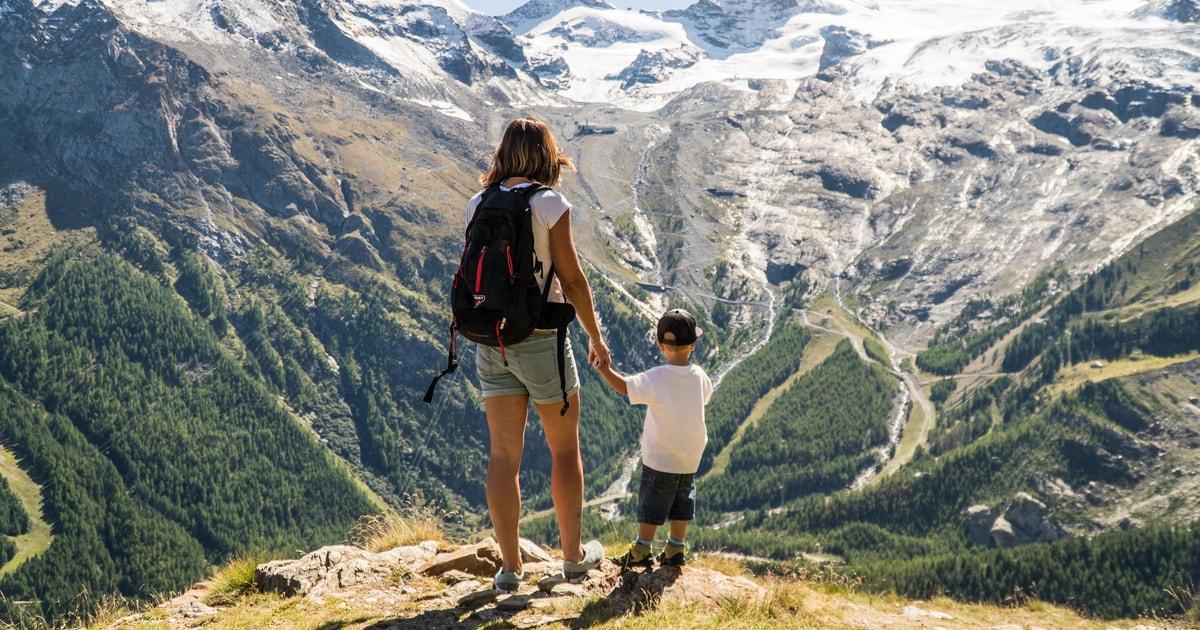
The best family hike is not necessarily the one with the biggest waterfall or the most miles. It is the one that matches the group's energy, skills, and conditions on the day. I plan a route with realistic distance and elevation gain, check the trail surface and exposure, and estimate a time range that includes snack breaks and slower walking. A short trail with steep, slippery steps can be harder for a young child than a longer path with a gentle grade. The word moderate on a sign tells me very little without those details.
I also plan a turnaround time before we start. If the weather deteriorates, water is running low, daylight is slipping away, or a child is exhausted, I change the plan early. I keep an easier backup outing in mind, celebrate small milestones, and allow time to stop and look at interesting things. Flexibility is part of safe hiking, not a concession to poor planning. Before departure, I check current agency alerts and closures, tell someone our route and return time, and make sure the family knows the plan. The mountain will still be there another day; tired children do not need to prove anything to it.
My final trailhead check
Before we set off, I check the forecast, route, water, food, clothing, first aid, navigation, lighting, and expected return time. Then I ask one last question: if this takes longer than planned, do we have the supplies and daylight to handle it? If the answer is no, I shorten the route. A good hike ends with everyone getting home safely, even when the original destination stays out of reach.
More Pinterest Visuals



 Backpacking Gear & Packing12 Wandern Für Anfänger Packliste – Alles Für Einen
 Hiking Destinations17 Best Autumn Hiking Trails In Canada For Fall Color Season
 Backpacking Gear & PackingHiking Emergency Gear Checklist for Safer Days on the Trail
 Hiking with Dogs7 Dog-Friendly Hikes in Maine Worth Exploring With Your Best Friend