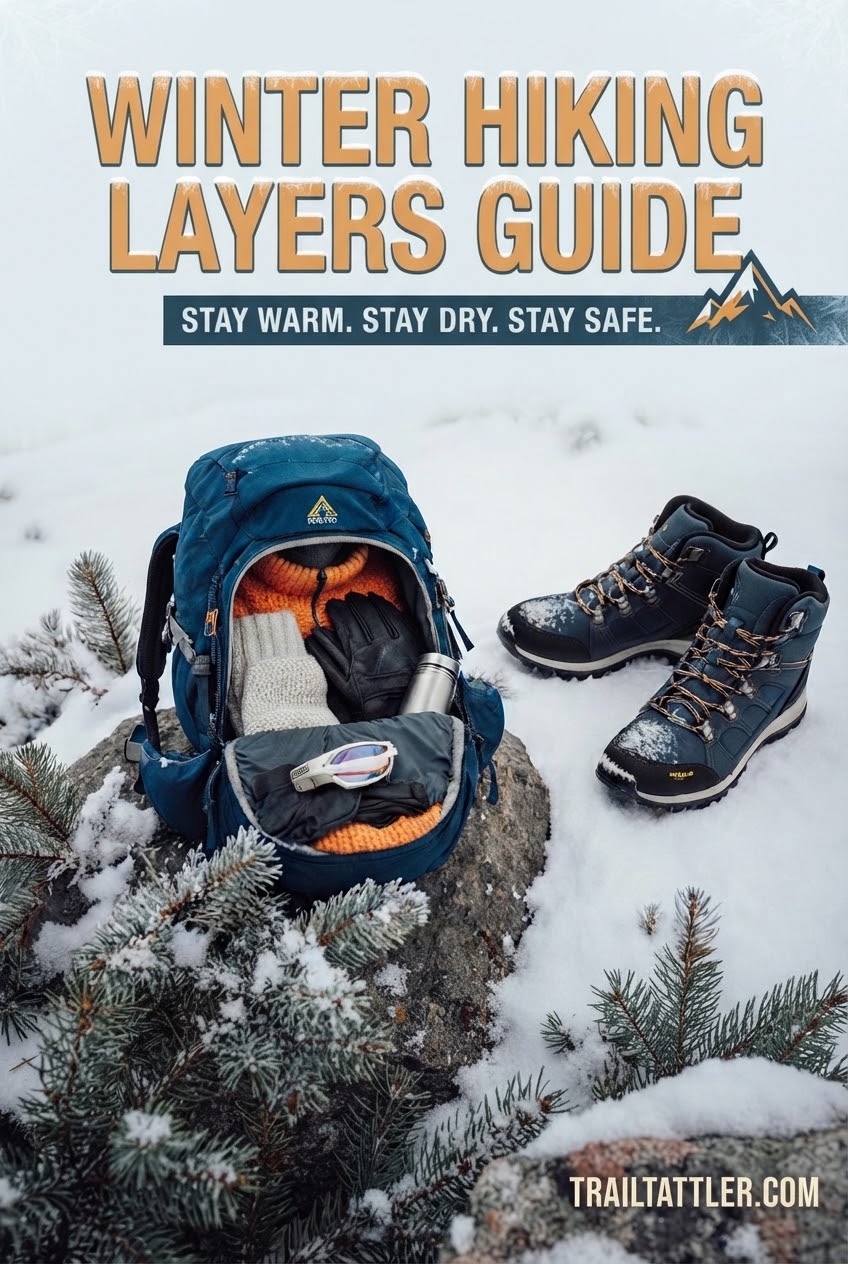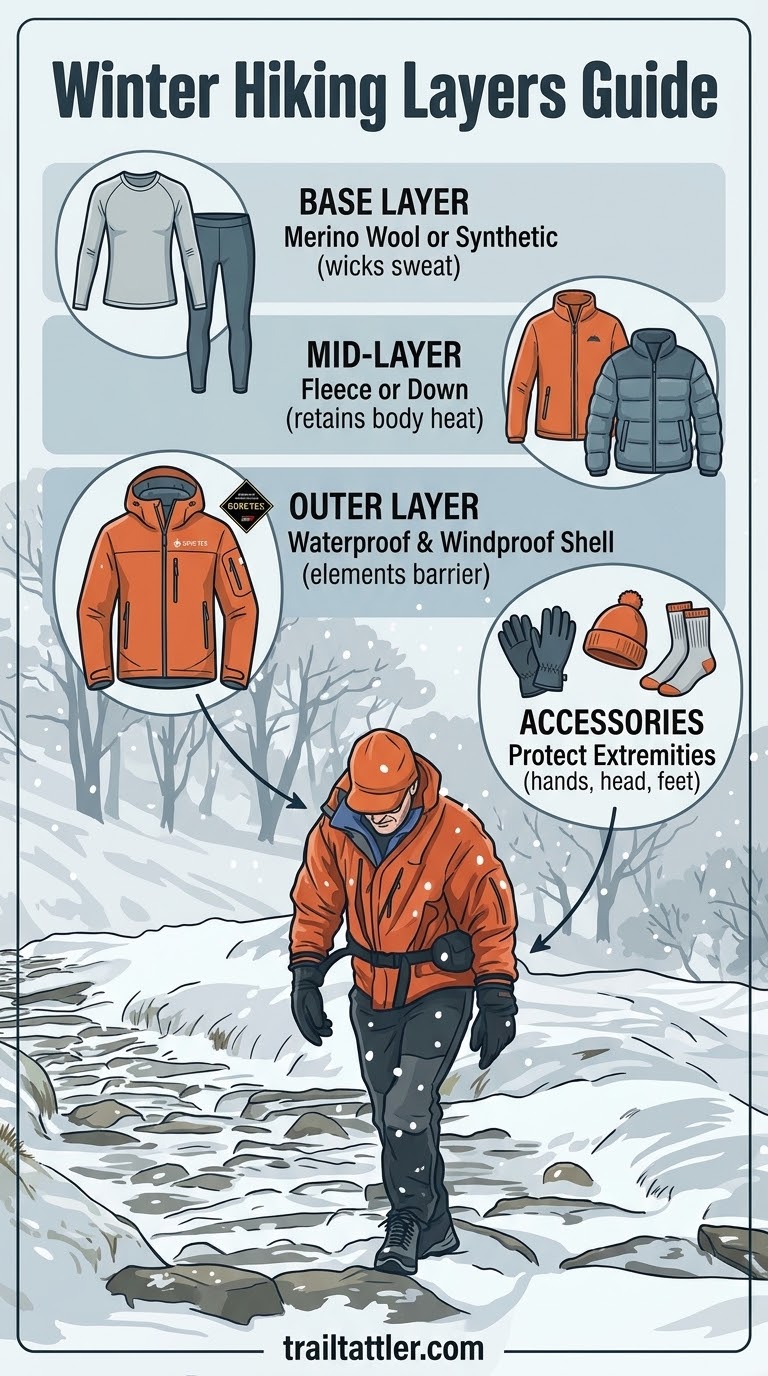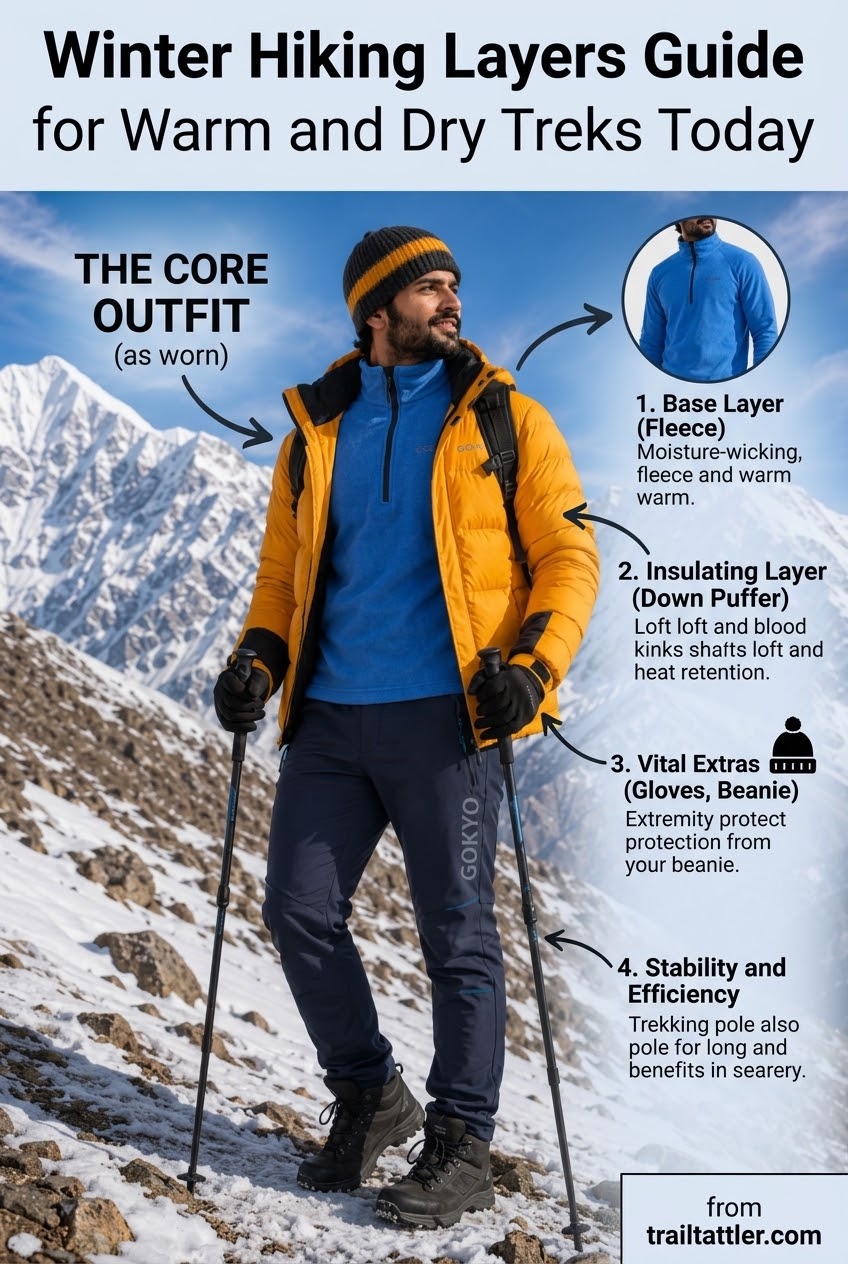

I learned the hard way that winter hiking is rarely about owning the biggest jacket. It is about building a system where each piece has a job. My first cold-weather lesson came on Mount Monadnock in cotton, in November, which was a spectacularly bad idea and a very effective teacher. The right winter hiking layers keep sweat moving, warmth trapped, and weather outside.
Quick layering formula
- Base layer: moves moisture away from skin.
- Mid layer: traps body heat.
- Shell layer: blocks wind, snow, and rain.
I still use this approach after years in outdoor retail, trail work, and search and rescue volunteering. The goal is simple: arrive at the overlook comfortable, not soaked in sweat and wondering why you are freezing.
Base Layers: Moisture Management for Winter Hikes
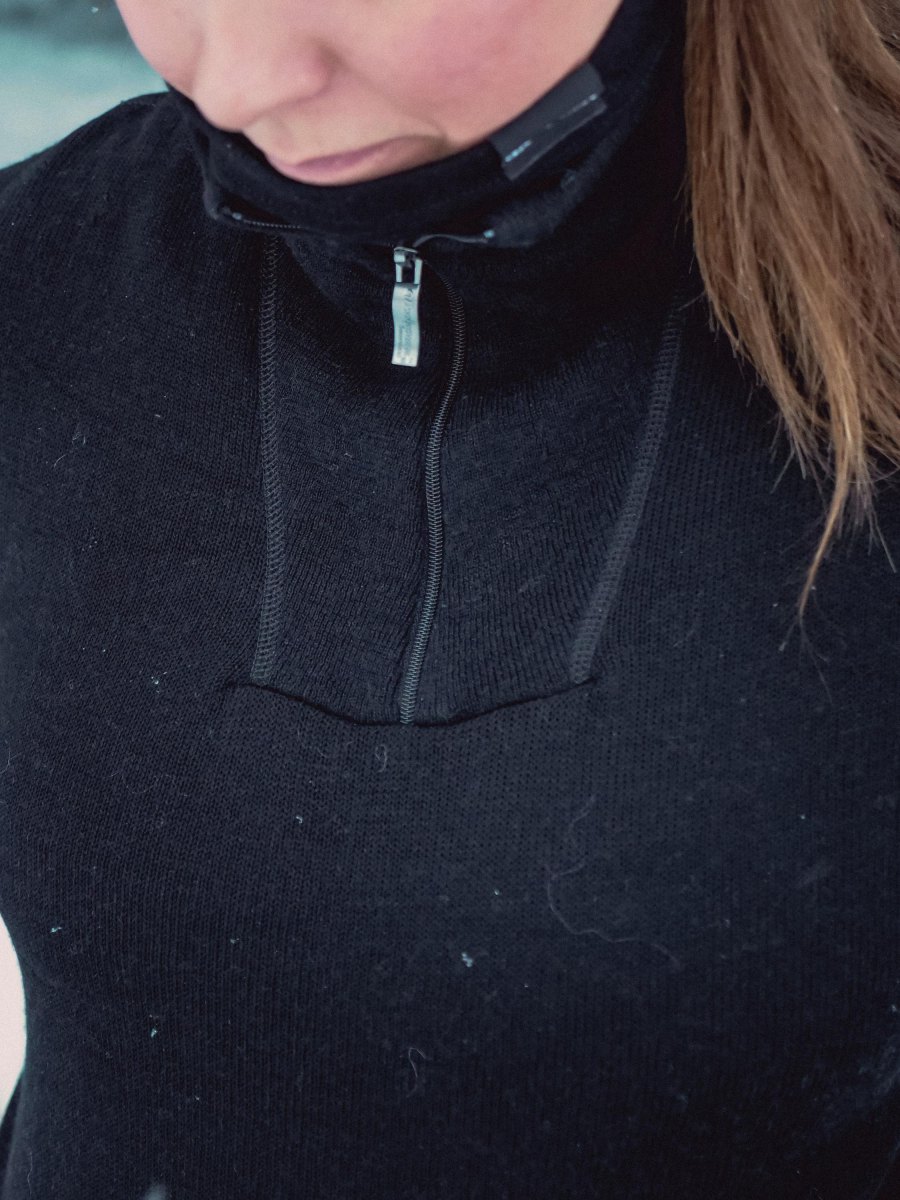
The base layer is the piece touching your skin, so it has one important assignment: move sweat away before it chills you. I prefer merino wool or synthetic fabrics because both manage moisture better than cotton, which holds dampness against your body.
Cold-weather mistake
A cotton T-shirt under your jacket can turn a comfortable climb into a cold stop once your pace slows.
For most day hikes, I reach for a lightweight or midweight base layer depending on temperature and effort. A close fit matters because loose fabric does not move moisture efficiently. The base layer is your moisture manager, not your main insulation.
Mid Layers: Insulation for Warmth and Comfort
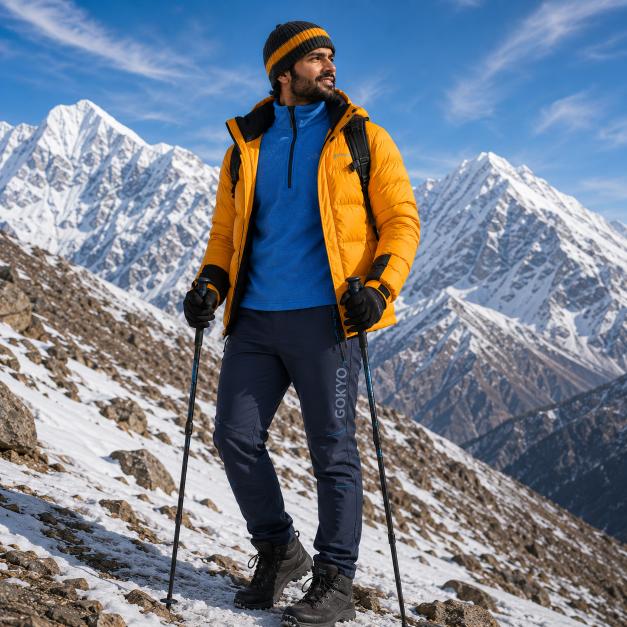
The mid layer is where your warmth comes from. I think of it as the layer that traps the heat I worked hard to create on the climb. Fleece, synthetic insulation, and down all have places in a winter kit, depending on conditions.
| Mid layer | Best use |
|---|---|
| Fleece | Breathable hiking and active movement |
| Synthetic insulation | Damp conditions and variable weather |
| Down | Cold, dry conditions and rest stops |
I carry a warmer insulated piece for breaks because stopping changes everything. Your body cools quickly at rest, especially when wind finds the gap between layers.
Outer Shell Layers: Protection Against Wind and Snow
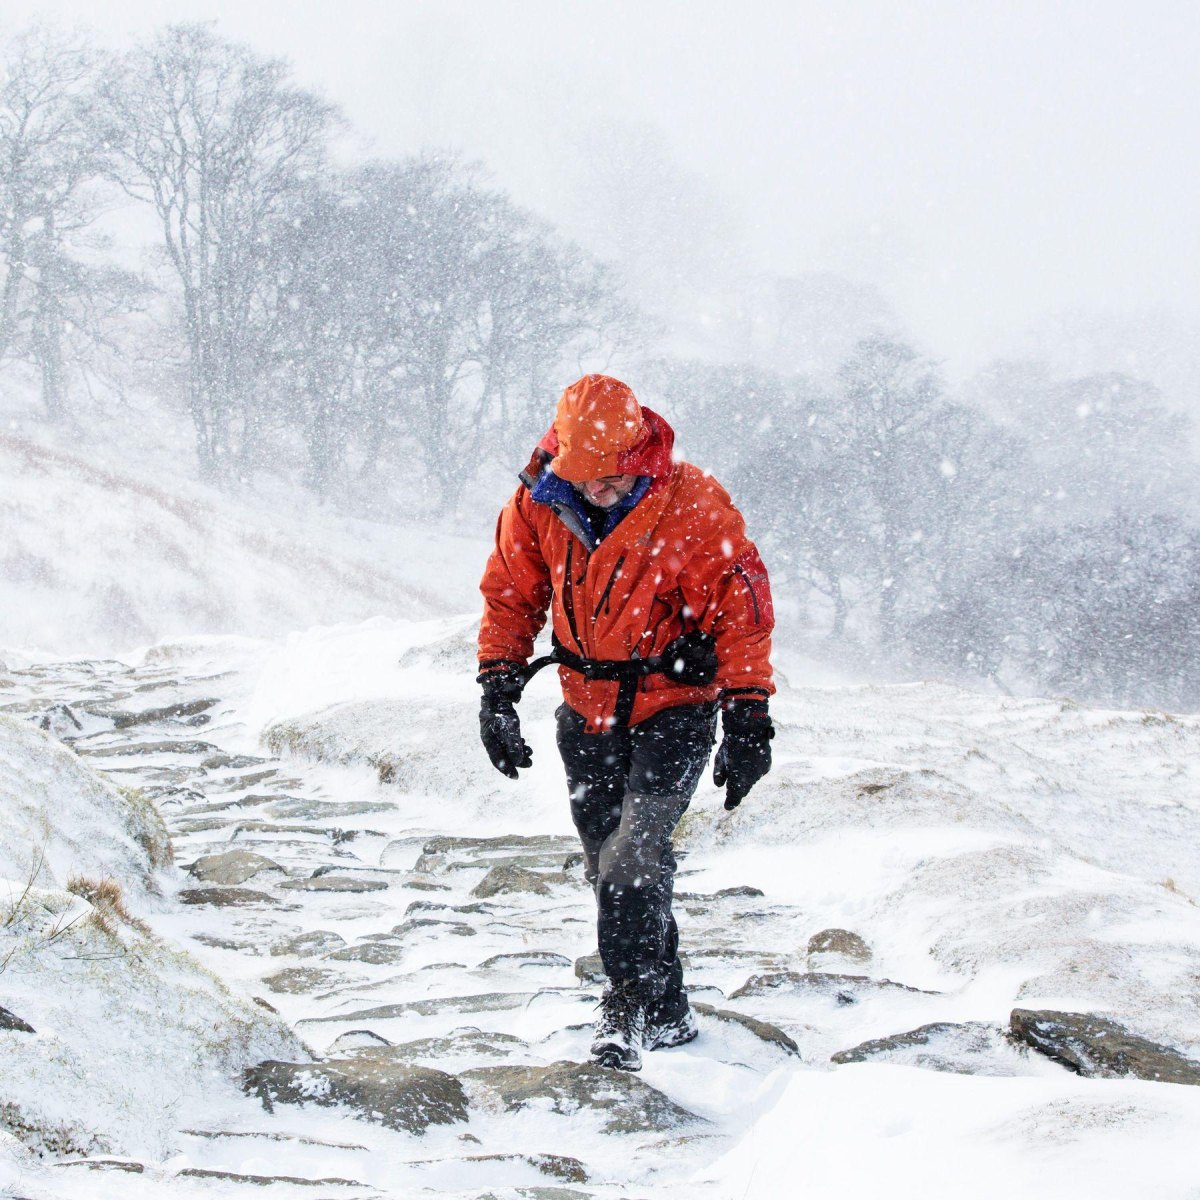
The shell is your weather shield. It does not exist to make you warm by itself; it protects the insulation underneath from wind, snow, and rain. A good shell balances weather protection and breathability so your own sweat does not become the problem.
- Hardshell: Better for sustained wet snow, rain, and harsh weather.
- Softshell: Better for breathable protection on dry, windy days.
- Ventilation: Pit zips and adjustable openings help dump heat.
I rarely leave for a winter hike without a shell packed. Weather on exposed ridges has a habit of changing faster than the forecast suggests.
Choosing Winter Hiking Pants and Leg Layers
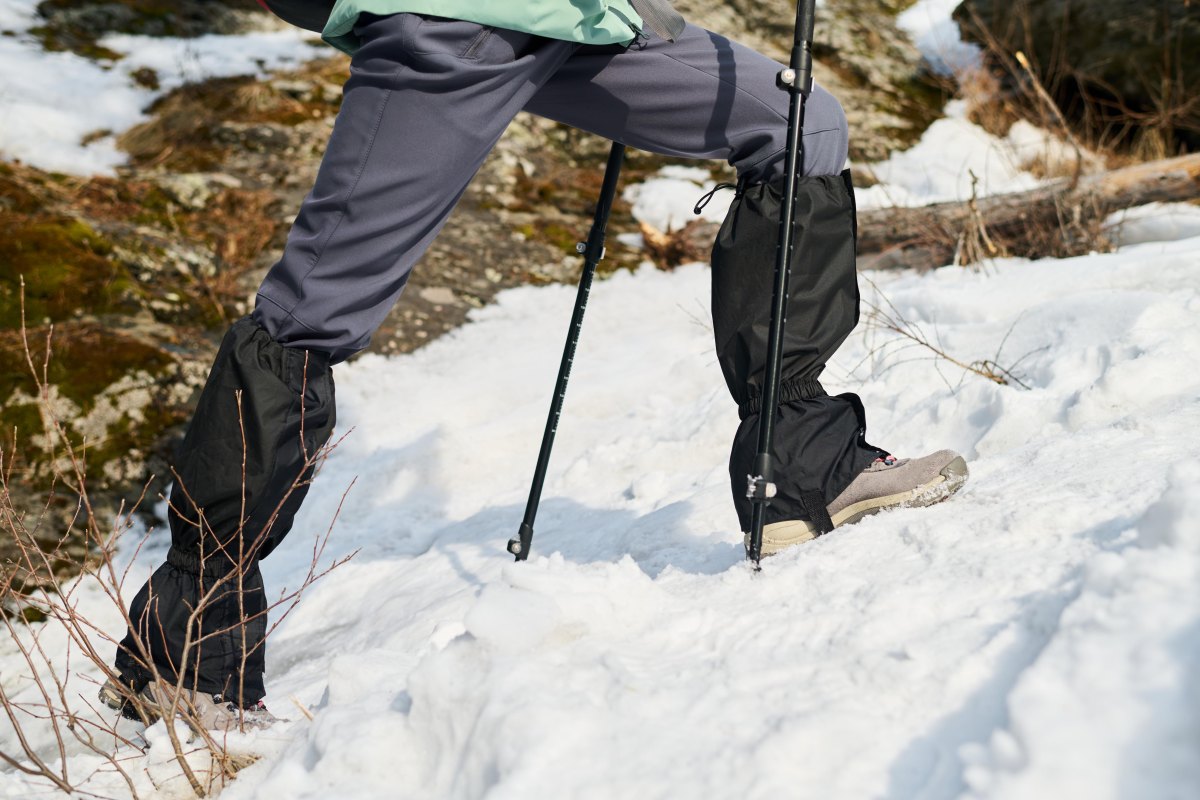
Leg layers get ignored because people focus on jackets, but cold legs can ruin a long day. I choose pants based on wind, precipitation, and whether I will be moving steadily or standing around. Flexible leg systems beat one heavy pair of pants for most hikes.
- Wear a moisture-wicking base layer in colder conditions.
- Add softshell pants for wind and abrasion resistance.
- Carry waterproof over-pants for wet snow or storms.
My old retail fitting days taught me that comfort comes from mobility. If your pants restrict your stride, you will notice every uphill step.
Winter Hiking Footwear and Sock Systems
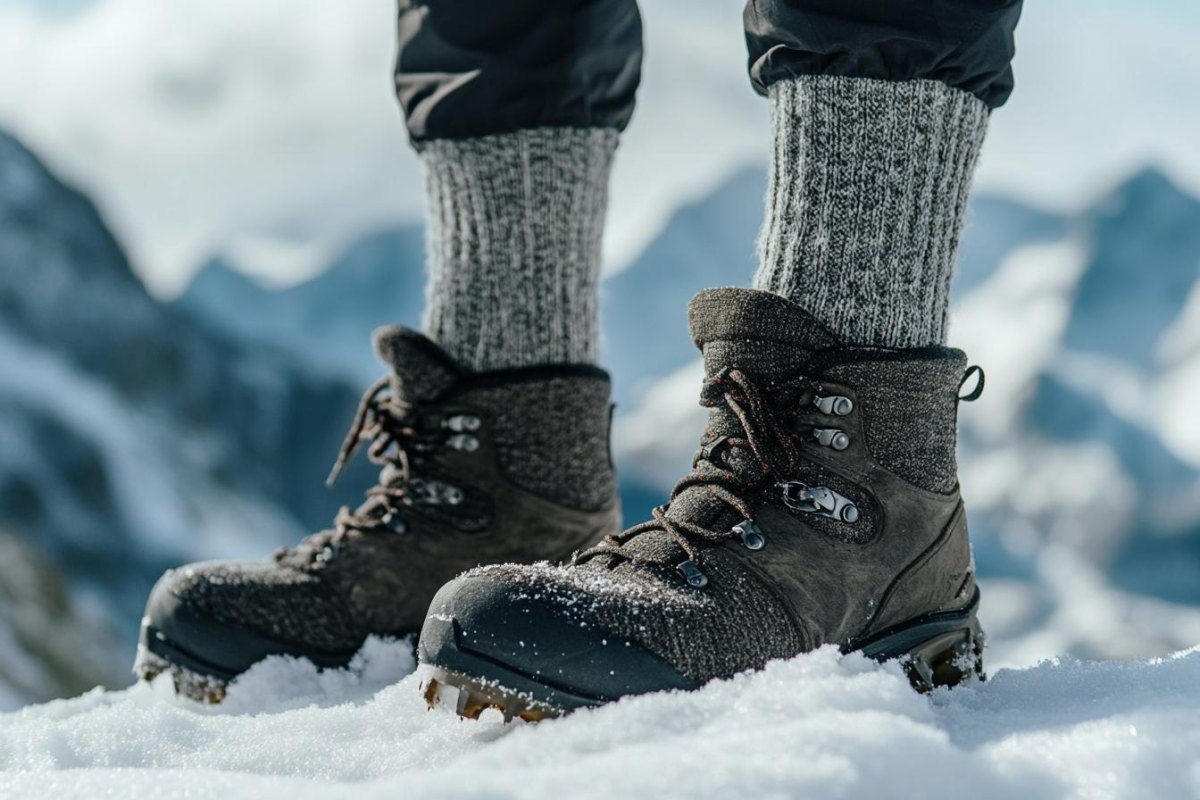
I have fitted hundreds of boots, and feet remain the place where winter hikers most often underestimate problems. Warm boots help, but the entire system matters: fit, socks, moisture control, and room for circulation. Dry feet are warm feet.
Good choices
- Merino or synthetic hiking socks
- Boots with enough room for insulation
- Spare socks for longer outings
Common problems
- Tight boots reducing circulation
- Cotton socks holding moisture
- Too many layers creating pressure
Do not solve cold feet by simply adding socks until your boots become cramped. That is how you accidentally create the problem you were trying to fix.
Head, Hand, and Neck Protection in Cold Conditions
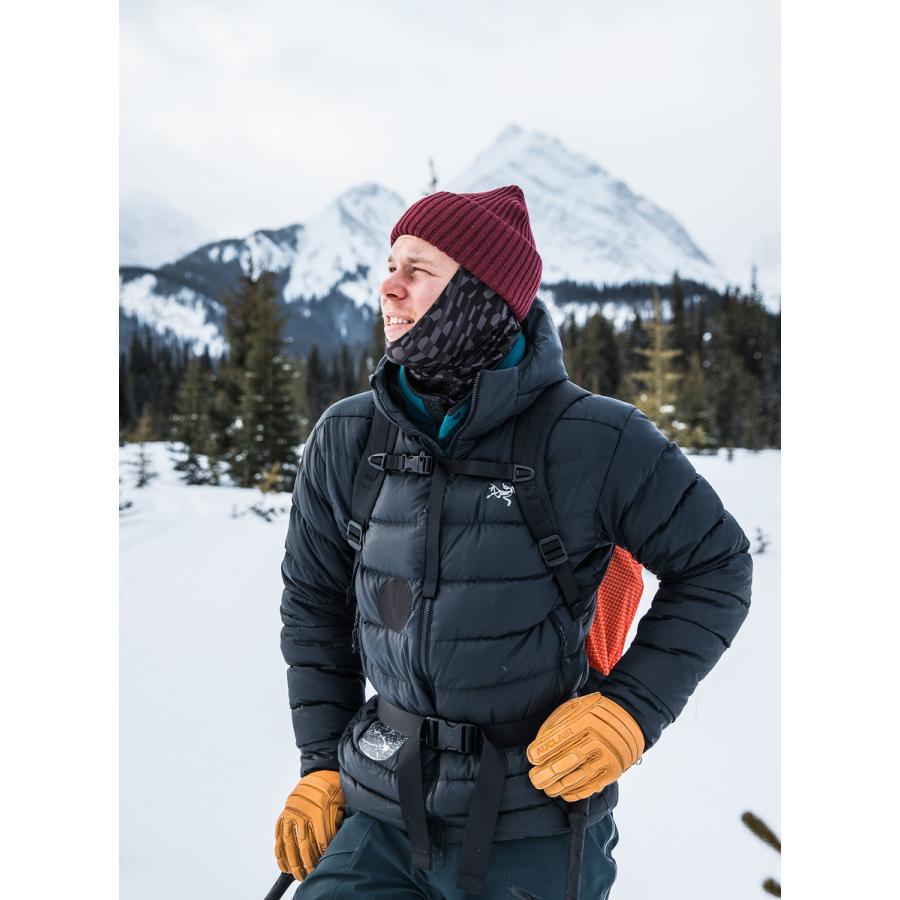
Heat management is not just about your torso. A hat, gloves, and neck protection can make the difference between a pleasant hike and a miserable one. I keep small pieces accessible because wind exposure changes comfort fast.
- Pack. Carry gloves, a warm hat, and a neck layer before you need them.
- Adjust. Add protection when wind increases or movement slows.
- Replace. Swap damp gloves if conditions allow.
My SAR experience changed how I think about small gear. The missing little item is often the one someone wishes they had brought.
Layering for Different Winter Weather Conditions
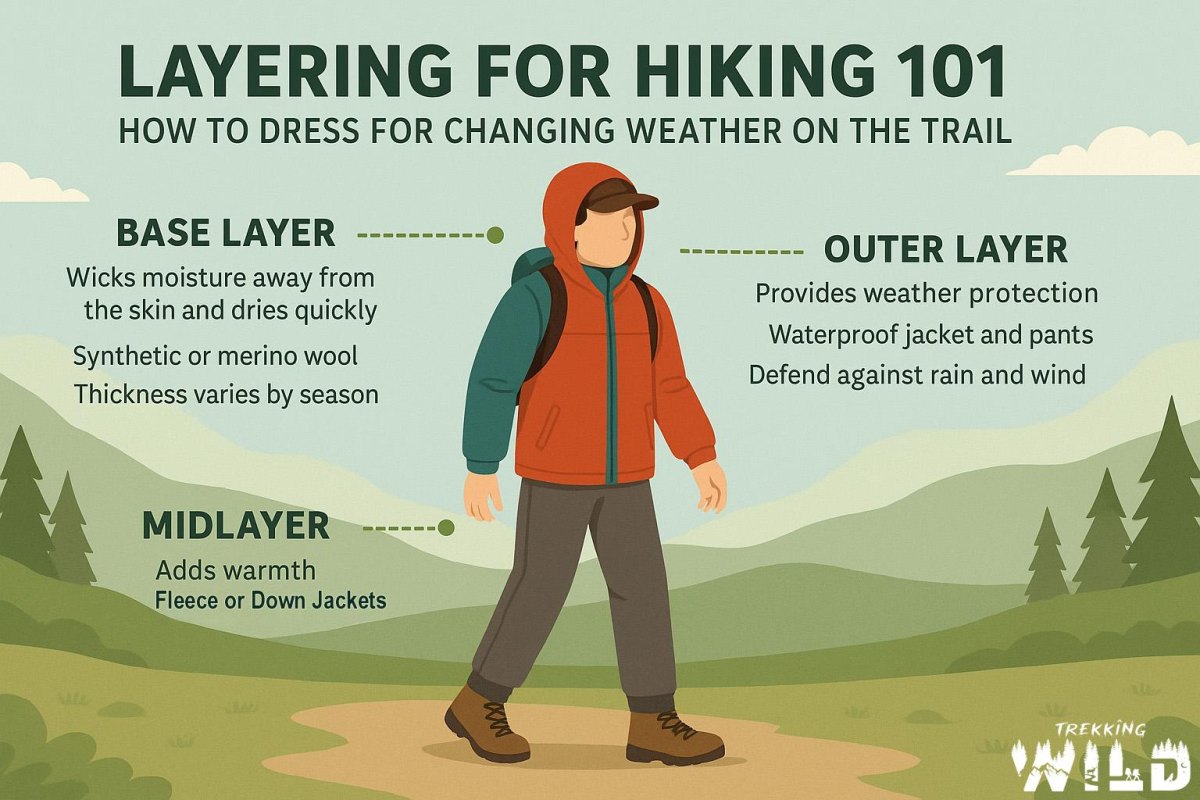
There is no single winter outfit because winter itself is not one condition. A dry 25-degree morning, a wet snowstorm, and a windy ridge require different choices. Adaptable layering wins because you can change with the trail.
My field rule
Start slightly cool at the trailhead. If you begin overheated, you are already managing sweat instead of enjoying the hike.
I open vents before steep climbs and add insulation before breaks. Waiting until you are cold is usually waiting too long.
Packing and Adjusting Layers During a Winter Hike
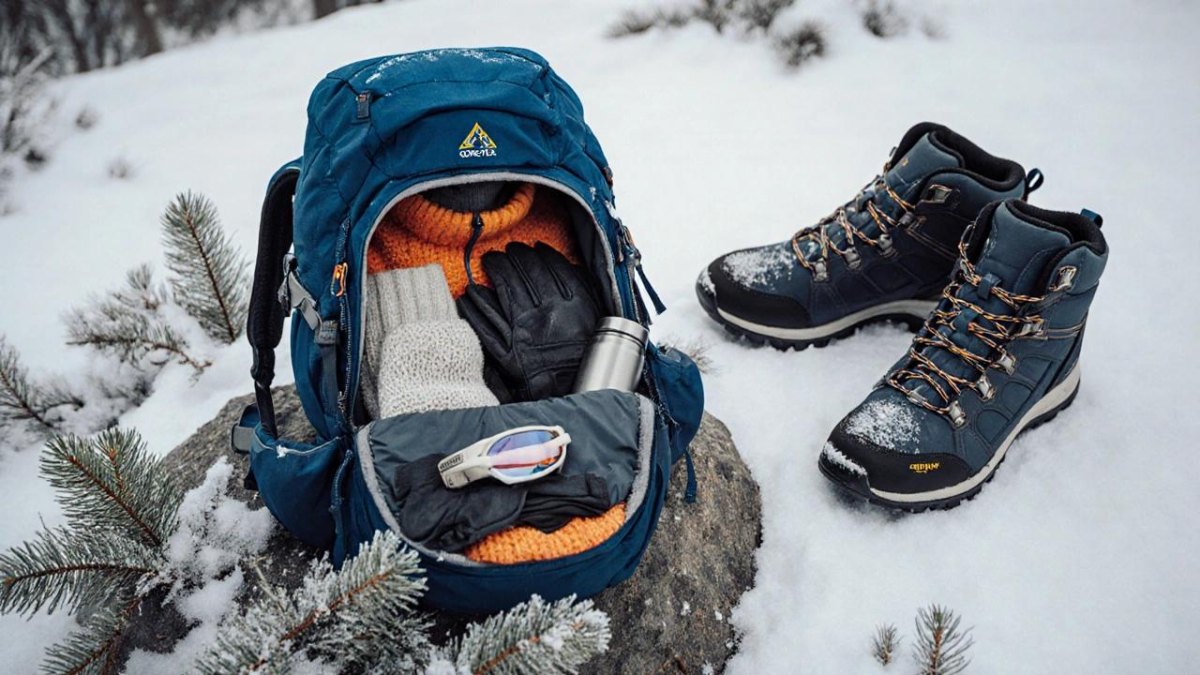
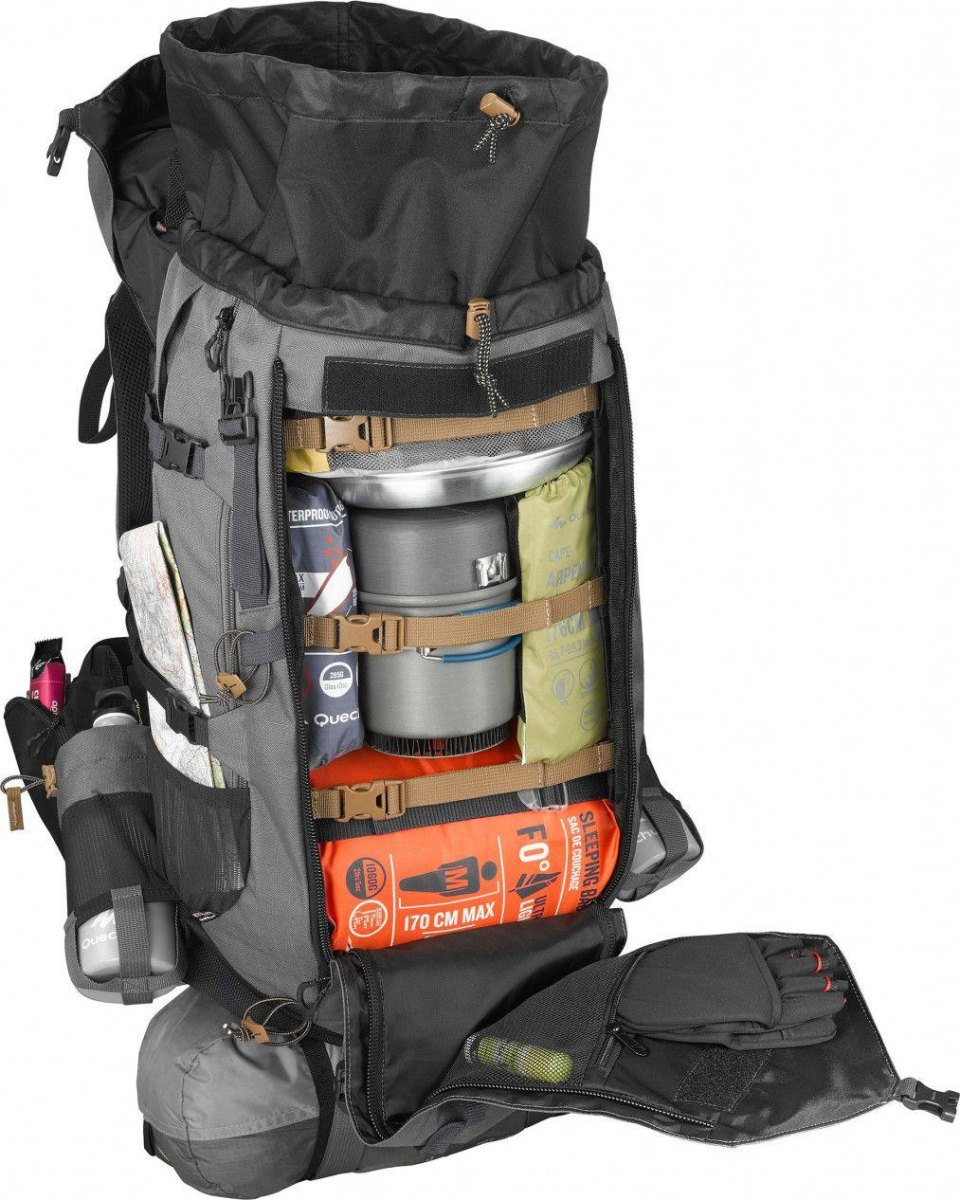
The best layering system is the one you can actually manage on the trail. I pack layers where I can reach them without unpacking everything, because weather and effort change quickly. Easy access saves warmth.
Trail tip
Keep your stop layer near the top of your pack so you can put it on immediately when you pause.
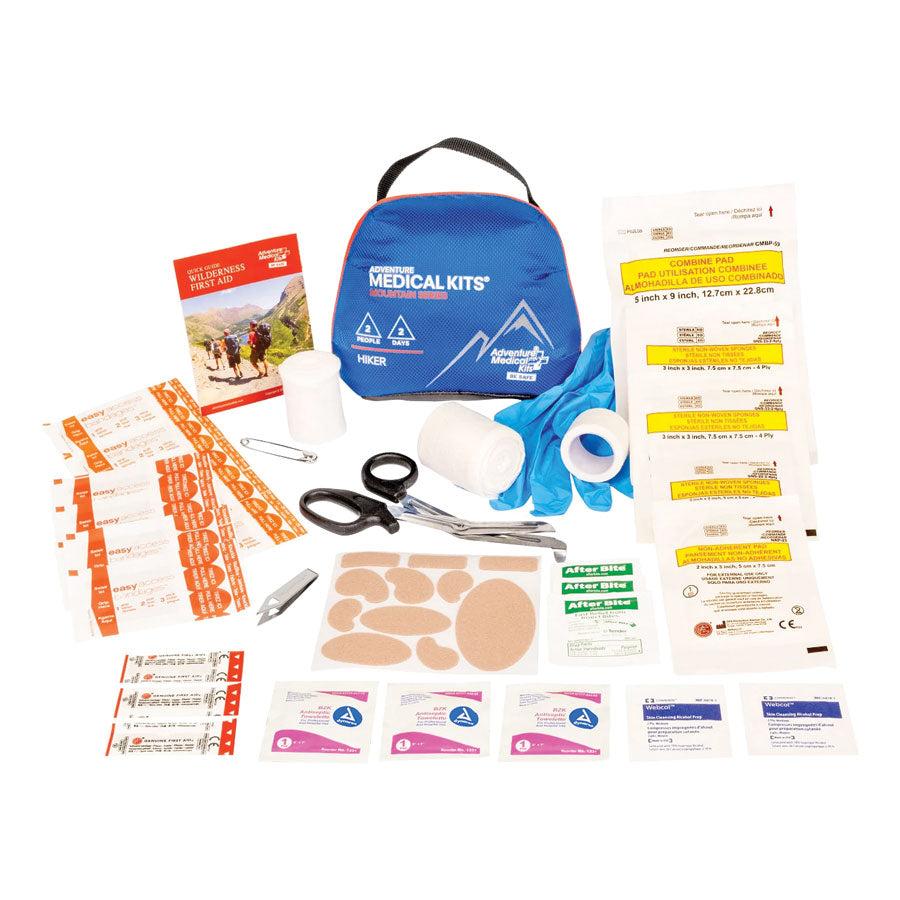
My winter pack always reflects the Ten Essentials mindset: navigation, light, first aid, extra food, water, and extra layers. I would rather carry a few extra ounces than wish for them miles from the trailhead.
More Pinterest Visuals