I spent eight years on a retail floor watching people cram gear into a pack in the order they happened to grab it off the shelf, then wonder why their hips ached by mile three. A backpacking packing list isn't really a list — it's a loading order, and the order matters almost as much as what's on it. This is the sequence I use before every overnight, the one that turned my own first trips from a wrestling match into something closer to routine.
Start With Your Backpacking Checklist
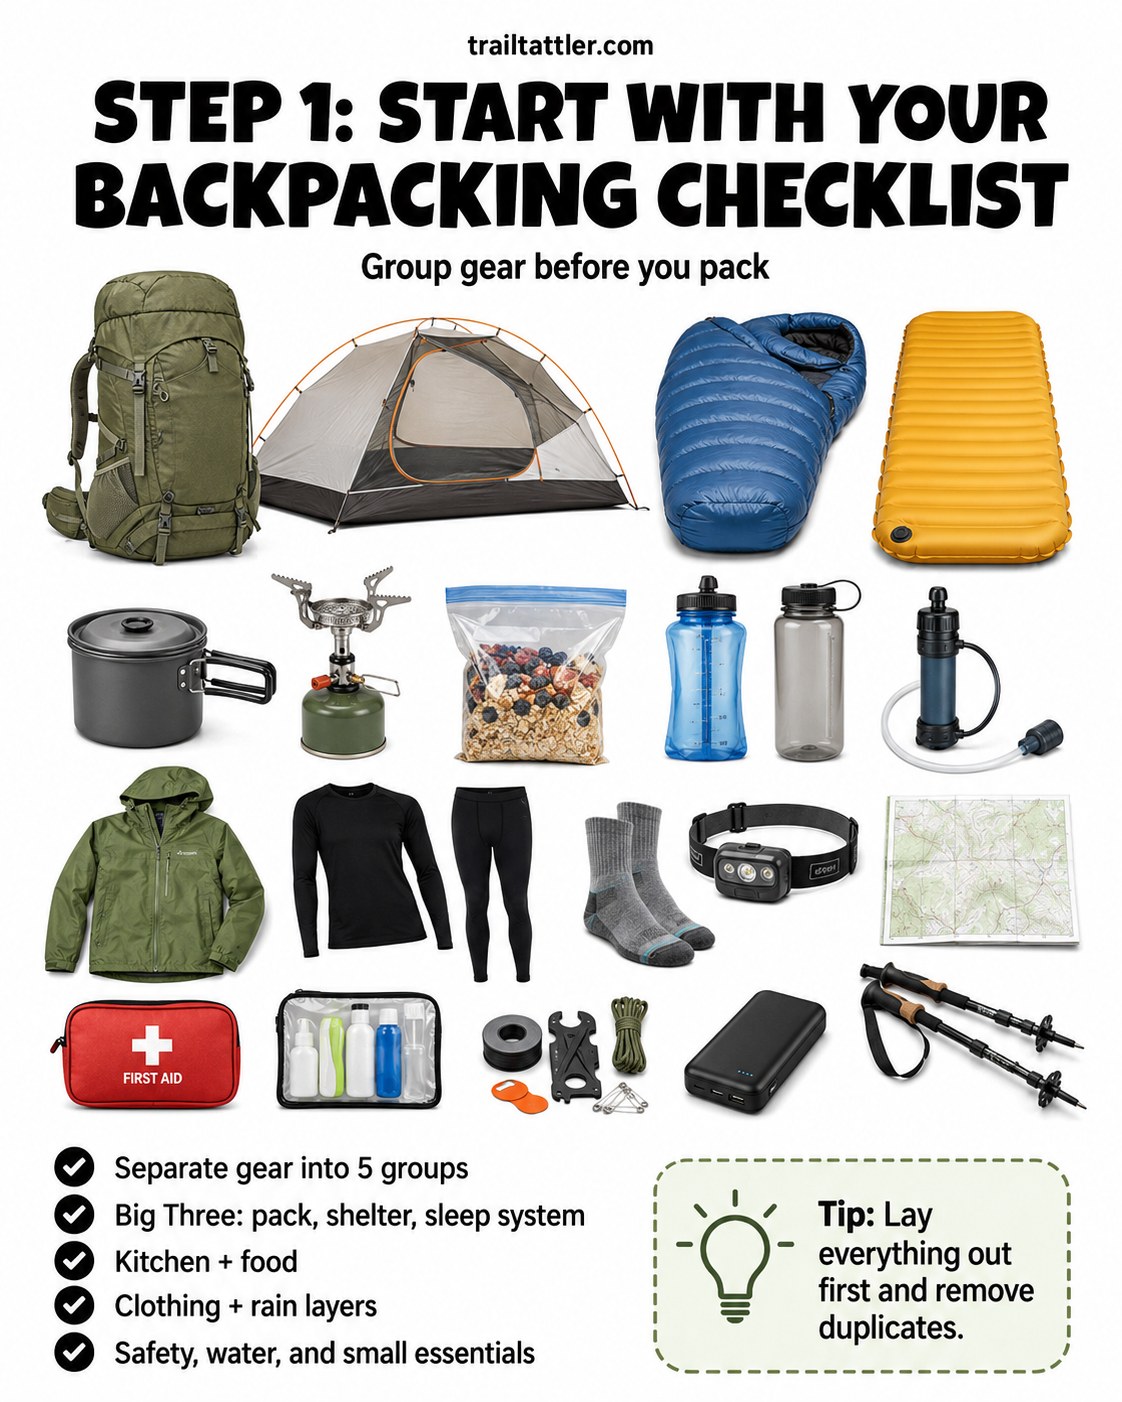
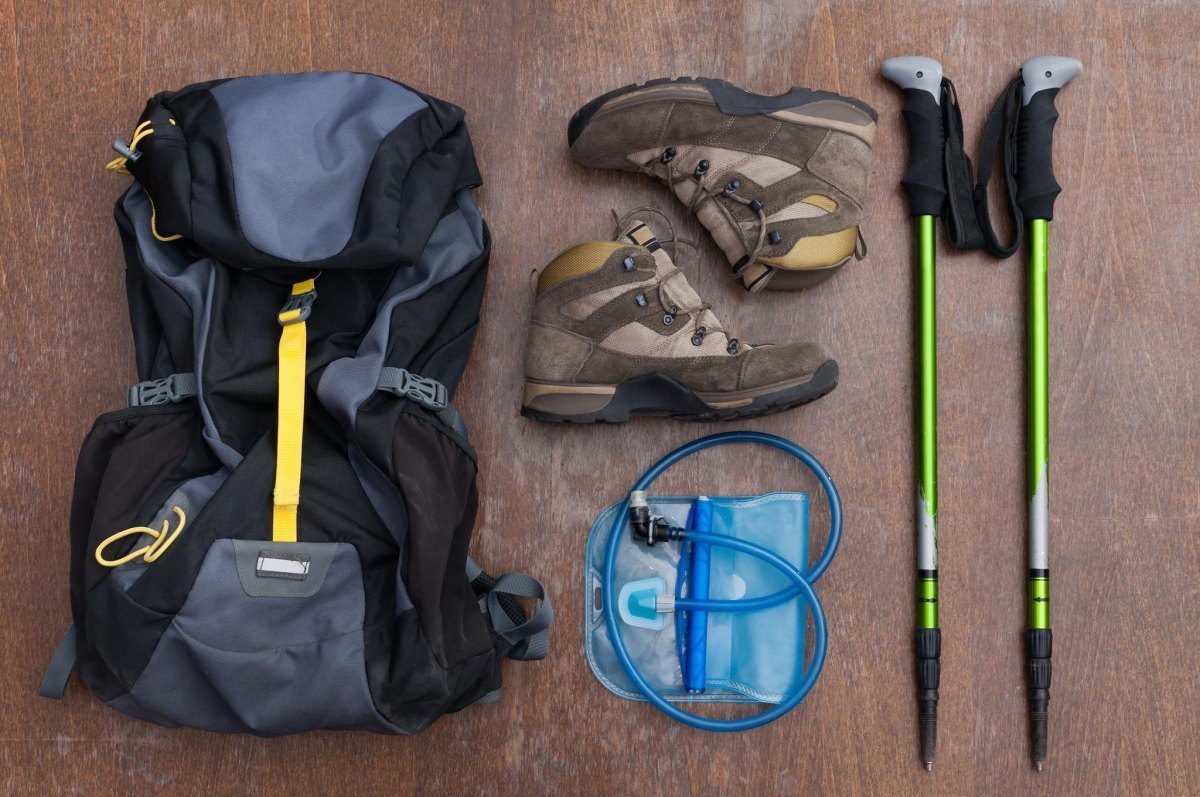
Before anything goes in a pack, it goes on the floor. Every gear disaster I ever untangled at the fitting bench started with someone shoving items in randomly instead of sorting first — lay everything out and you'll spot duplicates and gaps you'd otherwise discover at the trailhead.
- The Big Three: pack, shelter, and sleep system — these decide almost everything else about weight and bulk.
- Kitchen and food: stove, pot, water bottles, filter, and meals.
- Clothing and rain layers: what you'll wear moving versus what you'll wear standing still.
- Safety and small essentials: first aid, headlamp, map, cordage, power bank, poles.
I still do this on my kitchen floor the night before, and Figo still tries to nap in the middle of the pile every single time.
Pick the Right Pack Size
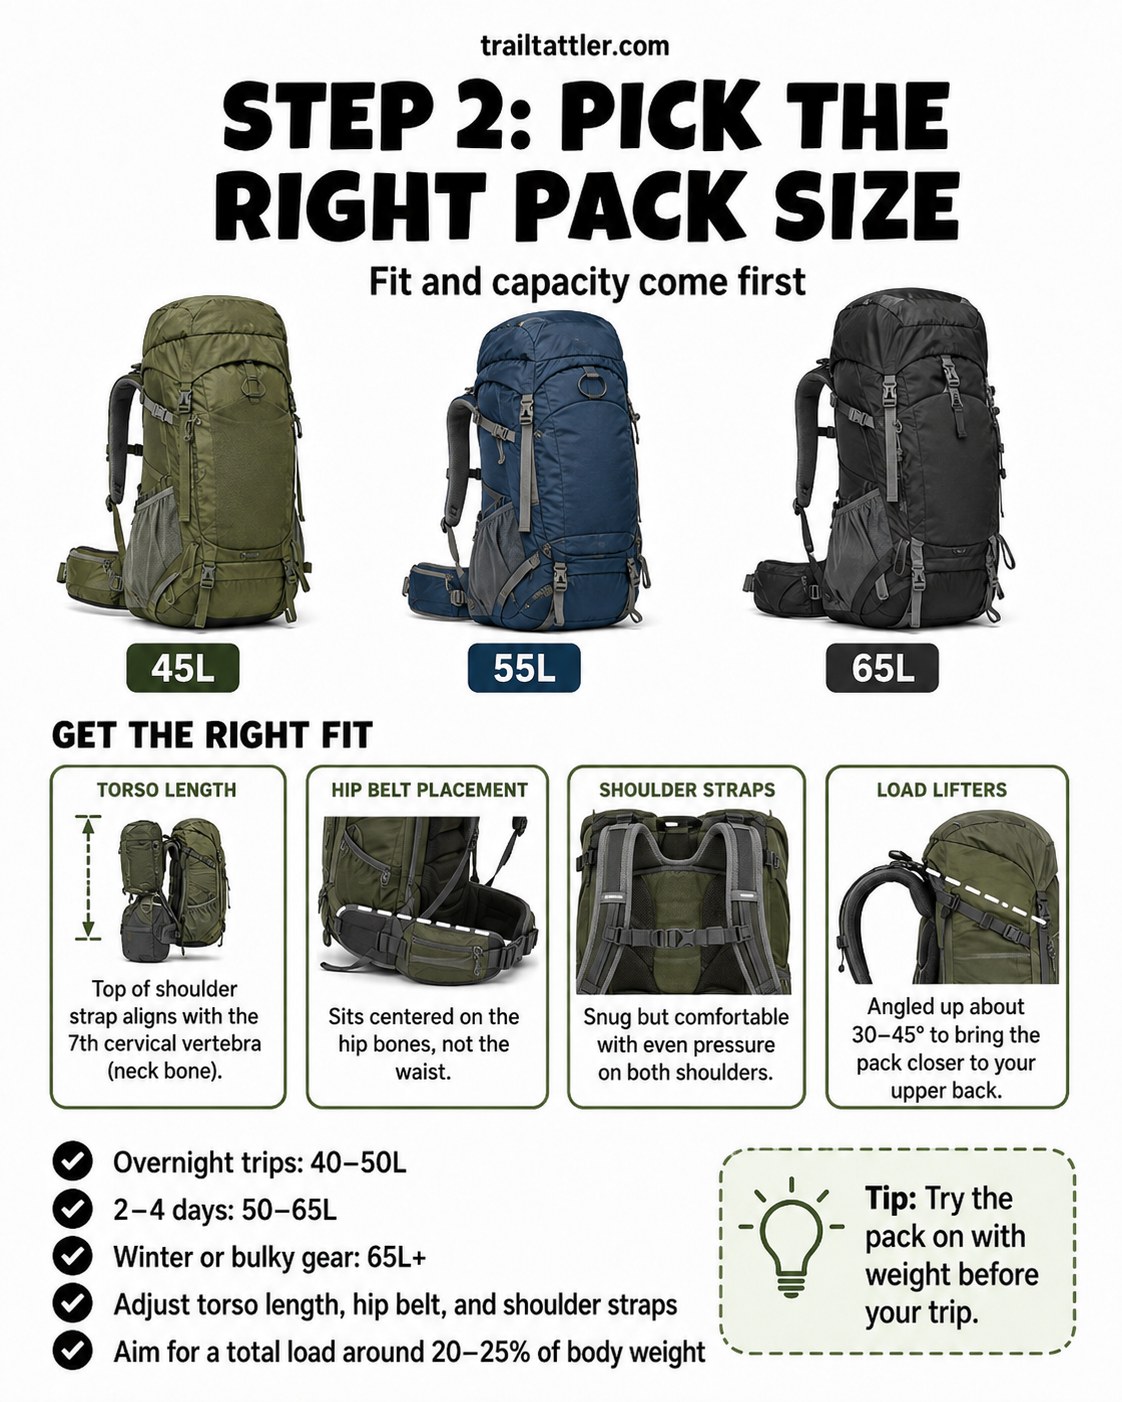
Fit comes before capacity, full stop — I fitted hundreds of packs on hundreds of backs and the number-one return reason was never the brand, it was a torso length nobody measured. The top of the shoulder strap should align with your C7 vertebra, the bump at the base of your neck, not just sit wherever the frame happens to land.
Sizing by trip length
- 40–50L for a single overnight
- 50–65L for two to four days
- 65L+ for winter loads or bulky group gear
Aim for a total load around 20–25% of your body weight, and try the pack on with weight in it before your trip — an empty pack tells you nothing about how the hip belt behaves at mile six.
Pack the Bottom First
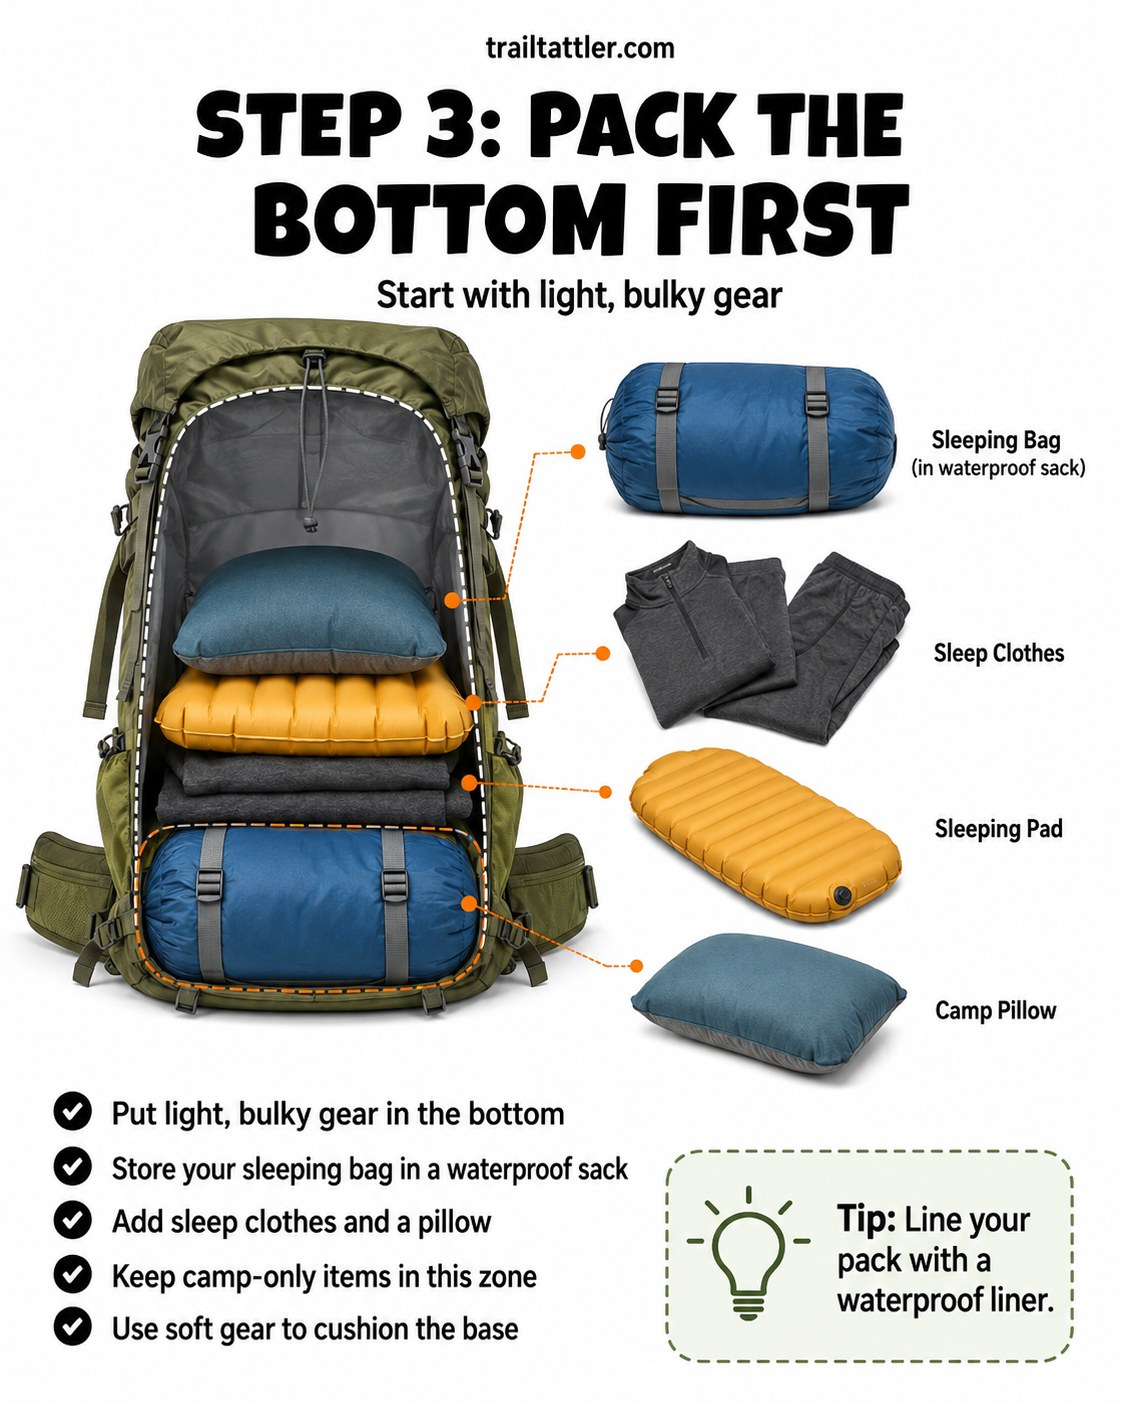
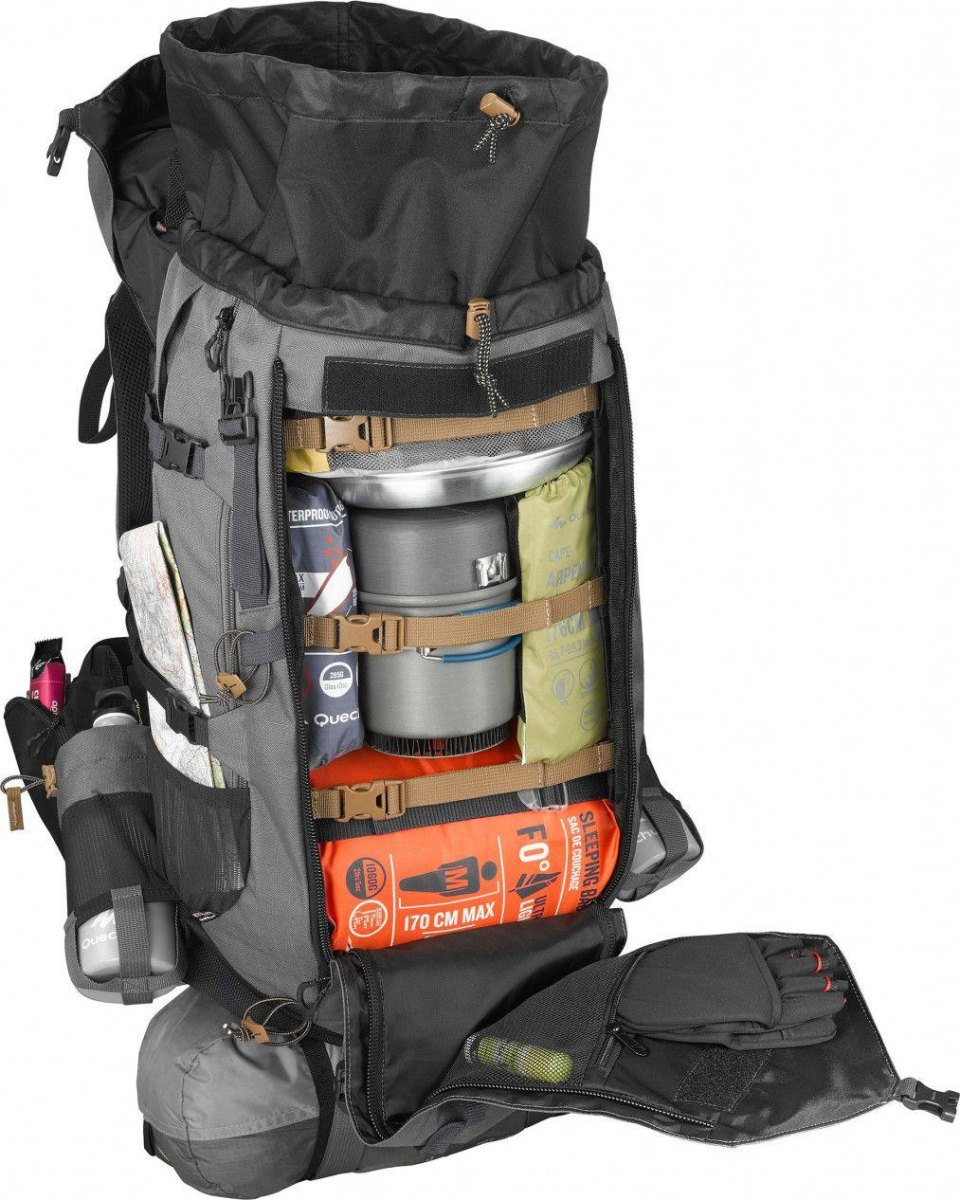
The bottom of the pack is where light, bulky gear goes — items you won't touch until camp. That's your sleeping bag, sleep clothes, sleeping pad, and pillow, in that order.
- Compress your sleeping bag into a waterproof stuff sack, not just a regular one.
- Add your dry sleep clothes next to it.
- Slide the sleeping pad in vertically along the back panel.
- Tuck the camp pillow in as soft filler.
I line my pack with a heavy-duty liner bag before any of this goes in — I learned that one the hard way on a Cumberland Plateau trip where the sky opened up and my "waterproof" pack cover did nothing for the seams.
Load the Heavy Core
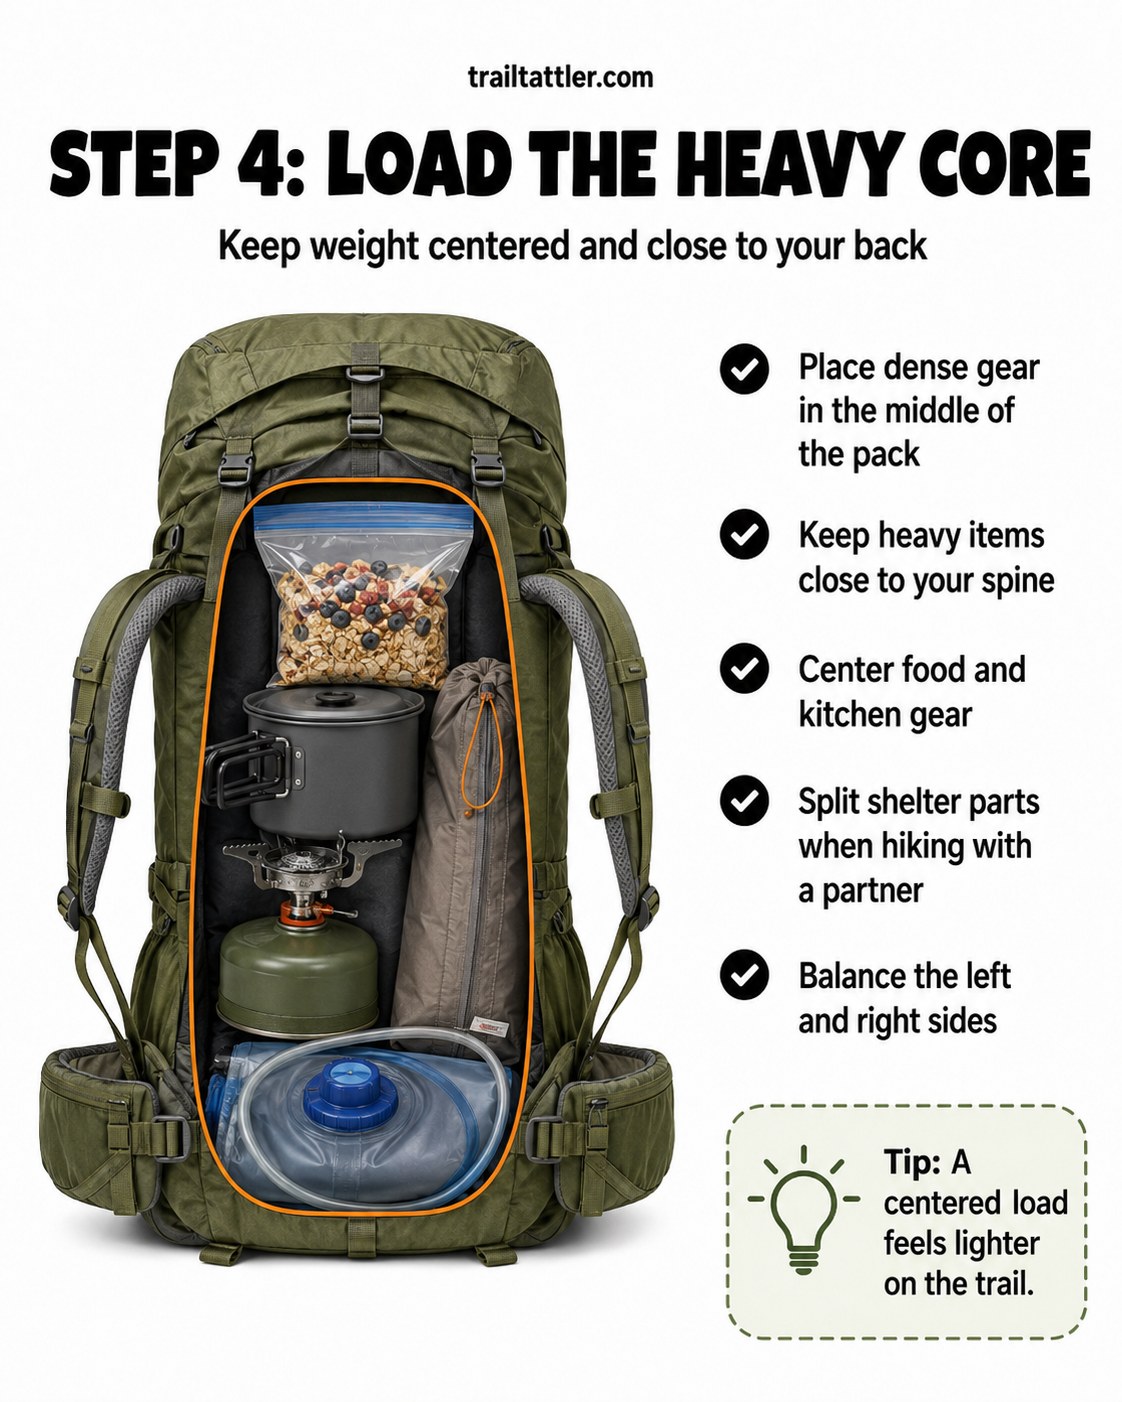
Dense gear belongs in the middle of the pack, tight against your spine — food, stove, fuel, cook pot, and your water bladder or reservoir. This is the physics part that actually matters: weight centered and close to your back rides with your body instead of pulling against it.
A pack that feels heavy on your shoulders is usually loaded wrong, not overloaded — I've watched people drop a pound off a pack and gain nothing, because the real problem was where the other twenty-nine pounds sat.
If you're splitting shelter parts with a hiking partner, this is where the tent poles and stakes go too. Balance left and right sides deliberately — a lopsided core is the number-one cause of the shoulder ache people blame on their pack instead of their packing.
Keep Essentials on Top
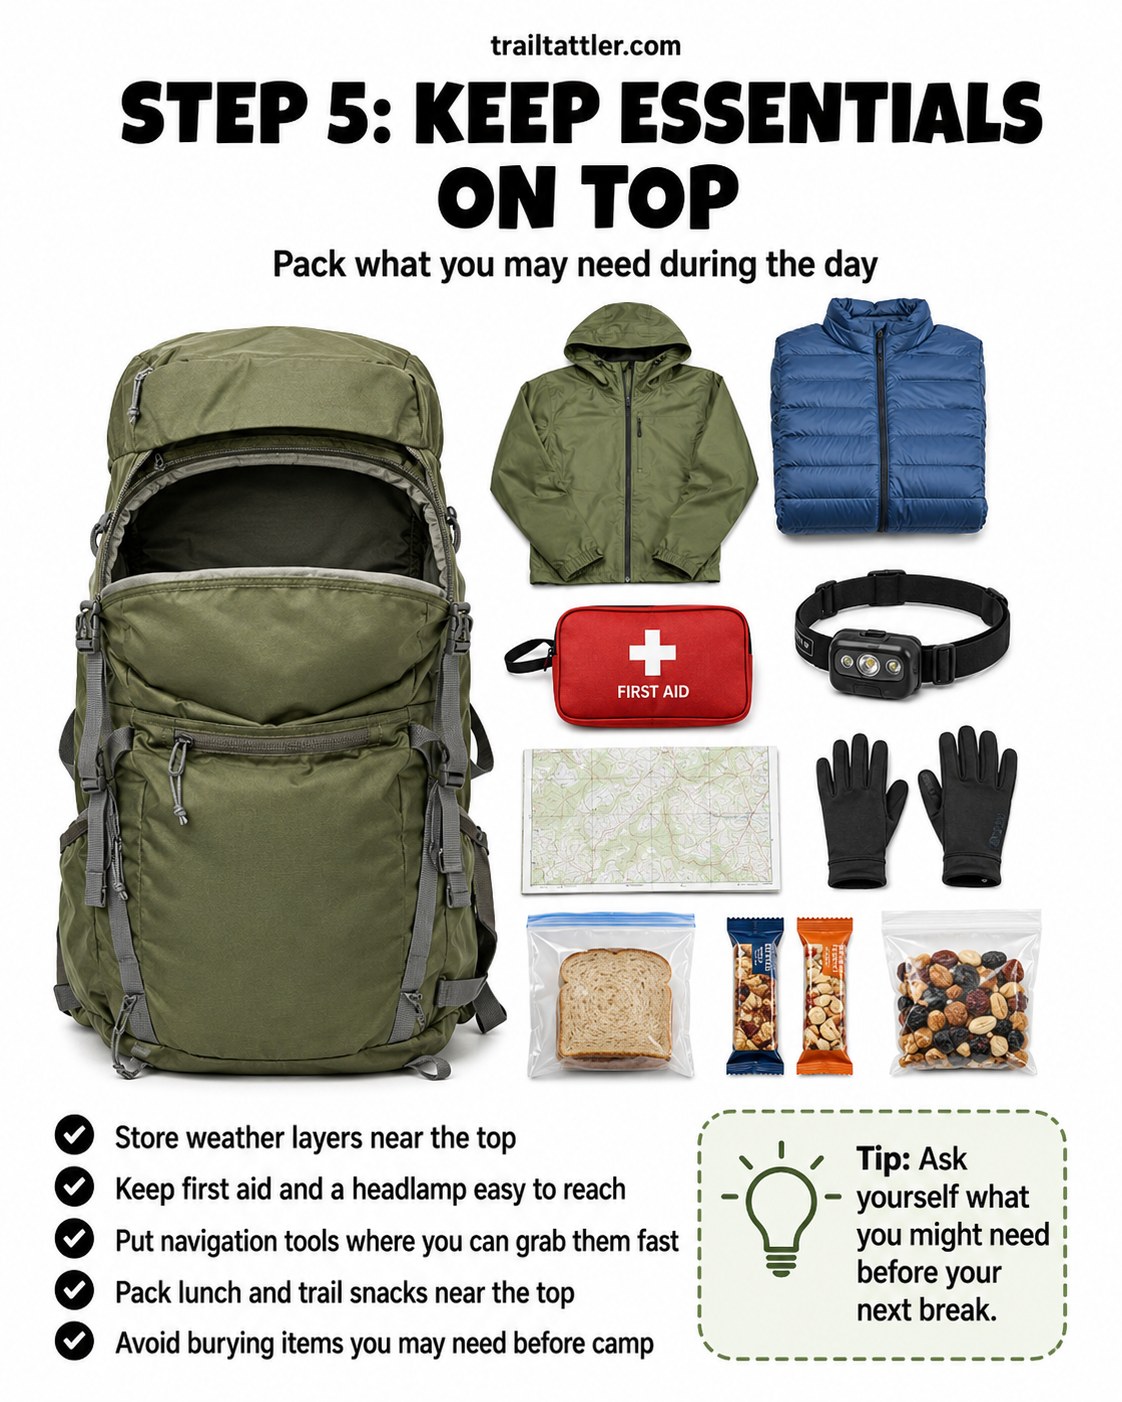
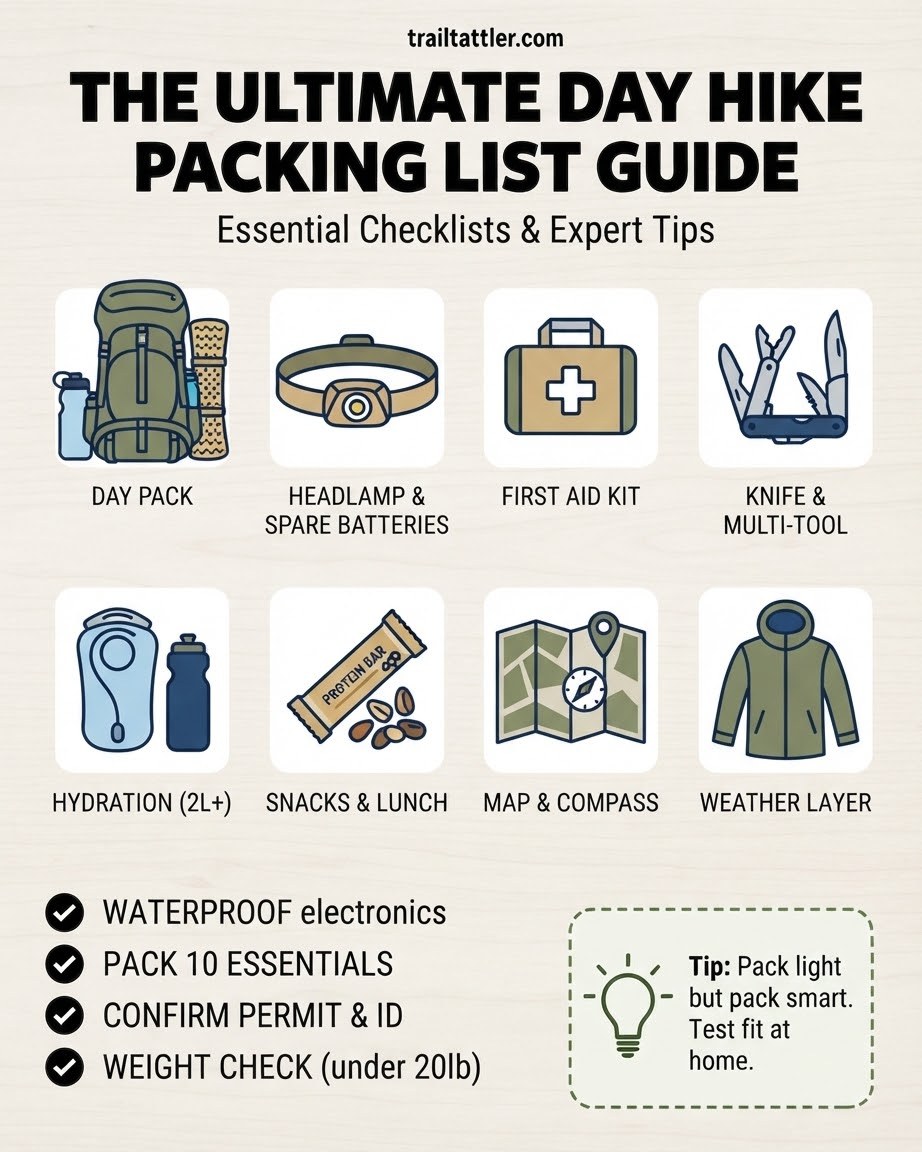
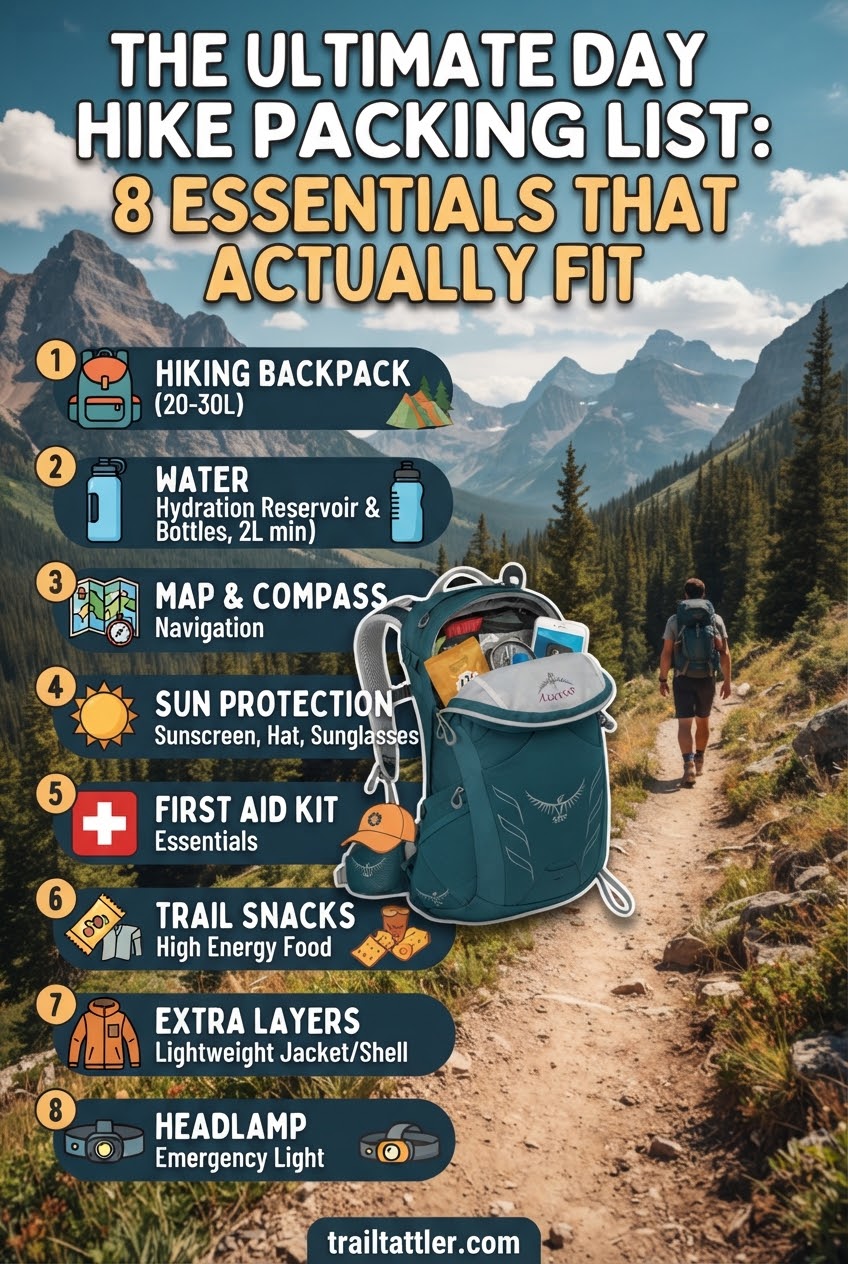
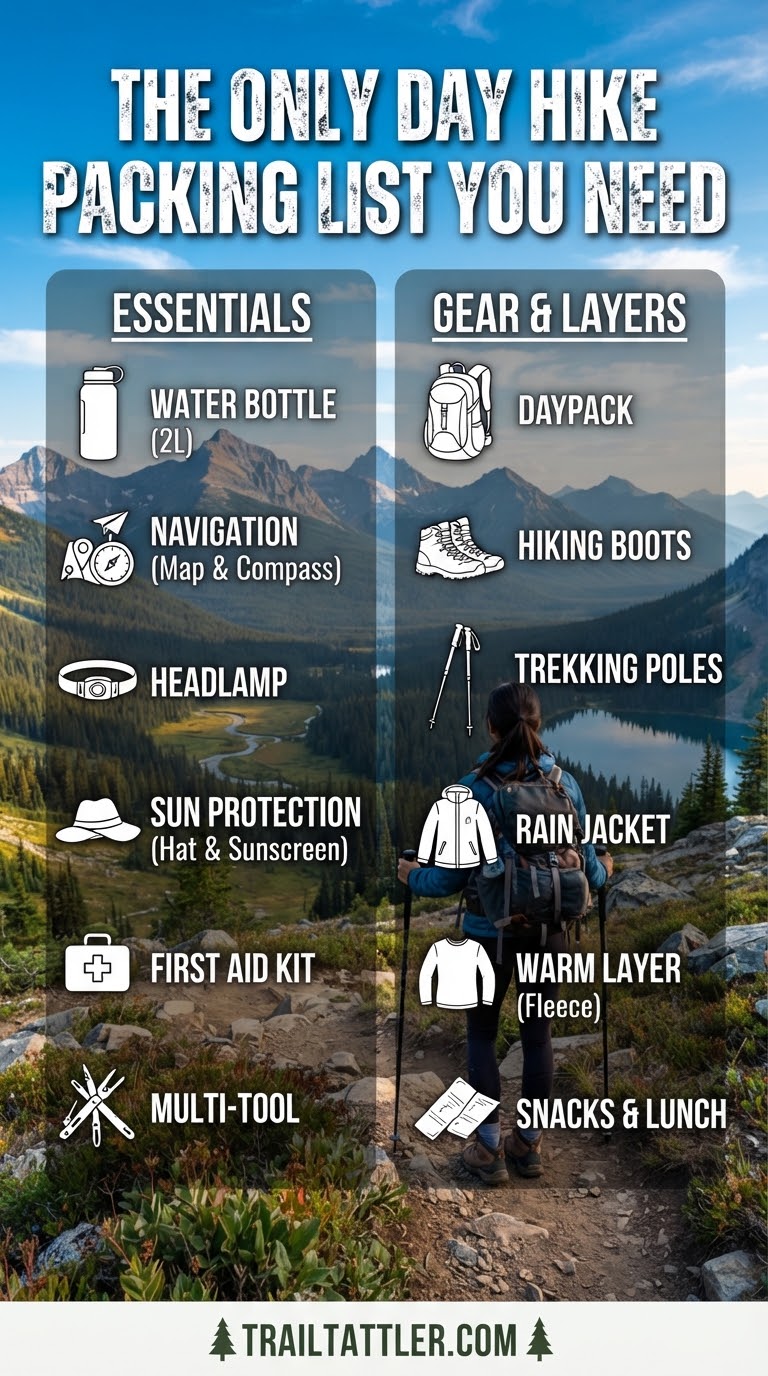
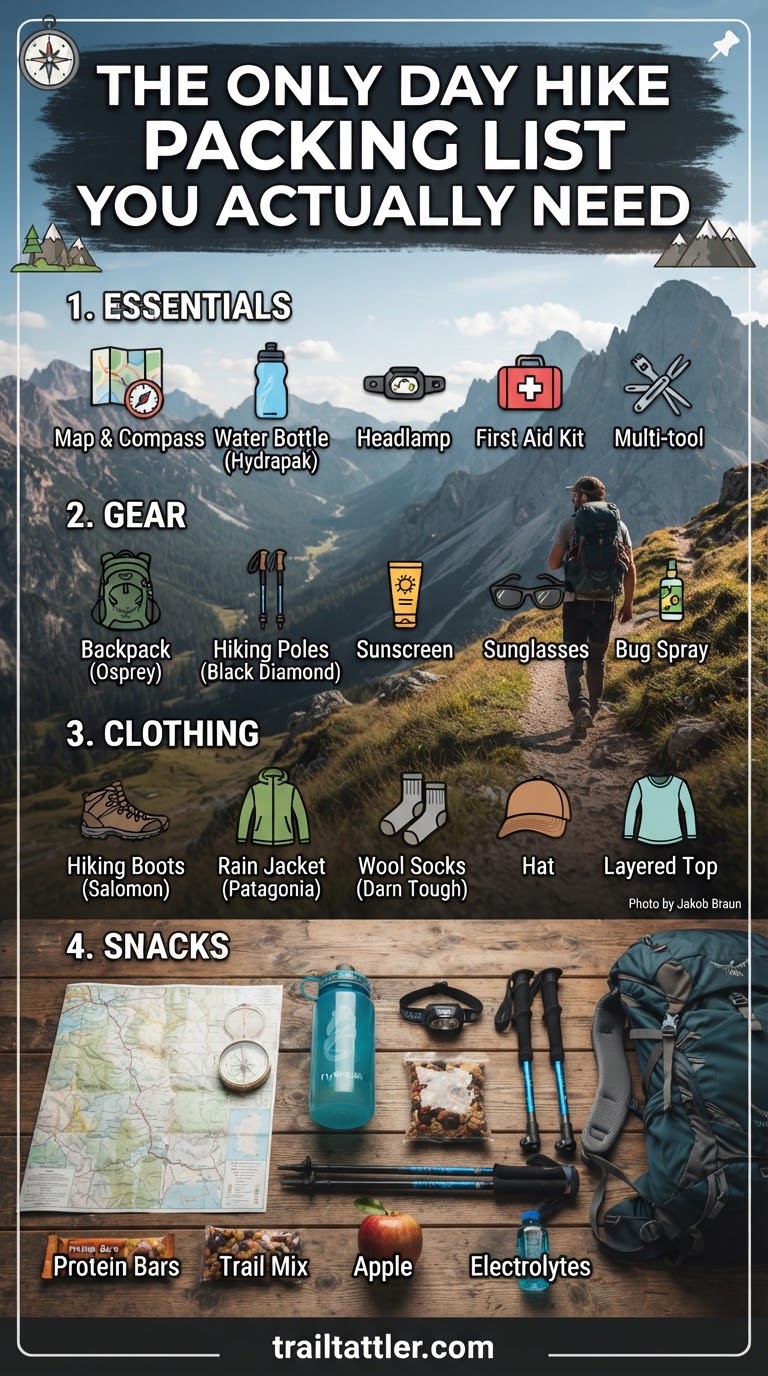
The top of the pack — and the lid pocket, if you have one — is for anything you might need before camp without unpacking. Weather layers, first aid, headlamp, navigation, lunch, and snacks all live here.
- Rain shell and insulating layer: grab-and-go when the sky turns.
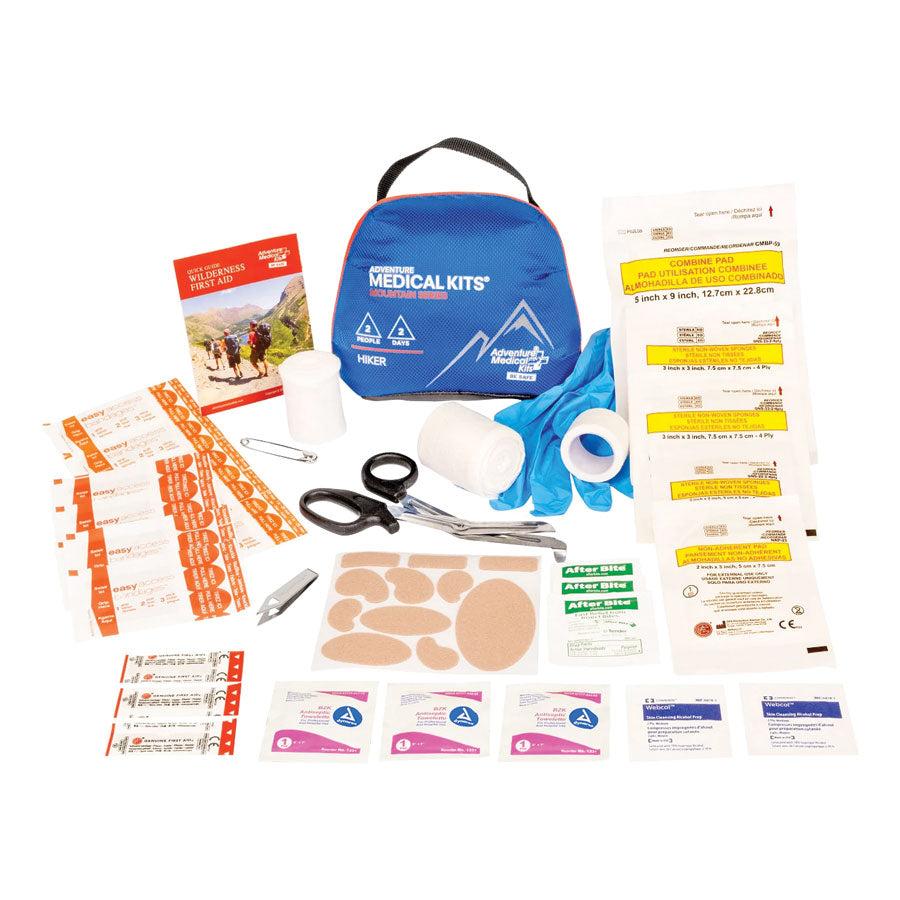
- First aid kit and headlamp: the two items I see missing most often on the calls I've helped with as a SAR volunteer — usually paired with a start time that was already too late.
- Map and compass or GPS: wherever your hand finds them fastest.
- Lunch and trail snacks: near the top, not buried under camp gear.
Ask yourself before you close the lid: what might I need before I stop for the night? If the answer is buried at the bottom, move it.
Use Pockets and Straps Wisely
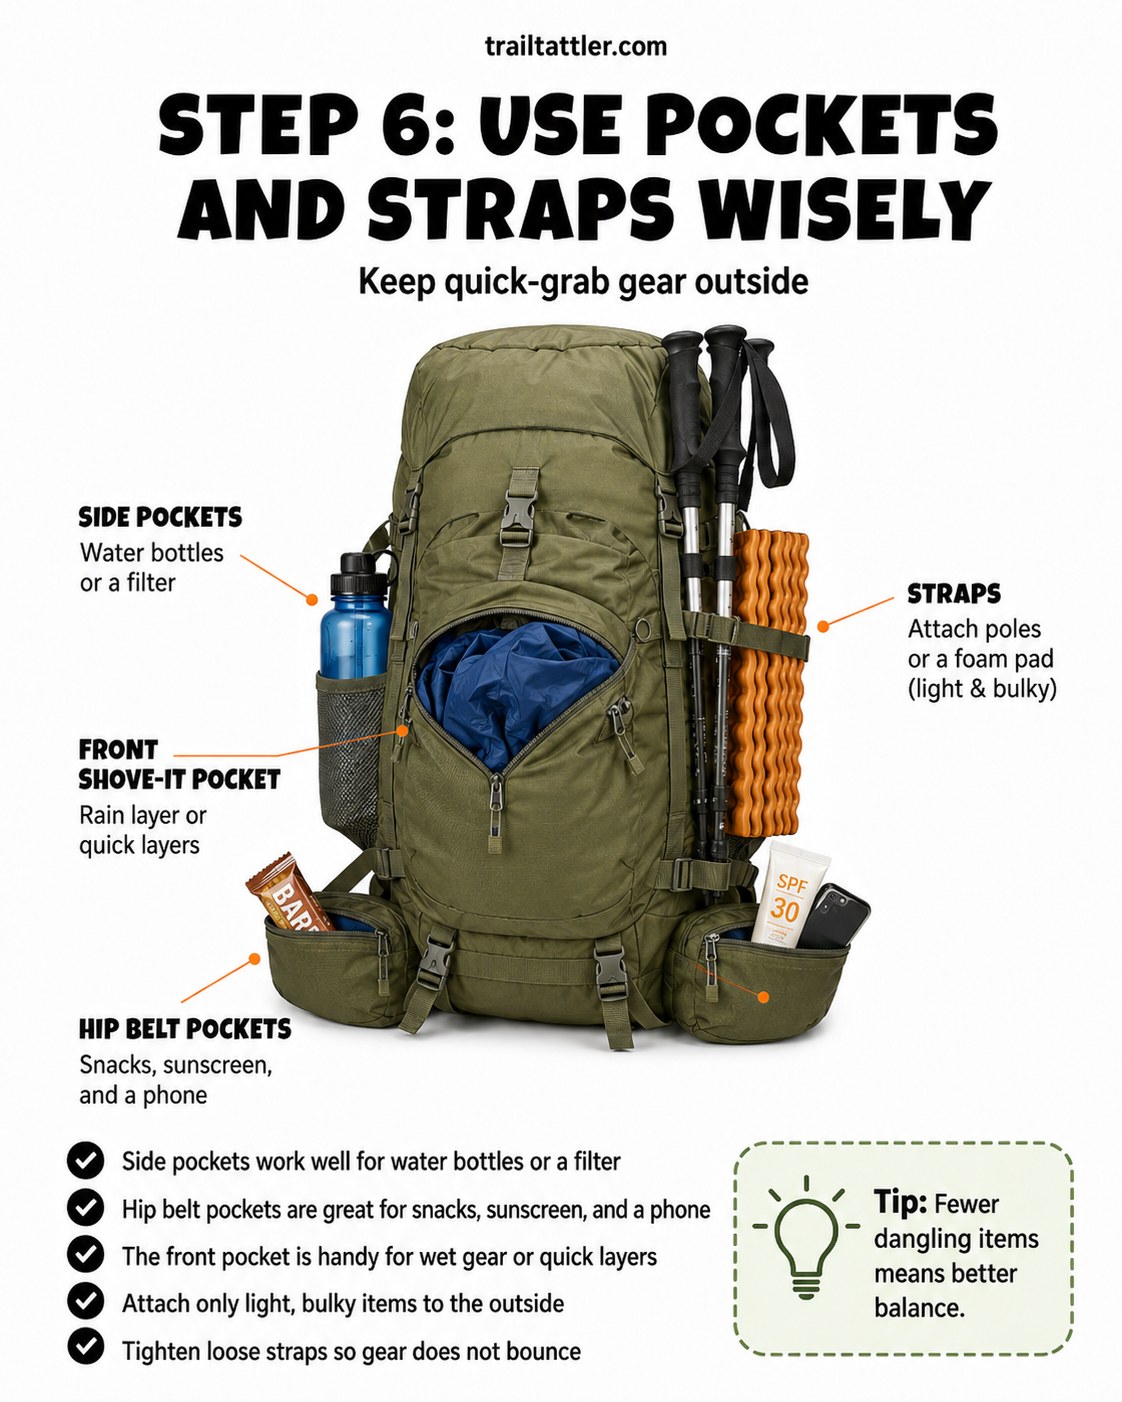
Everything outside the main compartment should earn its spot there. Side pockets hold water bottles or a filter. Hip belt pockets are made for the stuff you reach for without breaking stride — snacks, sunscreen, a phone. The front shove-it pocket is where a wet rain layer or quick extra layer goes when you don't want it touching your dry gear.
What not to do
Dangling gear looks efficient and isn't. Fewer items hanging off the outside means better balance — a pot lid clanging against a carabiner for ten miles will teach you that lesson permanently. Only attach light, bulky things like trekking poles or a foam sit pad to the straps, and tighten anything loose before you start walking, not after the first mile of noise.
Customize for Weather and Miles
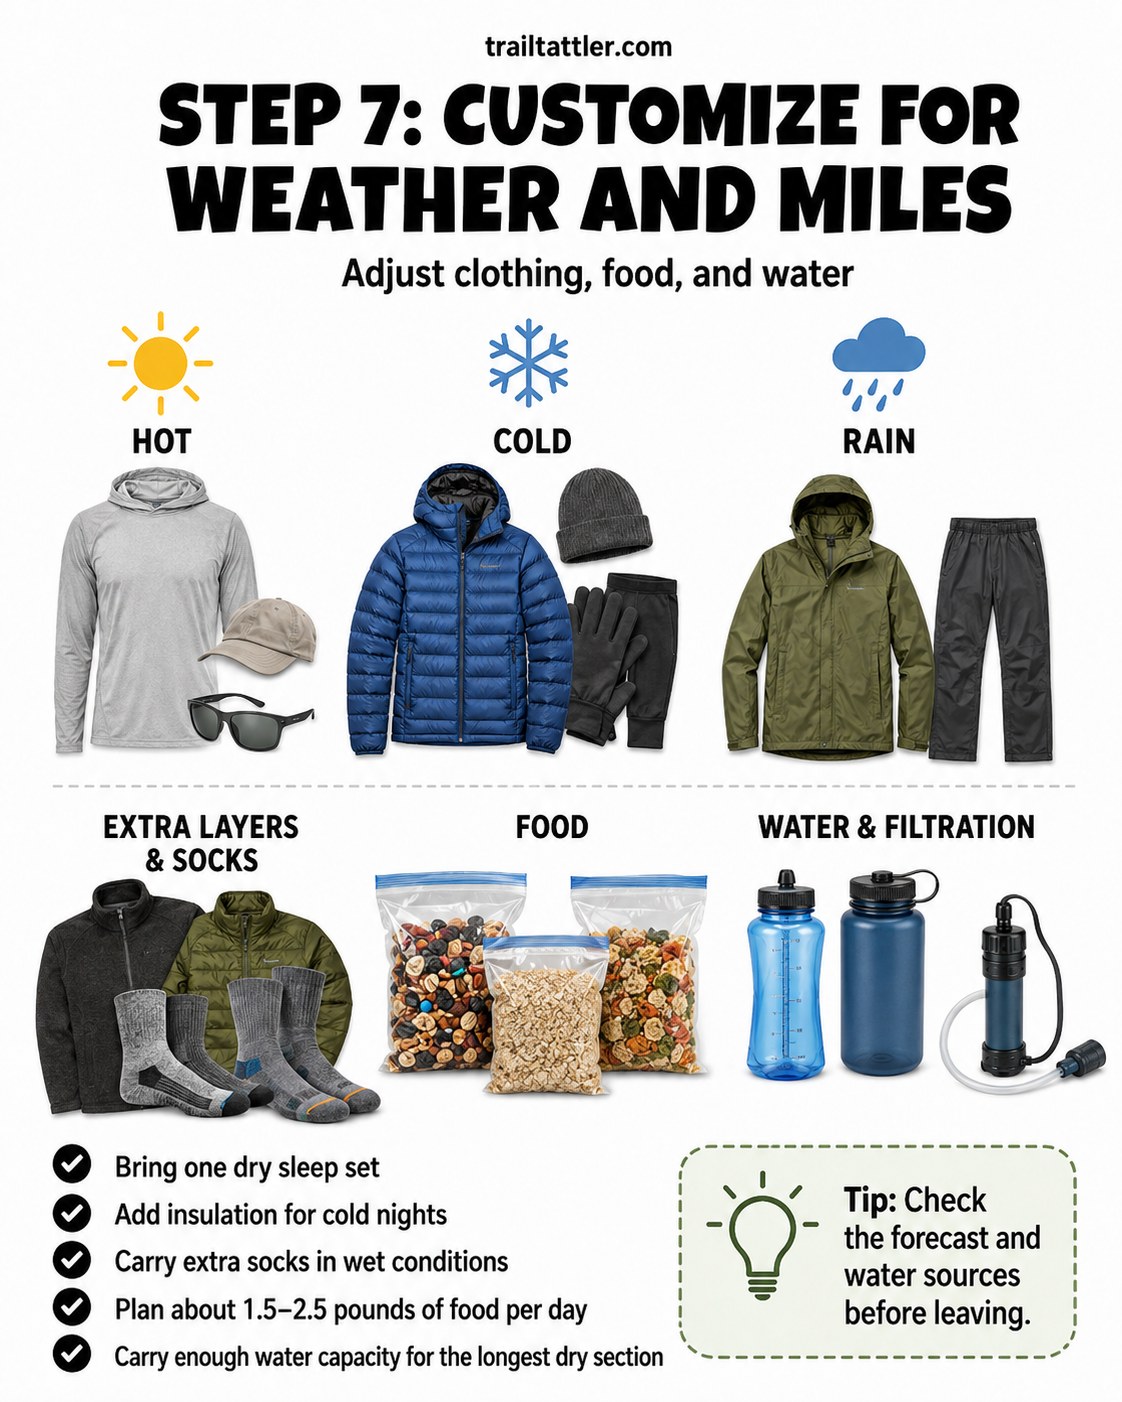
A packing list isn't fixed — it flexes with forecast and distance, and this is the step people skip most often. Hot, cold, and rain each change what actually needs to be in the pack:
- Hot: lightweight sun hoodie, sunglasses, and a cap — sun protection over insulation.
- Cold: insulated jacket, warm hat, and gloves added without cutting anything else.
- Rain: a real shell and rain pants, plus extra socks — wet feet in 50°F conditions is how hypothermia conversations start, and I don't say that to be dramatic.
Plan roughly 1.5–2.5 pounds of food per person per day, and carry enough water capacity for the longest dry stretch on your route, not just what feels comfortable at the trailhead. Check the forecast and known water sources before you leave — not the morning of.
Do a Final Pack Check
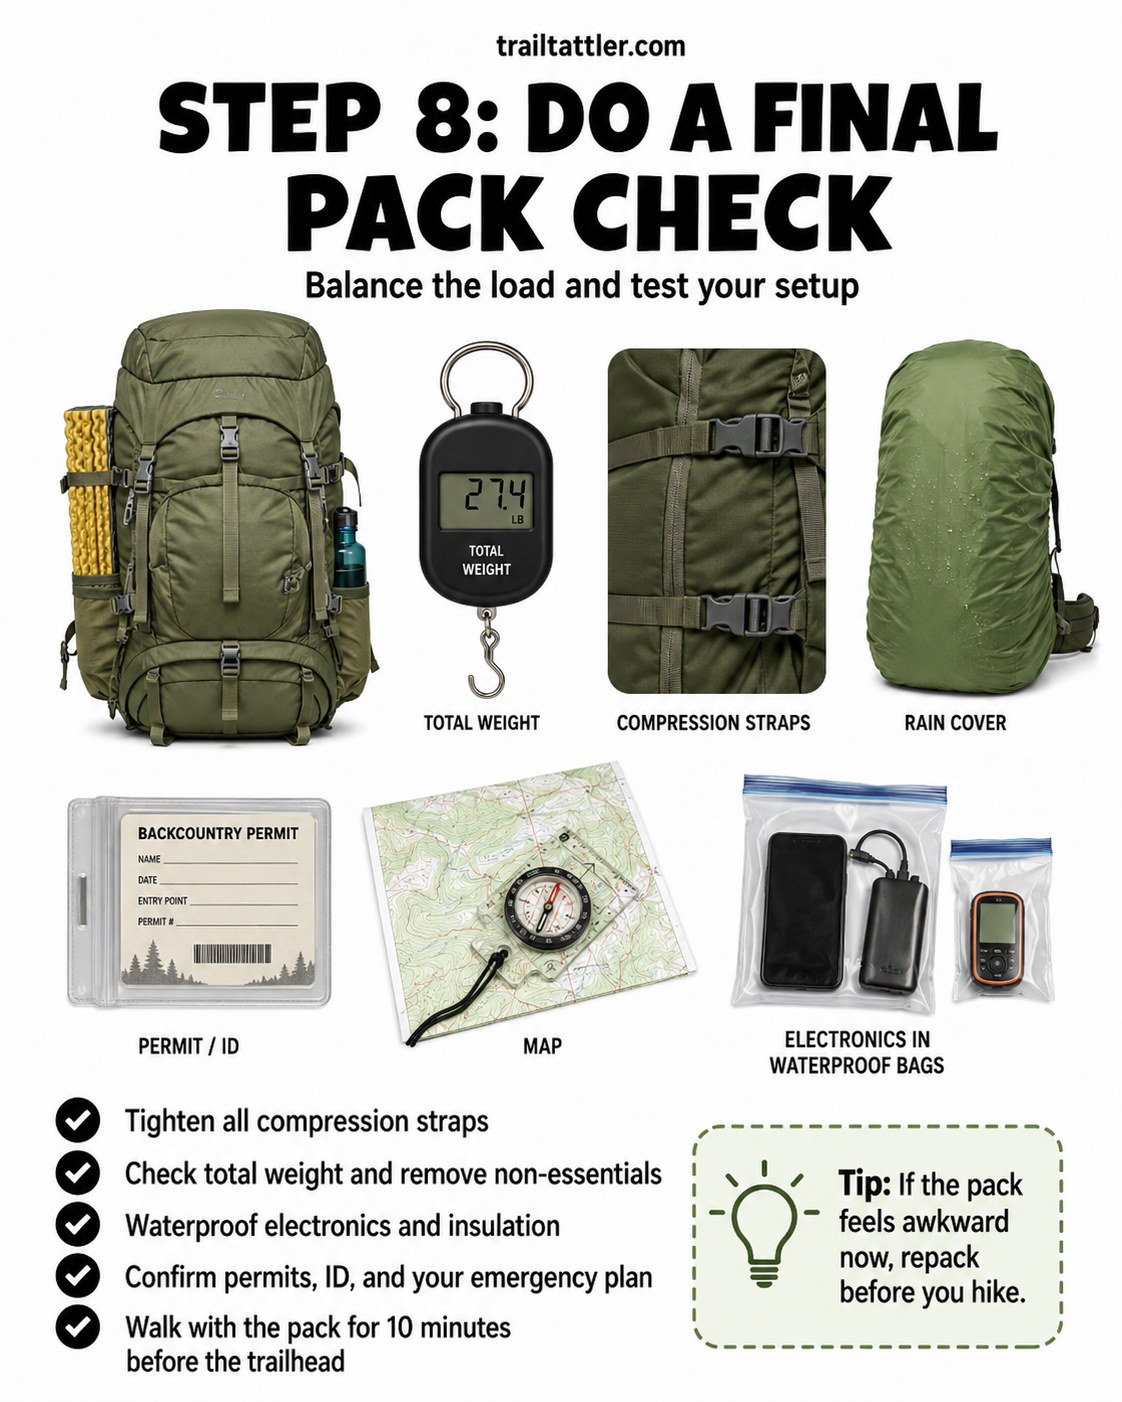
Before the trailhead, weigh the pack, cinch the compression straps, and confirm the load isn't shifting when you move. If it's your first overnight, I'll say what I tell everyone starting out: do this one close to the car first. Not because you'll fail farther out, but because a pack that felt fine on the living room floor tells you the truth after ten actual minutes of walking with it on.
- Total weight checked, non-essentials removed.
- Electronics waterproofed in their own bags.
- Rain cover packed and accessible, not buried.
- Permit, ID, and emergency plan confirmed — and someone at home who knows your route and expected return.
Walk the pack for ten minutes before you commit to the trailhead. If it feels wrong now, repack now — not two miles in, where fixing it means unloading everything on the side of the trail while your hiking partner watches.
None of this is complicated once you see it as an order instead of a list — bottom, core, top, then adjust for the day you're actually walking into. Do your first overnight close to the car, weigh the pack before you leave the driveway, and let the trail tell you what you'd pack differently next time.

Your Questions, Answered
How heavy should my backpacking pack actually be?
Aim for roughly 20–25% of your body weight for a loaded overnight pack. Above that, most people start compensating with posture that leads to shoulder and hip soreness by day two.
What's the single most common packing mistake you've seen?
Burying the first aid kit and headlamp at the bottom of the pack. Both need to be reachable without unpacking, and both show up repeatedly in the situations SAR teams get called to.
Should I bring my dog on my first backpacking trip?
Check the land agency first — most national parks prohibit dogs on backcountry trails entirely, and even where they're allowed, an overnight adds water needs, paw wear, and wildlife exposure you should plan for like any other piece of gear.