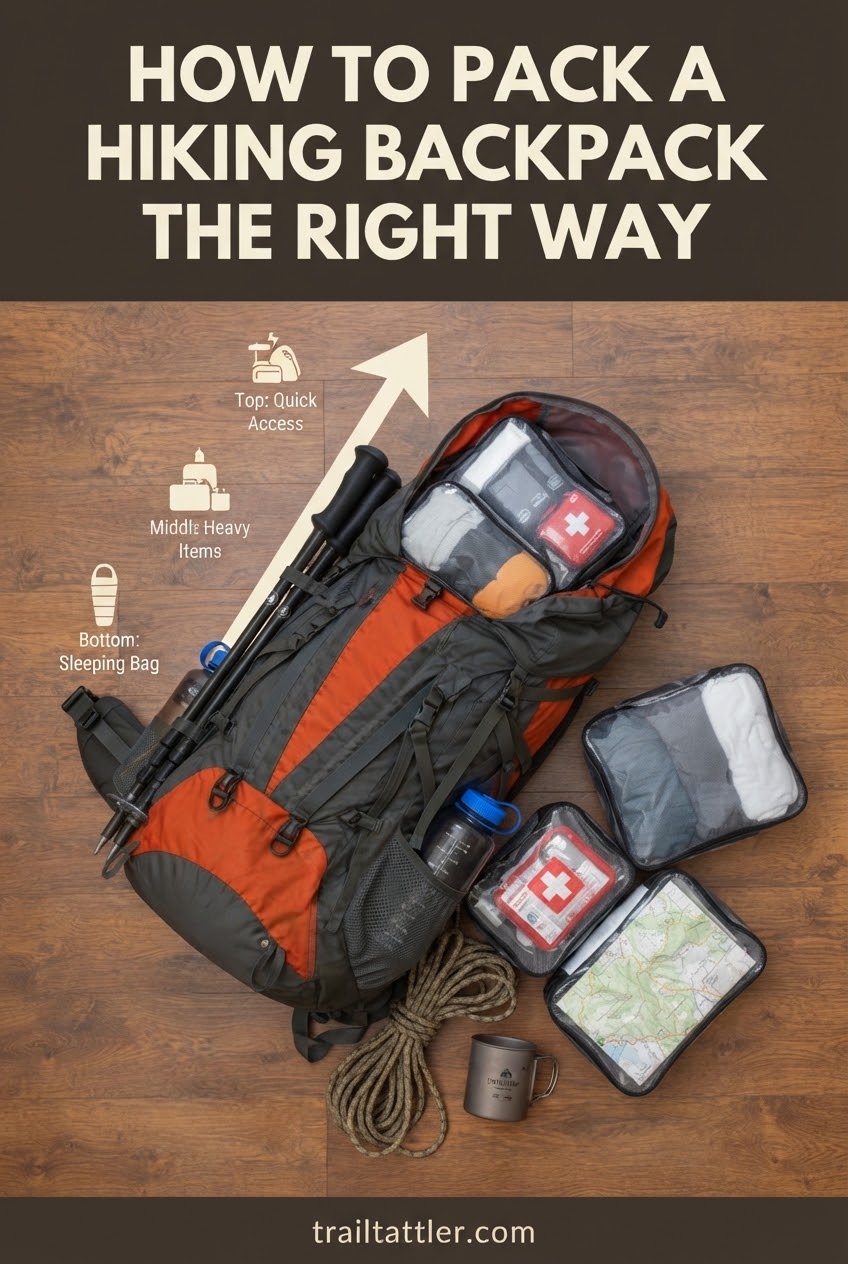
I spent eight years fitting backpacks in a retail store, and the single most common mistake I saw had nothing to do with the pack itself — it was people stuffing gear in whatever order it came out of the car. Load a pack wrong and a well-fitted 45-liter bag will still ride like a sack of bricks on your shoulders by mile two. This is the order I use every single time, laid out here exactly as I packed it on my kitchen floor.
Everything Out Before Anything Goes In
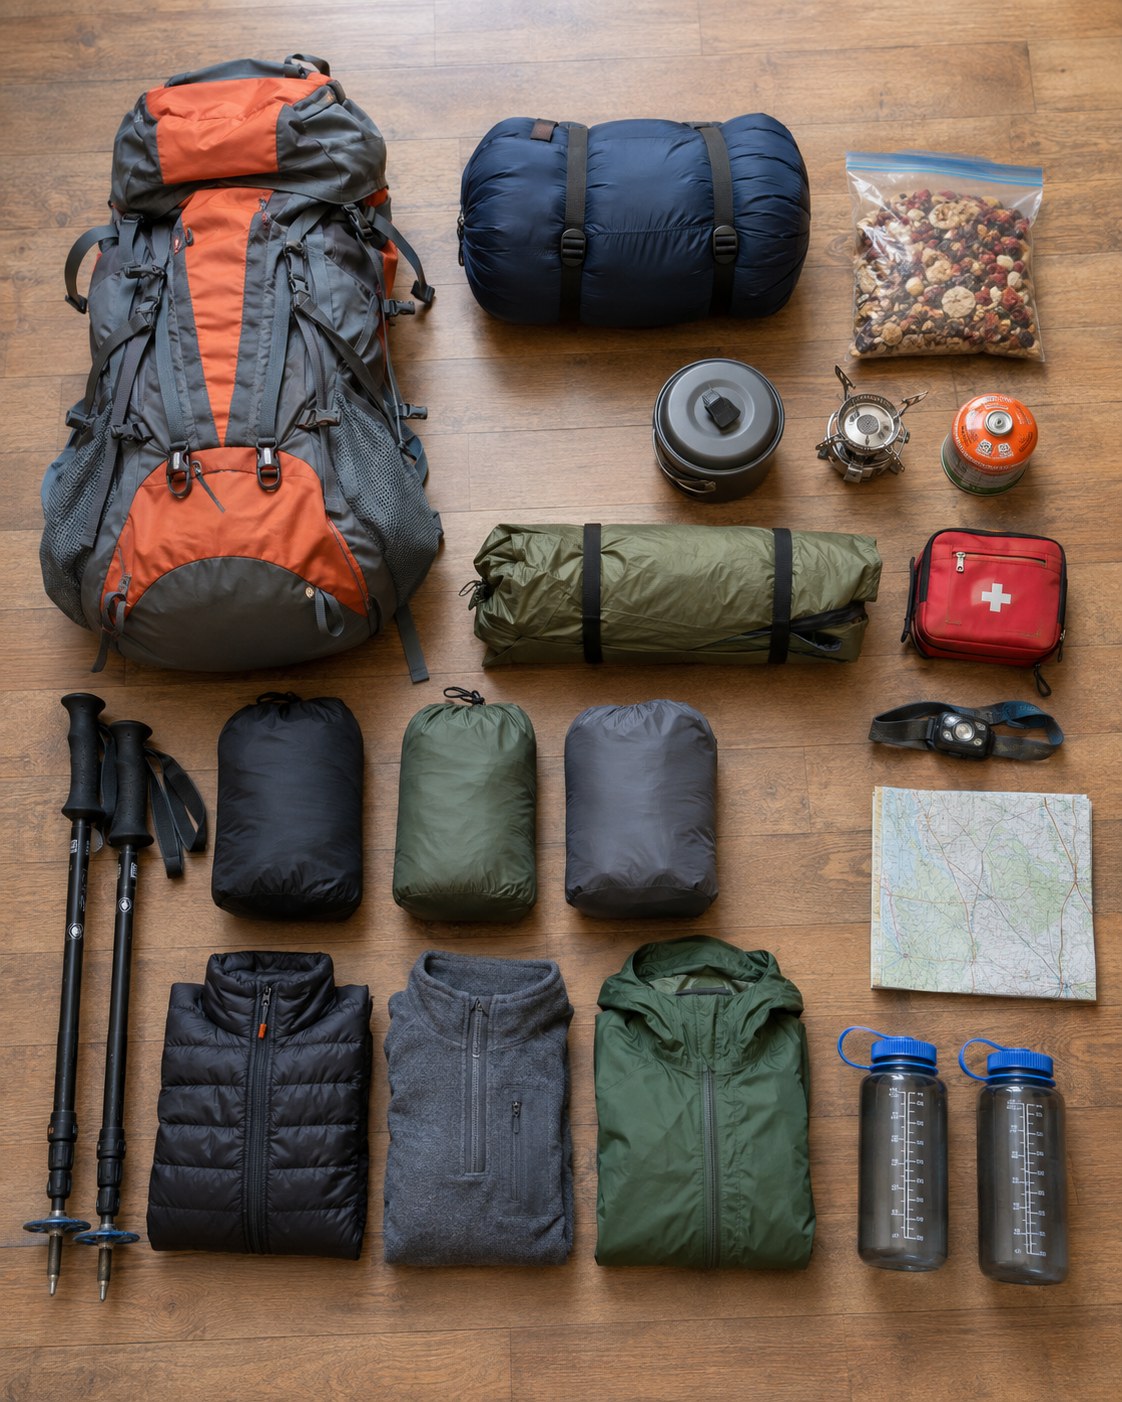
Before a single item goes into the pack, it all comes out onto the floor. That's not a photo trick — it's how I catch the thing I forgot, every time, because a missing headlamp or an empty fuel canister is a lot easier to spot lying on hardwood than it is at a trailhead an hour into the drive.
- Sleep system: the compressed sleeping bag and the rolled tent
- Kitchen: pot, canister stove and a full fuel canister
- Food: a quart bag of trail mix for the trail
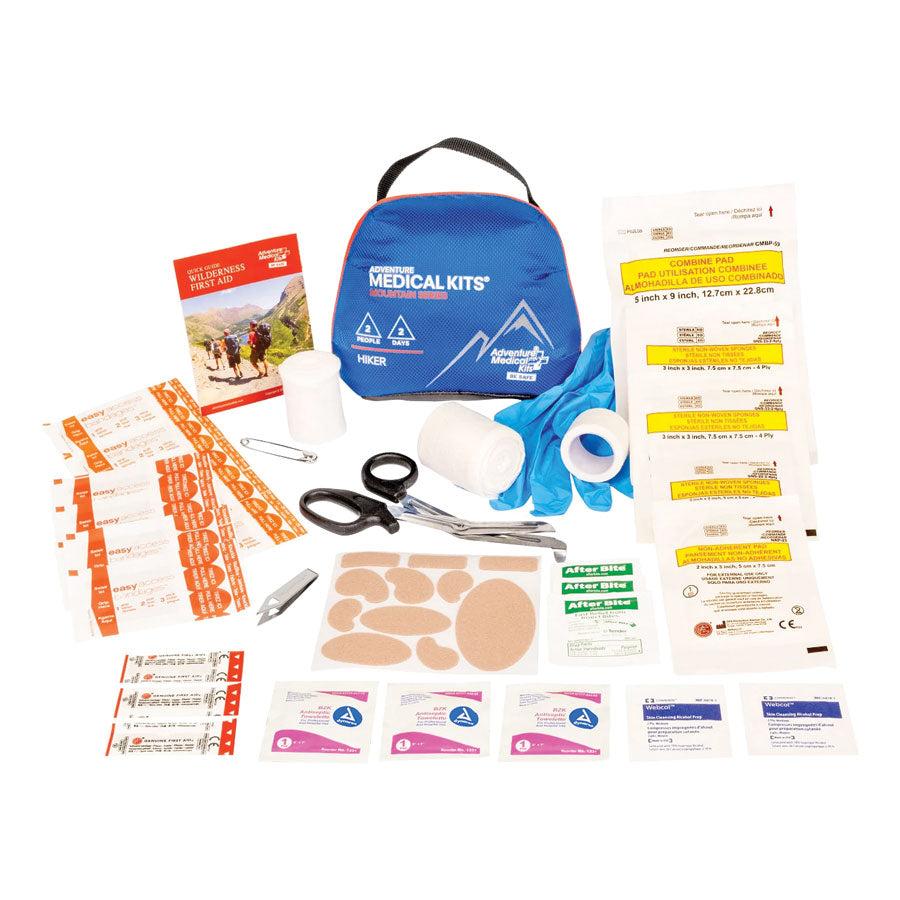
- Safety and navigation: a paper map, headlamp and a stocked first aid kit
- Clothing: insulated jacket, fleece mid-layer, extra base layer
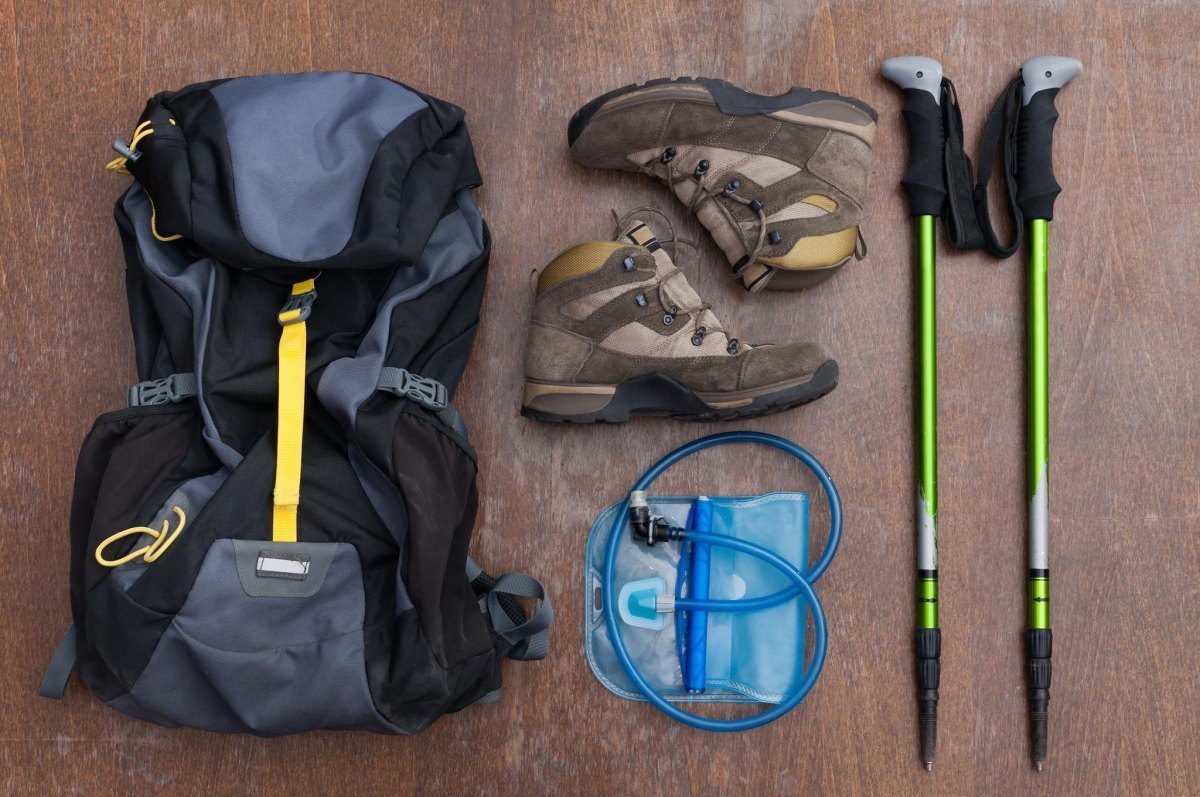
- Water: two wide-mouth bottles and trekking poles
This is roughly a 40-50 liter internal frame pack, which is the sweet spot for one night out. Lay it out, check it against your own list, then start packing with intention instead of momentum.
The Sleeping Bag Goes Home First
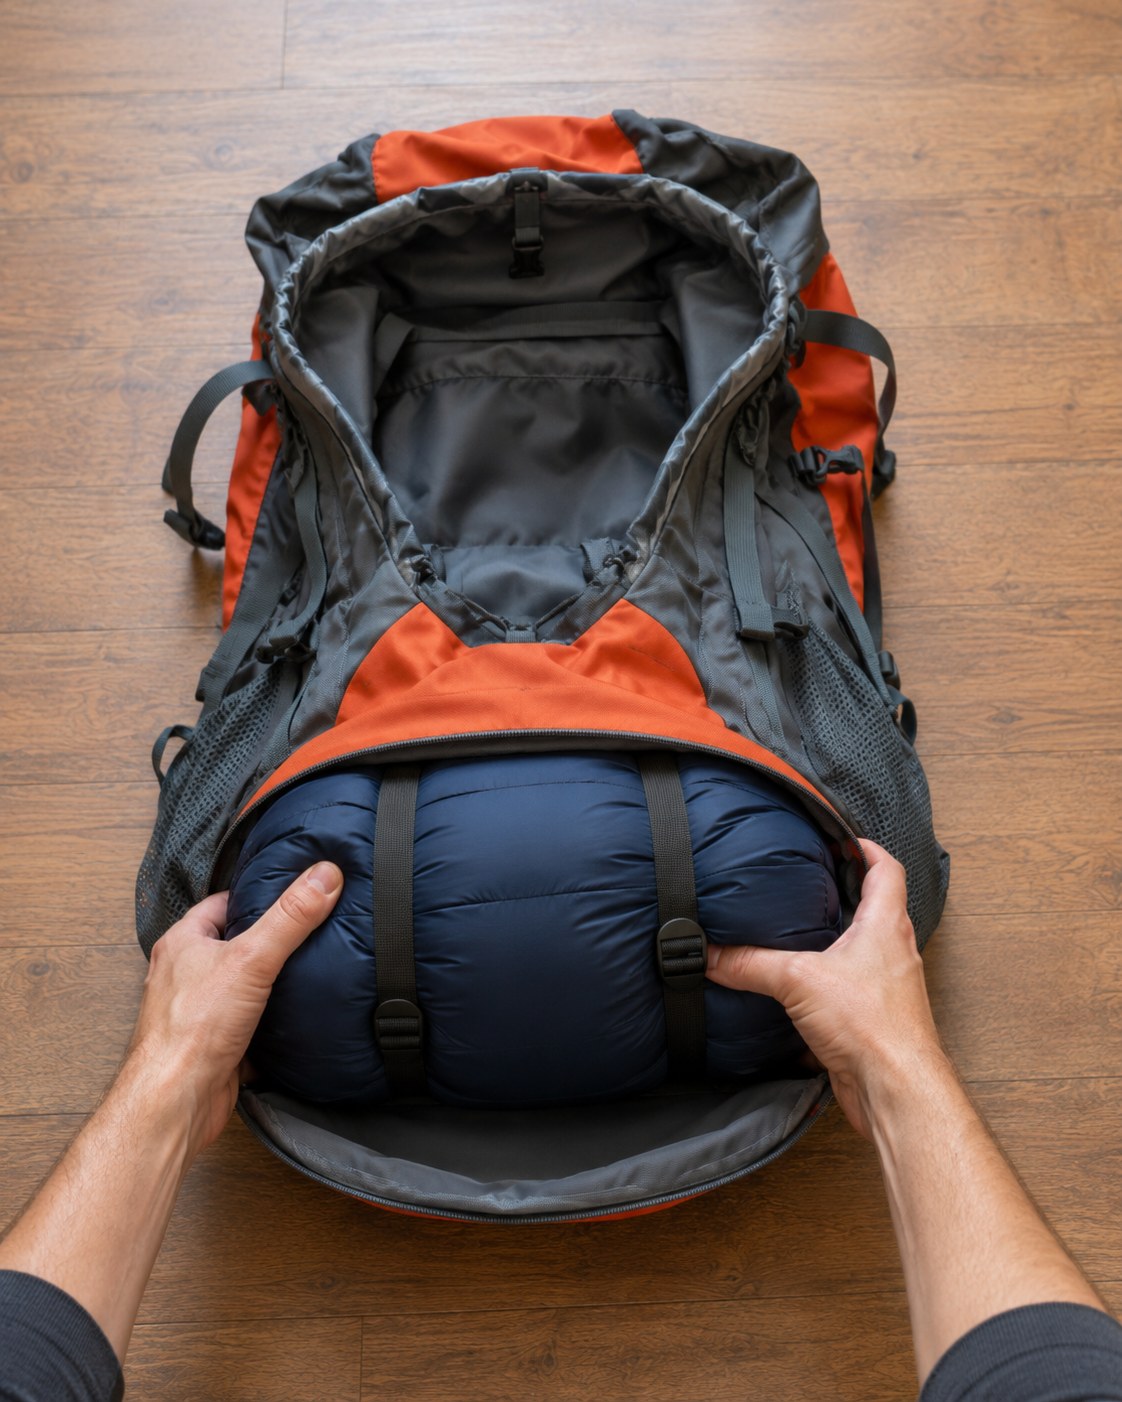
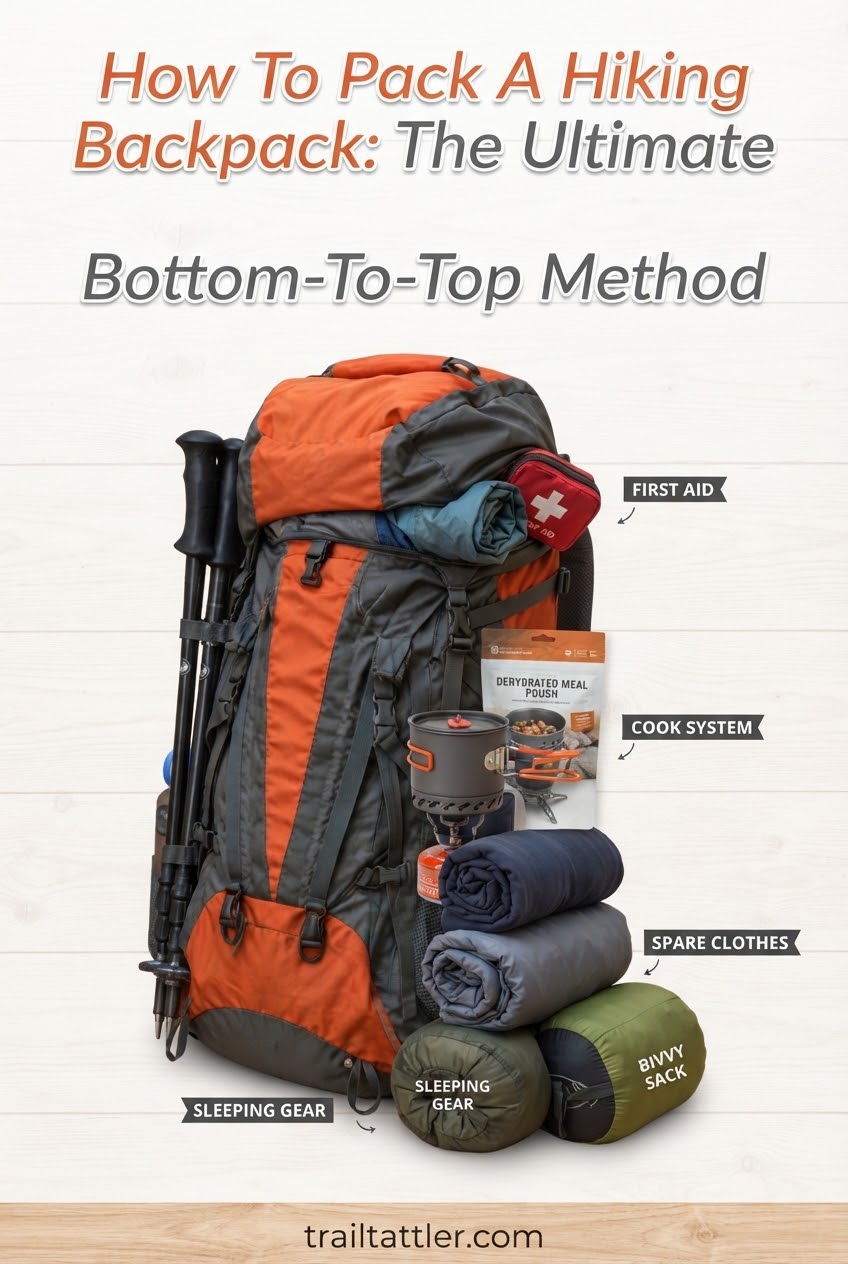
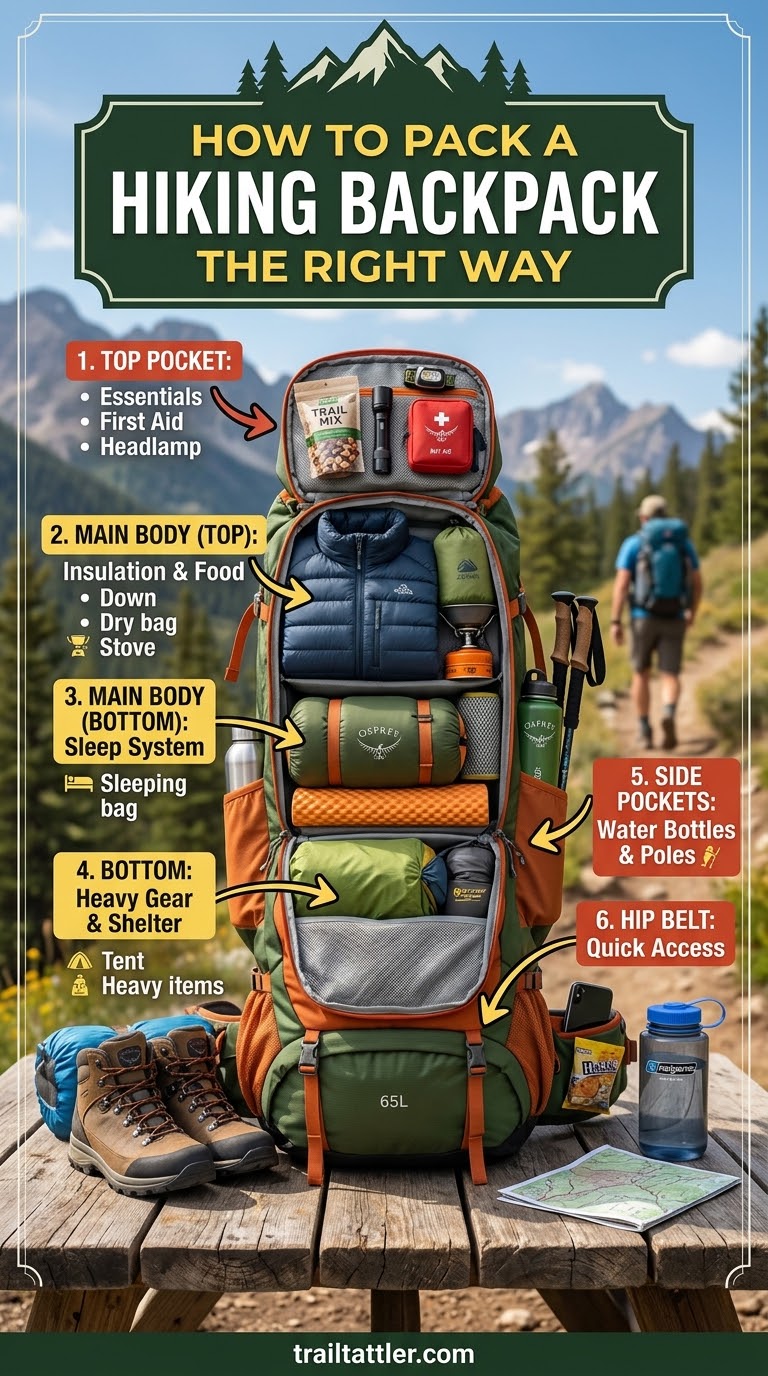
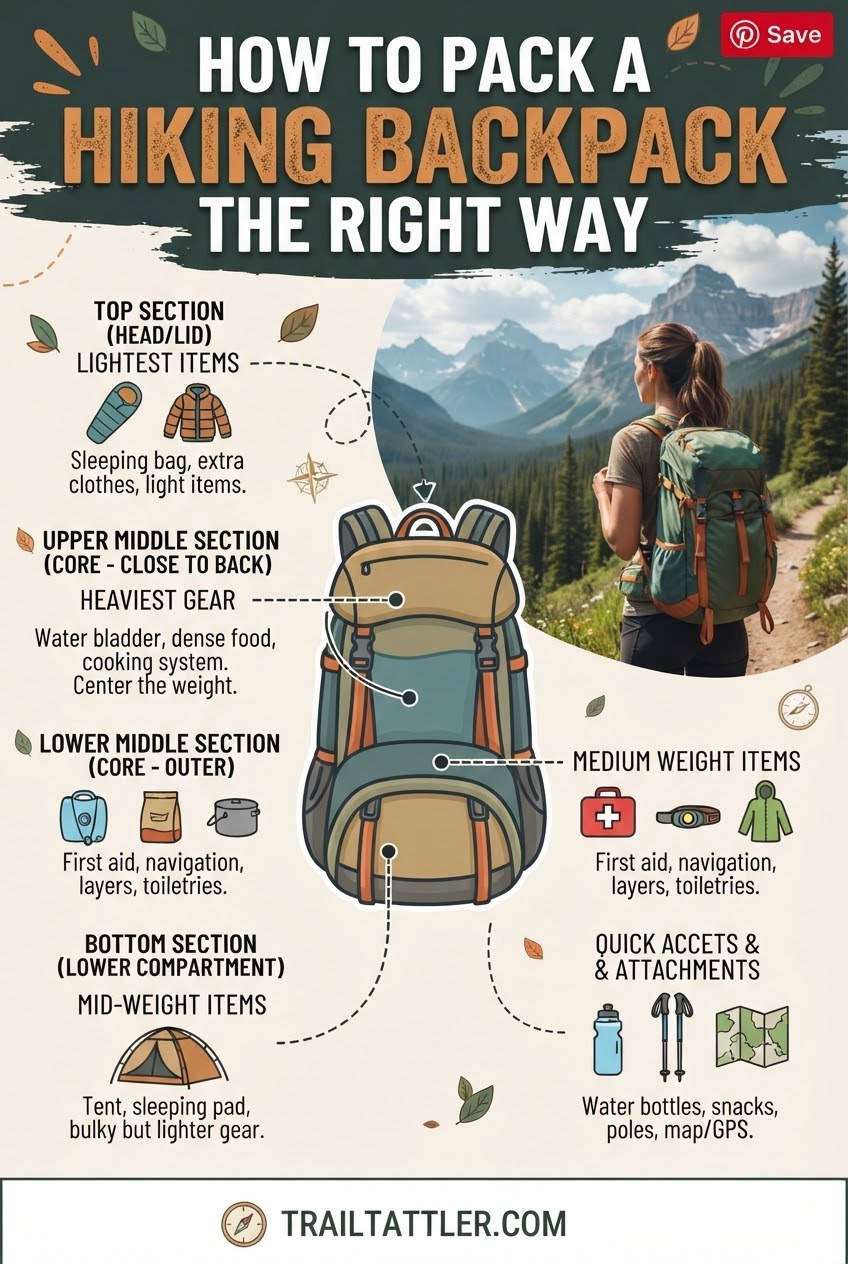
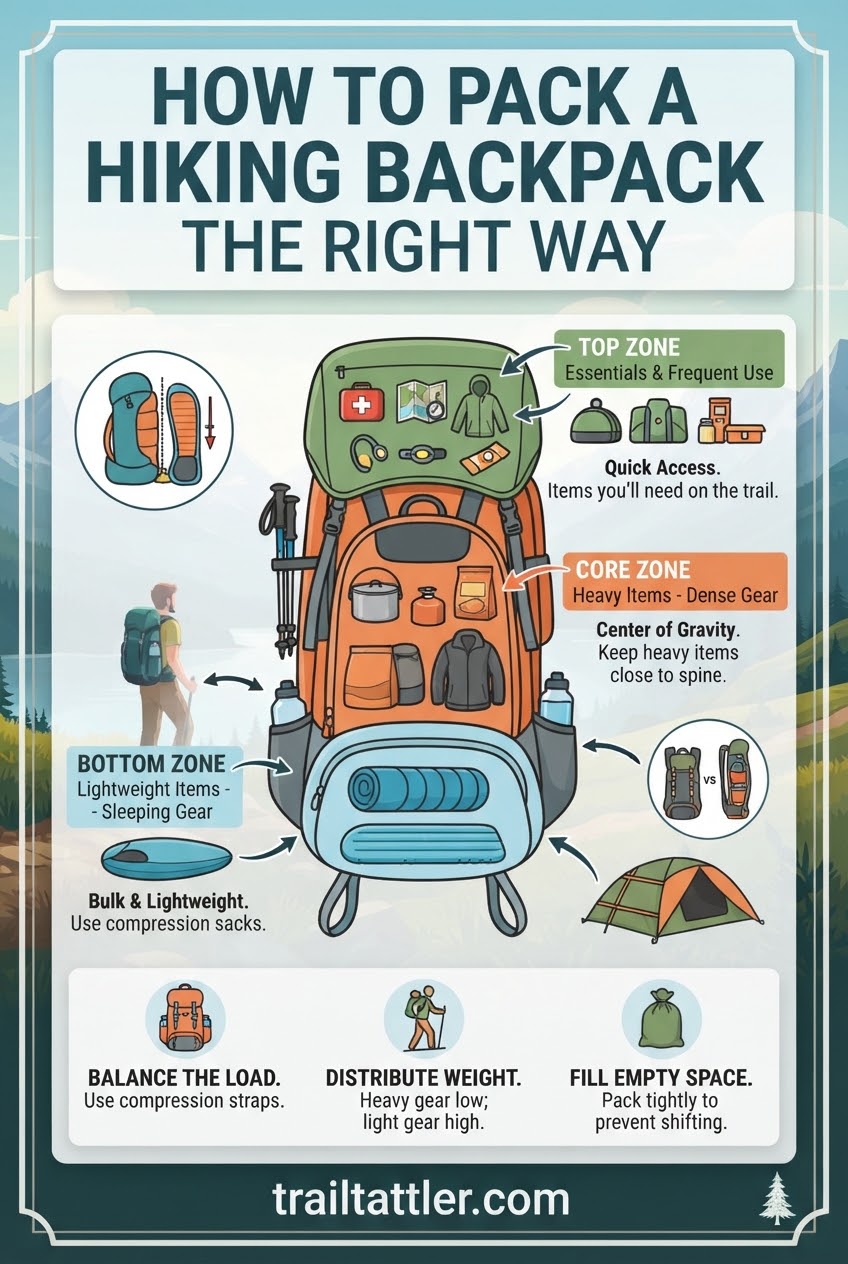
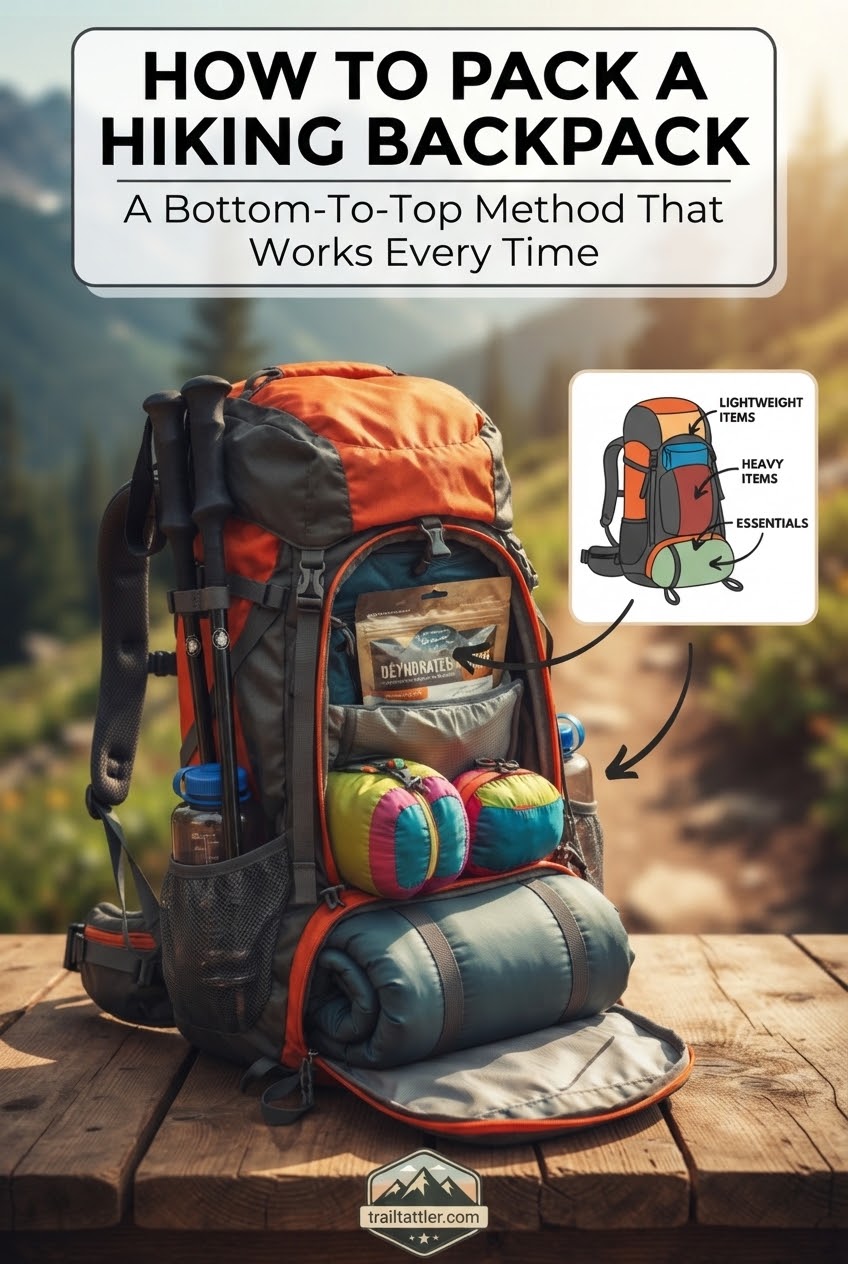
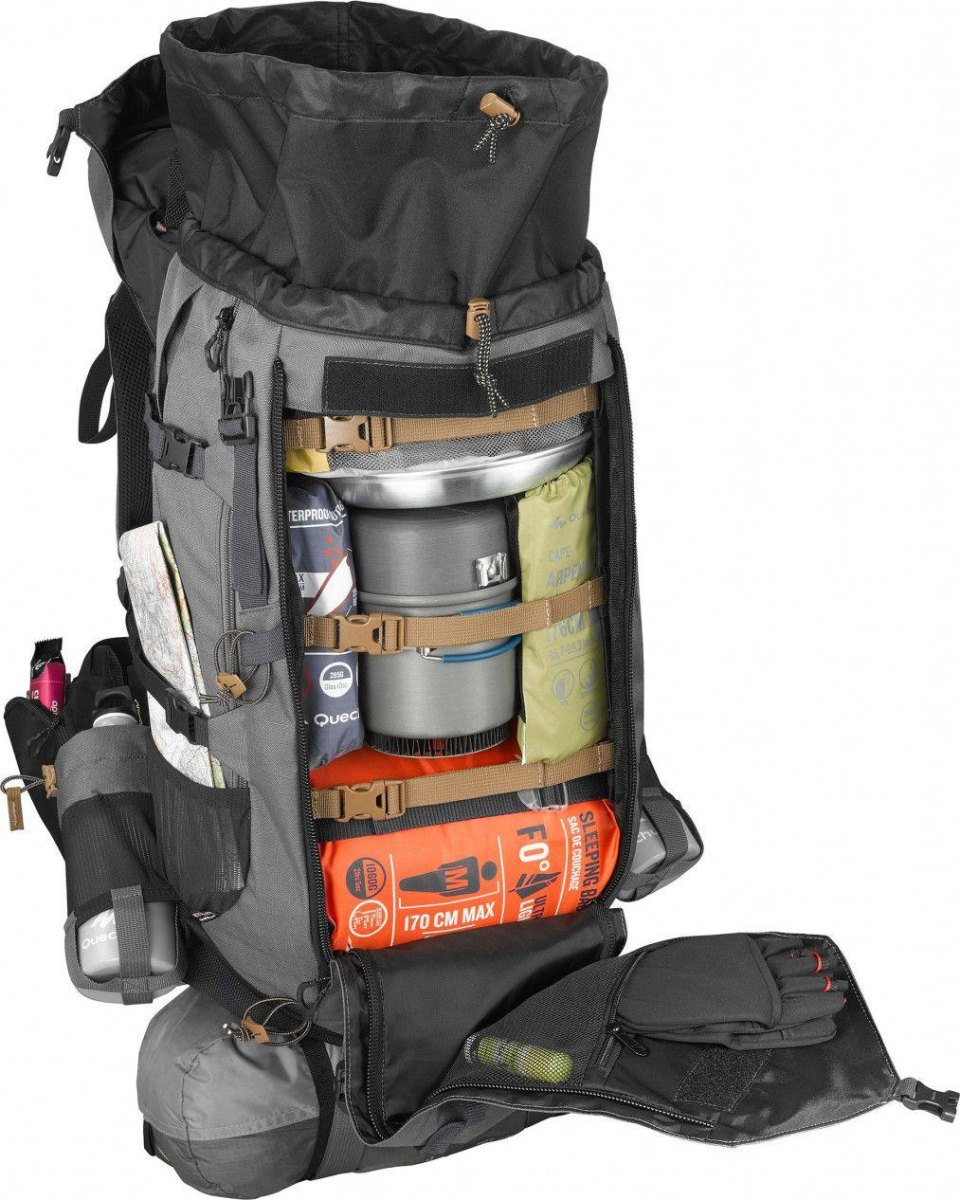
The sleeping bag is the first thing in and it goes all the way to the bottom, compressed and unstrapped into the main compartment before anything else touches the pack. It's the item you won't need until you're horizontal at camp, so it earns the spot you'll never reach again until then.
It's also light for its bulk, which matters more than people think. Weight belongs low and close to your spine, not at the very bottom of the bag. Putting the sleeping bag down there isn't about weight distribution — it's about not needing it, freeing the rest of the pack's volume for things you'll dig for mid-hike.
The number of returns I processed in retail for a pack that felt fine empty and awful loaded taught me this the hard way: it's rarely the pack. It's what went in first.
Food, Stove and Fuel Ride Right on Top of It
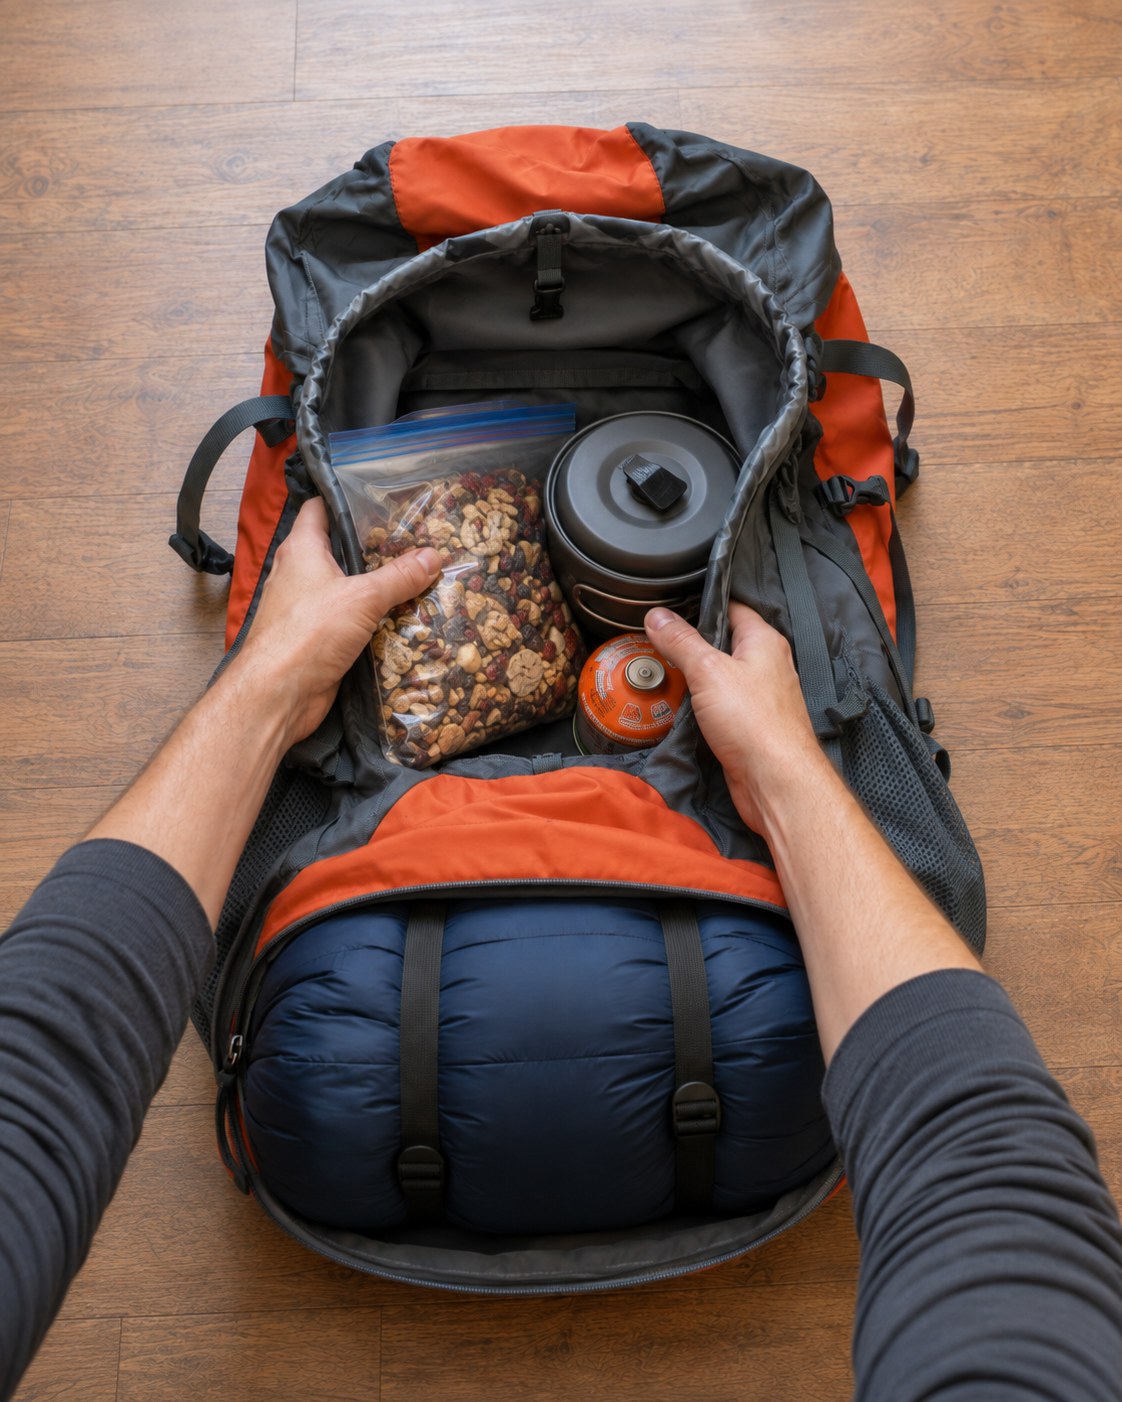
Next in, sitting directly on top of the compressed sleeping bag: the cook pot with the stove nested inside, the fuel canister, and a full quart bag of trail mix. These are your densest, heaviest items, and they need to sit low and centered, right against your back panel, not floating toward the top of the pack where they'll pull your shoulders backward with every step.
A few things to get right here:
- Fuel canisters should always ride upright when possible and never get crushed under sharp gear
- Food goes wherever's convenient for packing, but at camp it needs proper storage away from your tent — bear country rules aside, no animal needs to learn your granola smells like dinner
- Don't skip the pot lid — I've watched it rattle loose in a side pocket for three miles before someone noticed
The Tent and Stuff Sacks Fill the Middle
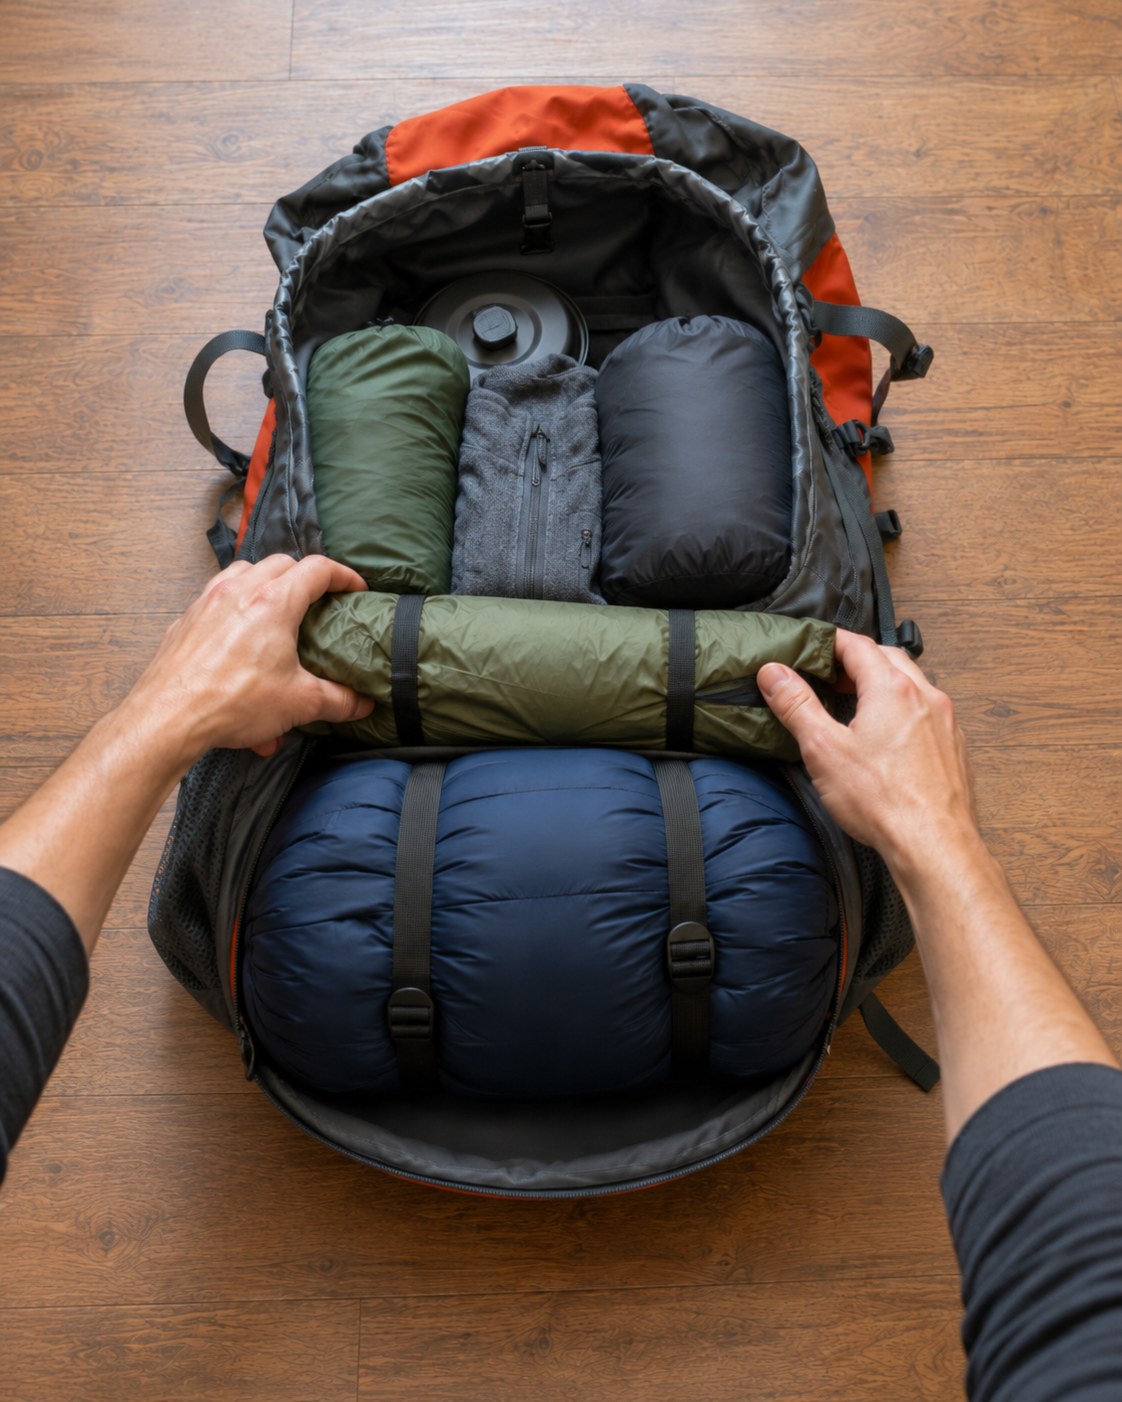
The rolled tent body goes in vertically alongside two stuff sacks — one dark, one lighter — packed as a column rather than dropped in loose. This middle layer is where bulk goes: it's heavy enough to matter but not dense enough to need the very bottom, and packing it as tight cylinders instead of loose lumps is what keeps the whole load from shifting sideways when you lean into a switchback.
Why the shape matters more than the order here
A pack that sways left and right with every step isn't usually overpacked — it's unevenly packed. Matching the tent's roll diameter to your stuff sacks and standing them up together, rather than stacking them flat, is what keeps that column stable against your back instead of rolling around inside the bag.
Clothes Close the Gaps Left Behind
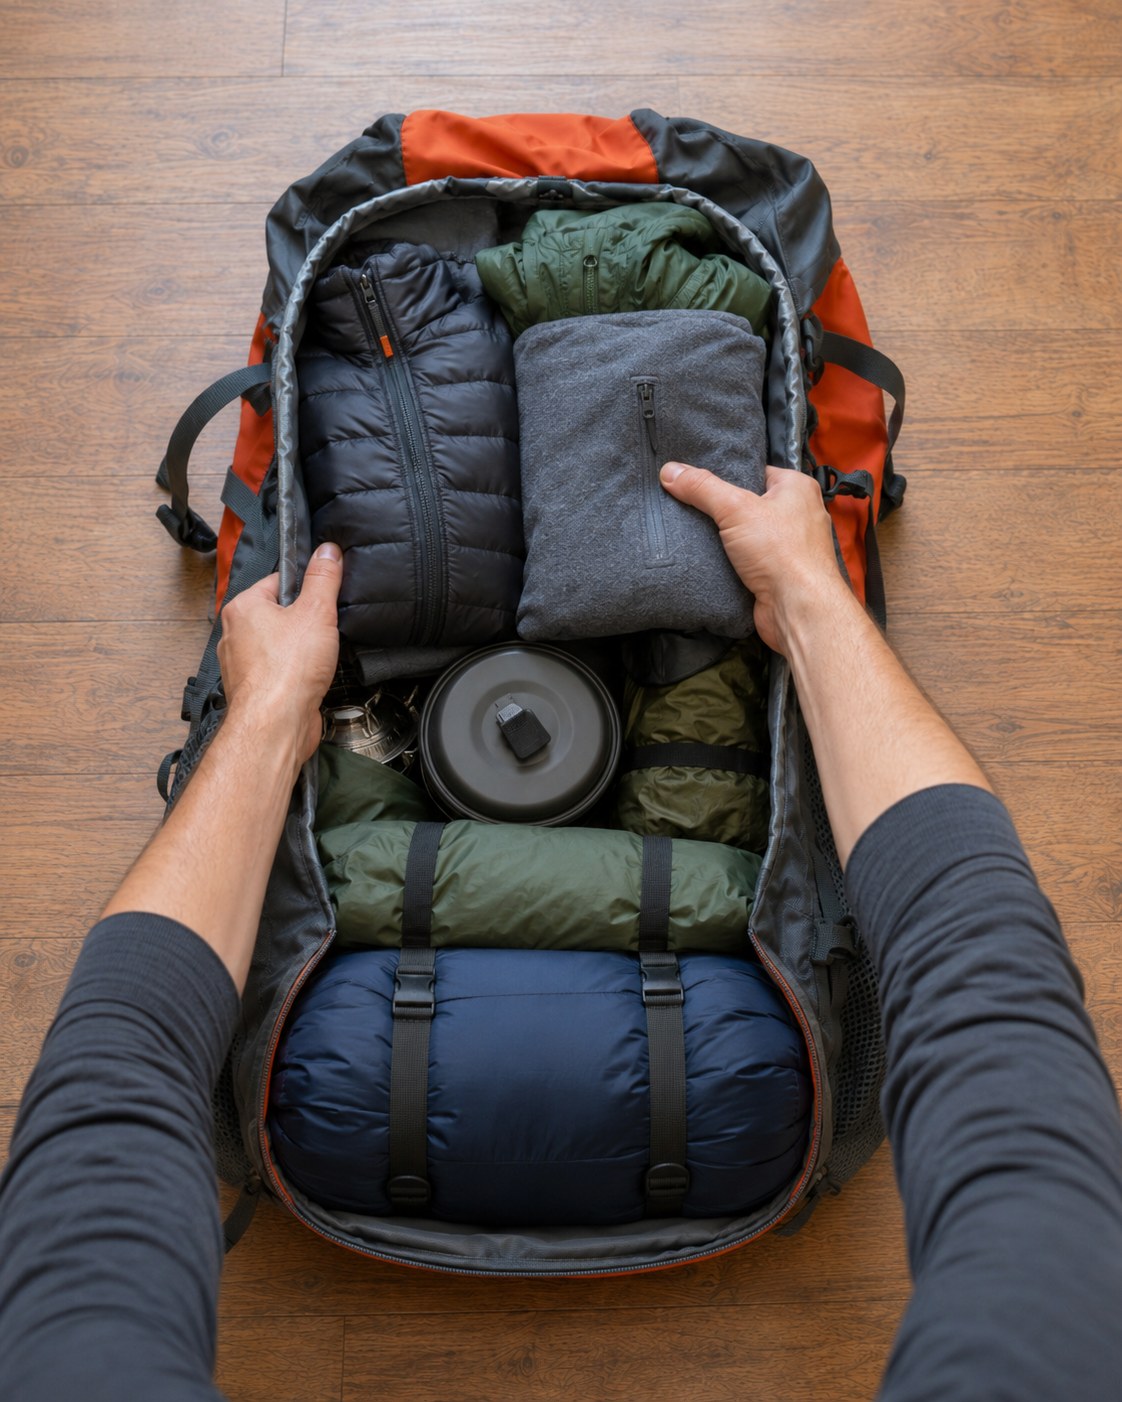
The insulated jacket and folded fleece go in next, and their real job isn't warmth yet — it's filling every void the rounded stuff sacks and pot left behind. Soft, compressible layers are the best gap-fillers in the entire pack because they mold around hard shapes instead of leaving air pockets that let your load shift on the trail.
This is also the layer I reach for at a lunch stop when the temperature drops on a ridge, so I keep it in the upper half of the main compartment rather than burying it under the tent. Pack for the order you'll need things, not just the order that fits neatly. A jacket you can't reach without unpacking half your bag isn't doing its job.
The Lid Is for What You Need Without Unpacking
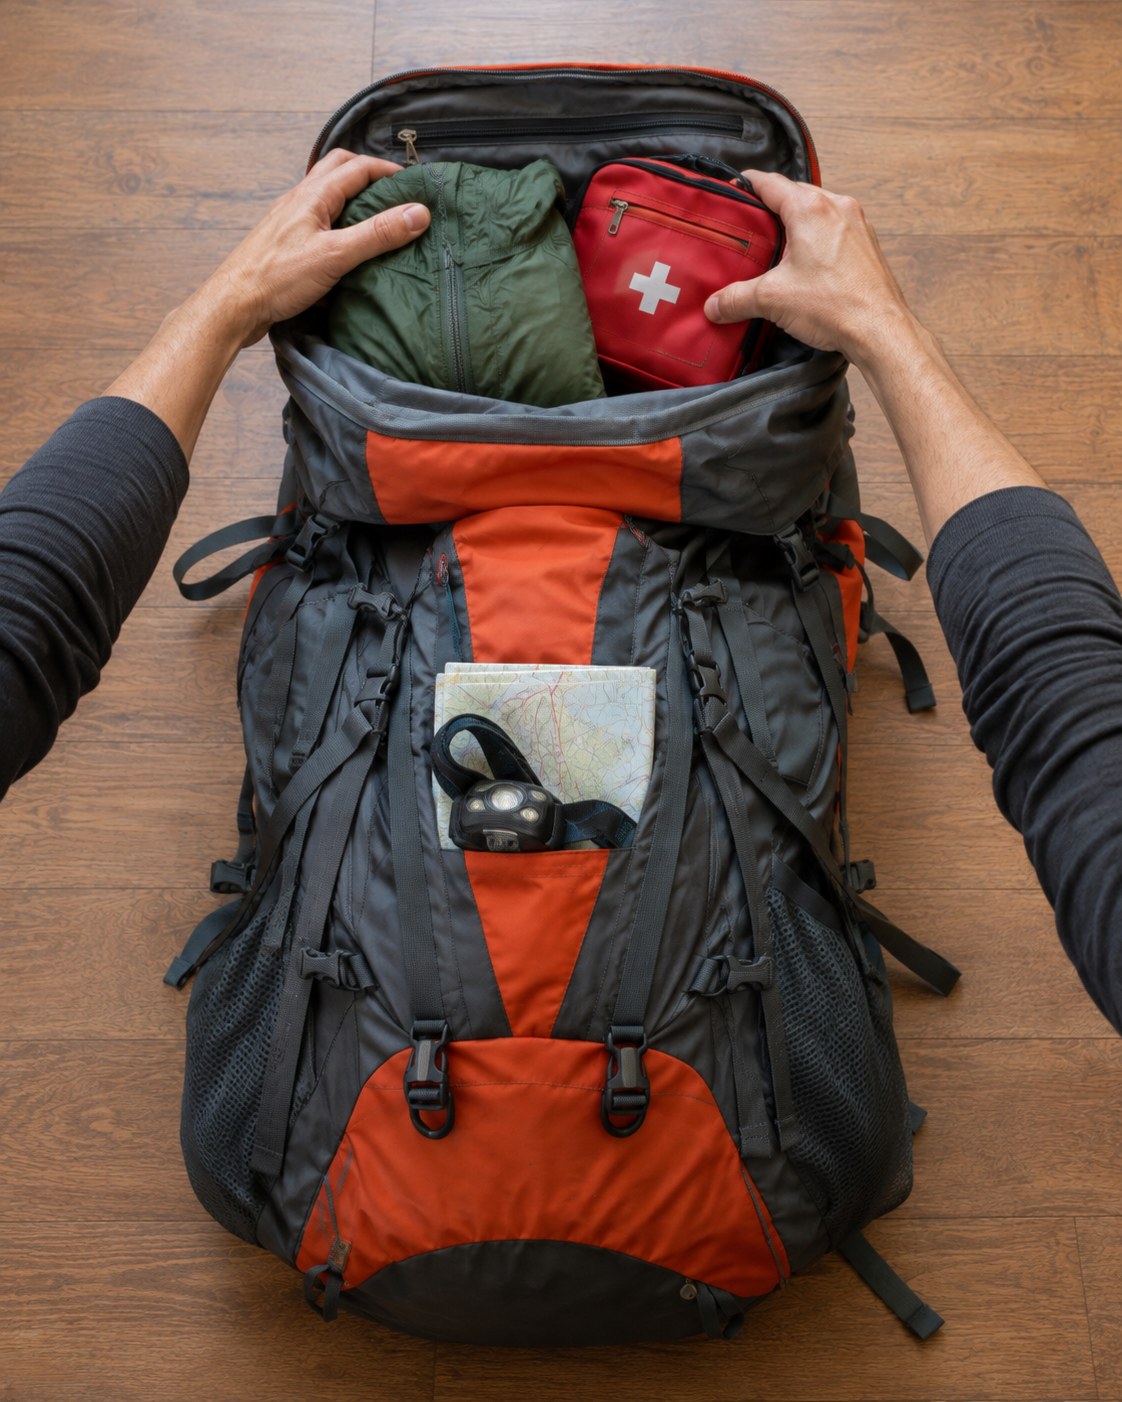
The last layer of the extra mid-layer and the red first aid kit go into the lid pocket, and the front stretch pocket already holds the map and headlamp from earlier. This top zone is reserved for anything you might need mid-stride, without stopping to unpack the whole bag on a slope.
My rule from years of carrying a litter and years of watching what goes missing on a rescue call: the Ten Essentials don't live buried at the bottom. First aid kit, headlamp, navigation — all up top or in an outer pocket, every time, no exceptions, even on a trail you've hiked a hundred times.
Side Pockets and Compression Straps
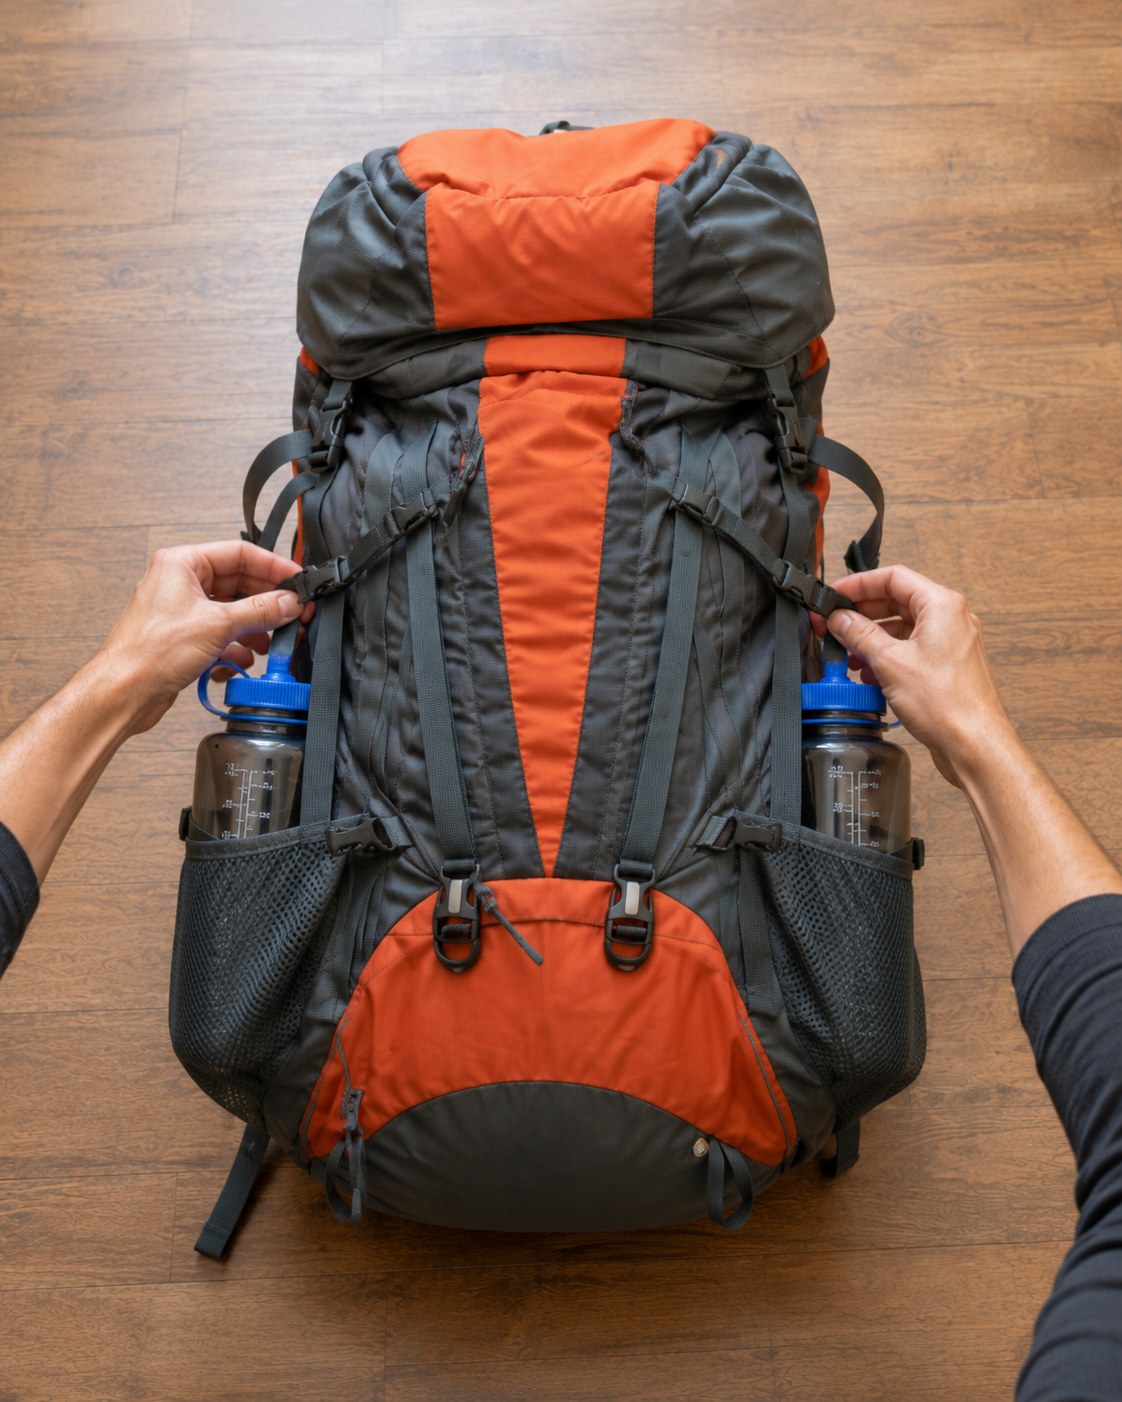
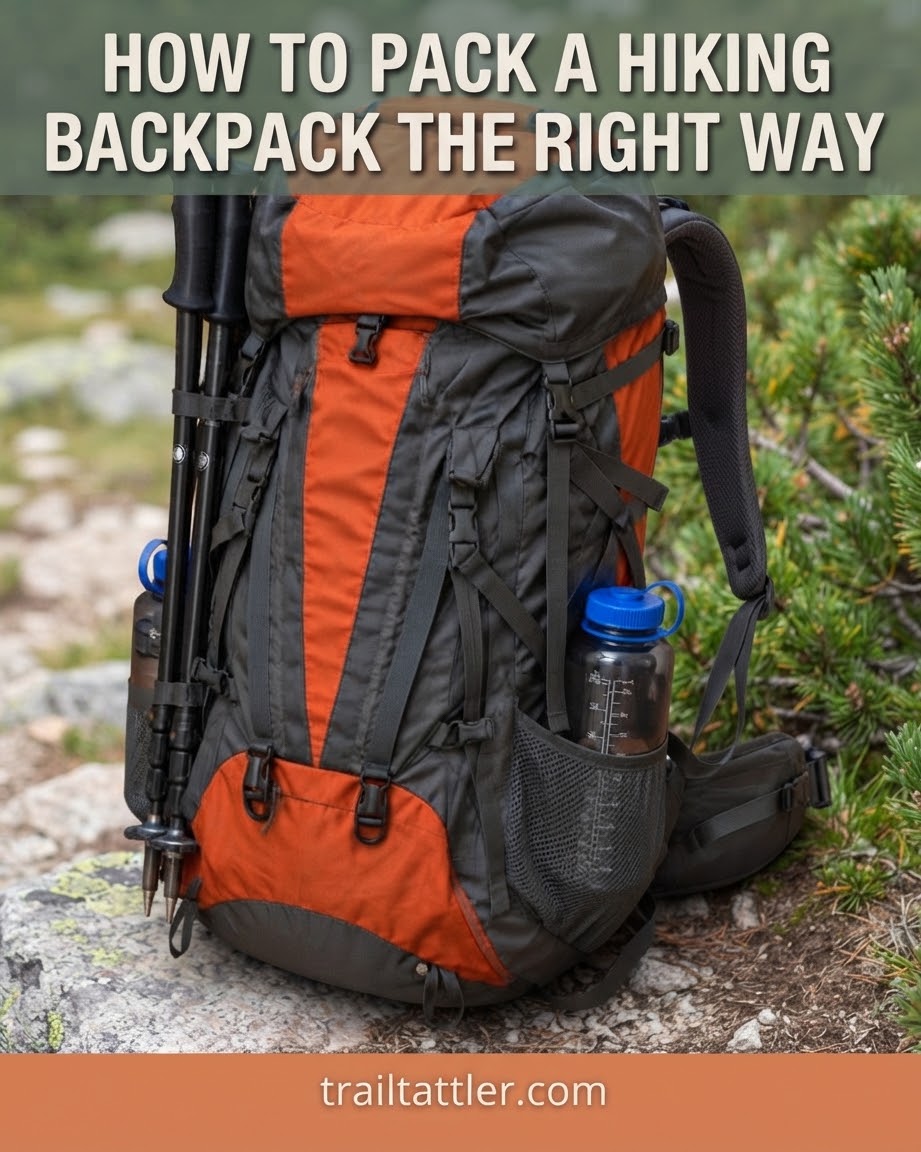
Two wide-mouth water bottles go into the side mesh pockets last, angled so you can pull one out without taking the pack off — that's the whole point of a side pocket, and I still see people bury bottles in the main compartment where they're useless until camp. Then the compression straps get cinched down on both sides.
- Cinching does two jobs: it stabilizes the load so it doesn't shift when you turn or scramble, and it pulls the weight closer to your back where your hips can actually carry it
- Check both sides evenly — a pack cinched tighter on one side rides crooked all day and you won't figure out why your shoulder hurts until you're back at the car
Poles On, Straps Set, Time to Walk
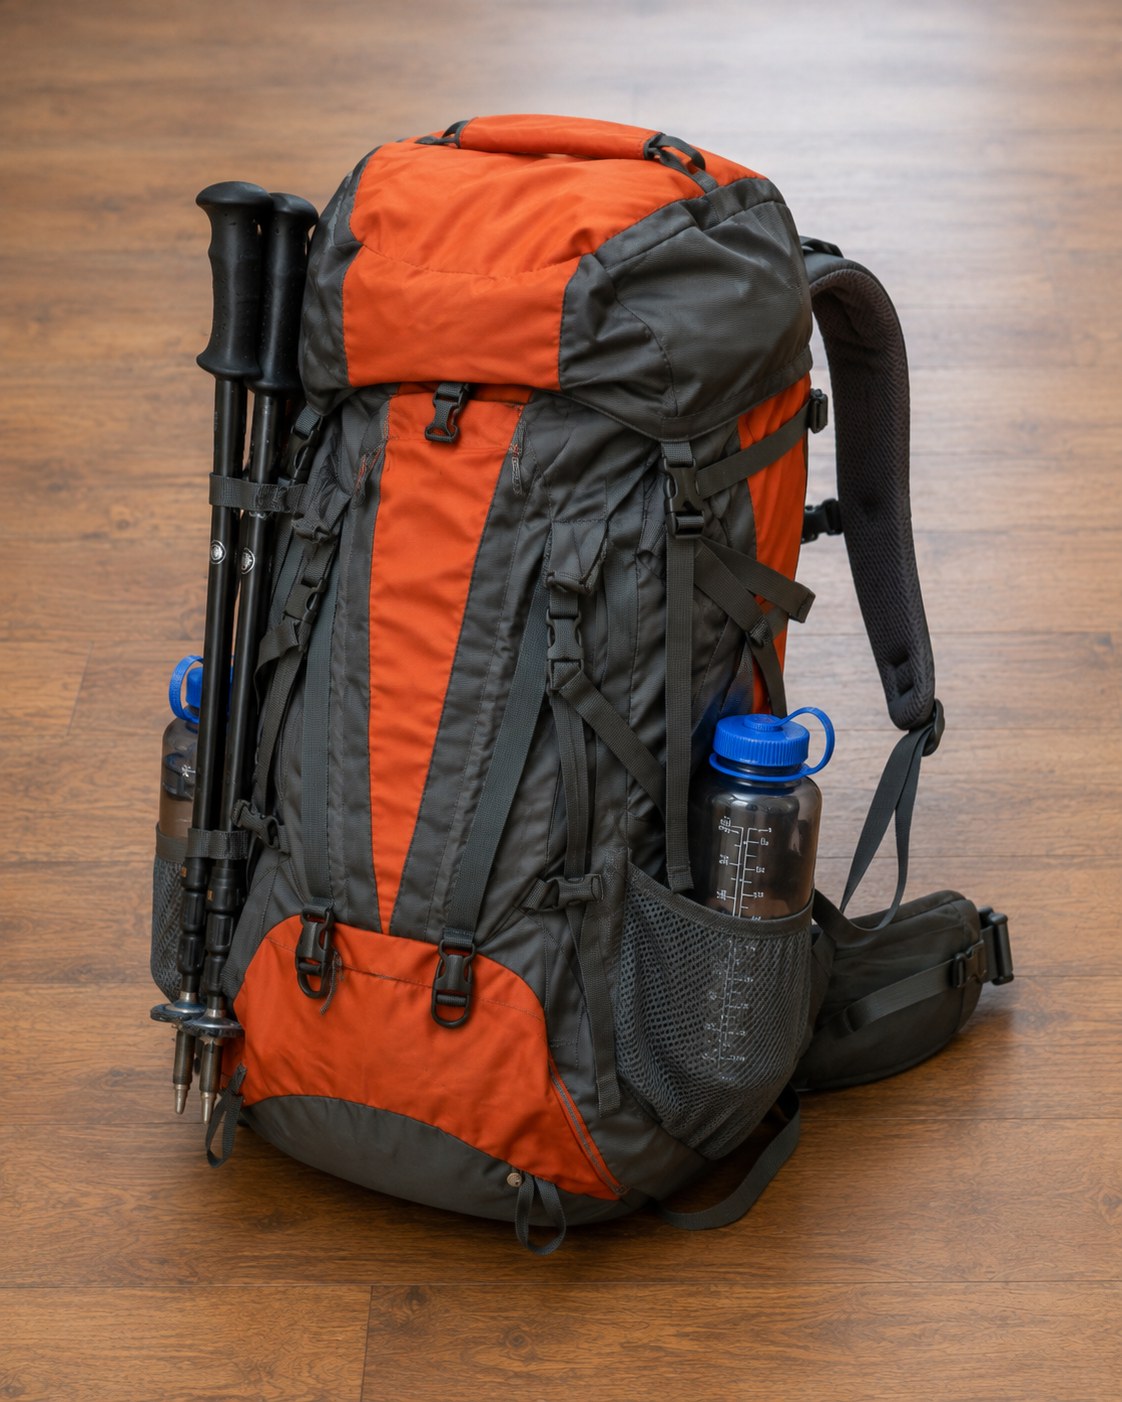
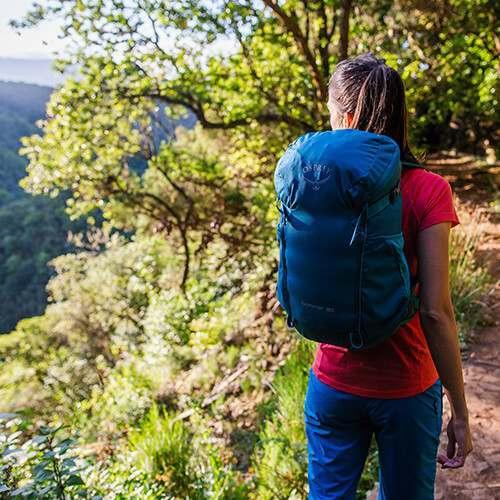
Trekking poles clip onto the side loops, both bottles sit ready in their pockets, and the pack stands loaded and balanced against the wall — this is the version that actually goes out the door. Before you shoulder it, do the honest test: lift it, put it on, and walk a lap around the room. It should sit close to your back with no single spot digging in.
Before you head out, tell someone your route and when you expect to be back — a habit that costs nothing and matters more than any piece of gear in this pack. And build in a turnaround time based on your daylight and your slowest hiker, not your best guess. That's the part packing lists never cover, and it's the part that actually gets people home.
None of this takes longer than fifteen minutes once you've done it a few times, and it's fifteen minutes that decides whether your shoulders are still speaking to you by mile four. Pack it this way a couple of trips in a row and it stops being a method — it just becomes how you pack.


Frequently Asked Questions
What size backpack do I actually need for one night out?
For one night with the gear shown here — sleeping bag, tent, stove, food and layers — a 40-50 liter internal frame pack has enough room without leaving you fighting excess space. Anything smaller and your compression straps end up doing more work than they should.
Should the sleeping bag always go at the very bottom?
Yes, for anything you're carrying overnight. It's light, bulky, and you won't need it until you're at camp, so it's the one item that can afford to be the hardest to reach.
Is there a rain cover step missing here?
If rain's a possibility, a pack cover or a heavy-duty liner bag around your main compartment goes on before anything else — I just didn't shoot it in this sequence because the day was dry. Don't skip it on a real trip.
Do trekking poles always attach to the outside?
When you're not actively using them, yes — clipped to the side loops keeps your hands free and the poles secure without adding weight to your carry. Just check they're cinched tight before you start moving; loose poles knock against your legs the whole way down.