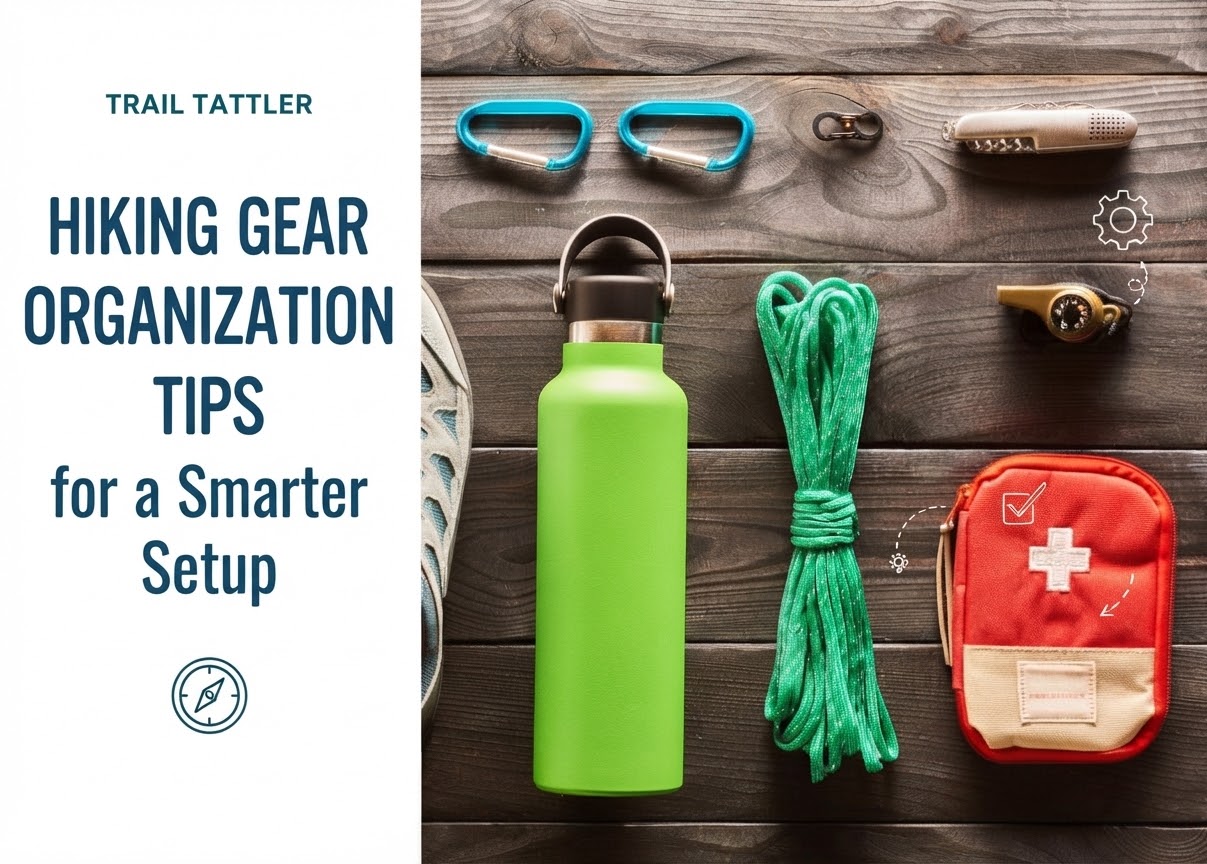

I learned the hard way that a messy gear room creates messy trail days. After years of outdoor retail, search and rescue volunteering, and enough wet socks hanging around my house to annoy Sam, I now treat gear organization as part of trail preparation.
The goal is not a showroom-perfect closet. It is a system where I can find my headlamp, layers, and first-aid kit without emptying three bins onto the floor. Here is how I keep my hiking gear ready for the next outing.
Sort Gear by Hiking Activity
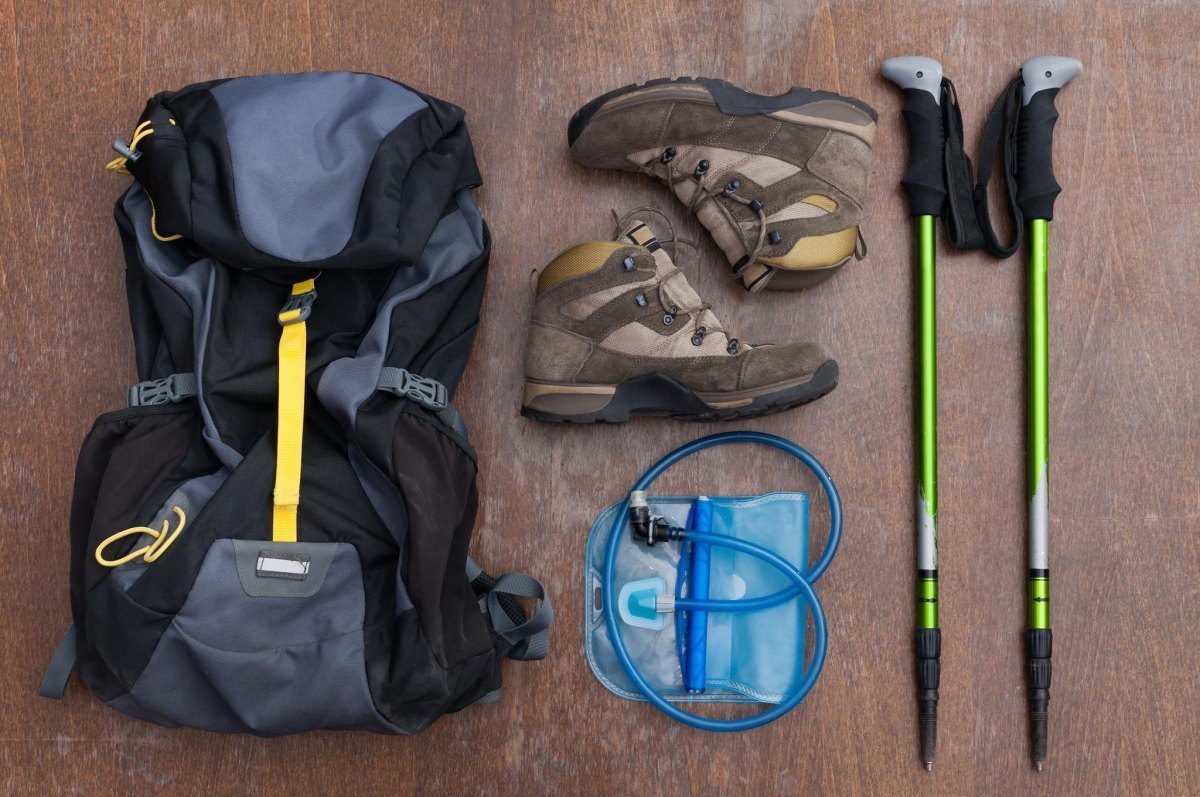
I stopped storing everything by product type years ago. My backpacking stove does not need to sit beside my day-hike snacks. I group equipment by trip purpose because activity-based storage makes packing faster.
My main categories are day hikes, overnight trips, bad-weather gear, and trail maintenance tools. The Ten Essentials work best when treated as systems rather than random objects, so I keep those systems together too.
- Day hike bin: Pack, poles, hydration gear, and everyday safety items.
- Overnight bin: Shelter, cooking equipment, and sleep gear.
- Weather bin: Rain layers, gloves, and cold-weather accessories.
Create a Dedicated Hiking Gear Storage Area
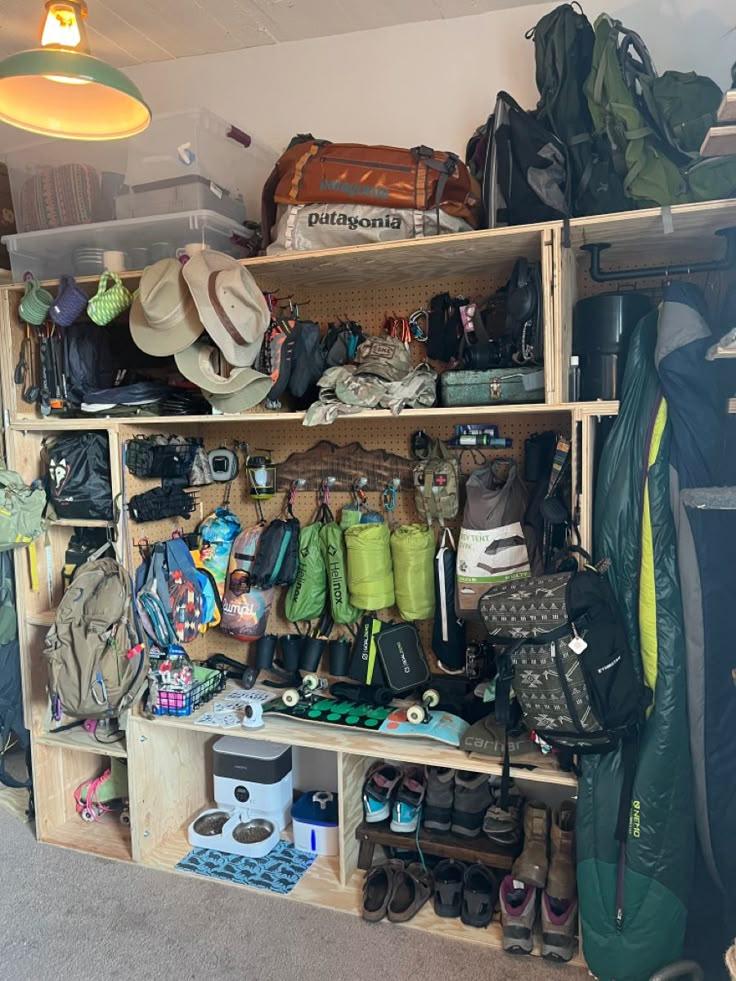
My old spare bedroom became a gear room because leaving wet jackets on random chairs was not a sustainable lifestyle. A dedicated area keeps trail equipment together and makes maintenance easier.
I use shelves, hooks, and open bins because gear hidden too deeply is gear forgotten. The drying rack stays ready because something is almost always damp after a Southeast hike.
My storage tip
Keep frequently used items between waist and shoulder height. Heavy packs and boots should not live on high shelves.
Label Containers for Quick Gear Access
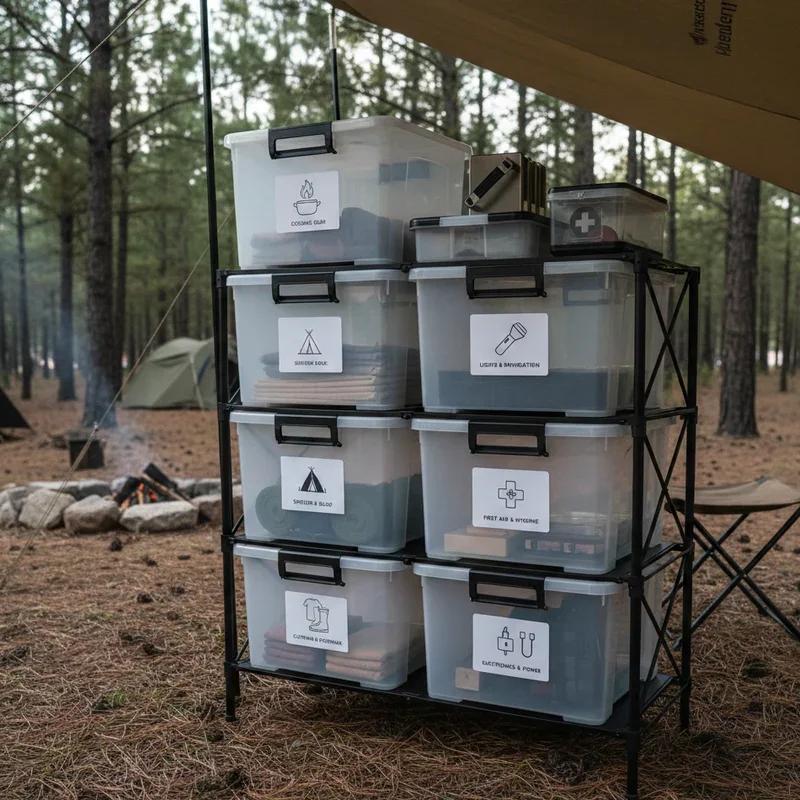
I spent years watching customers buy duplicate gear because they could not find what they already owned. Clear labels solve that problem. Labeled storage bins remove the guessing game.
I label containers by function instead of brand. Nobody needs a bin called “random outdoor stuff”; everybody needs one called “navigation and emergency.”
- Navigation and maps
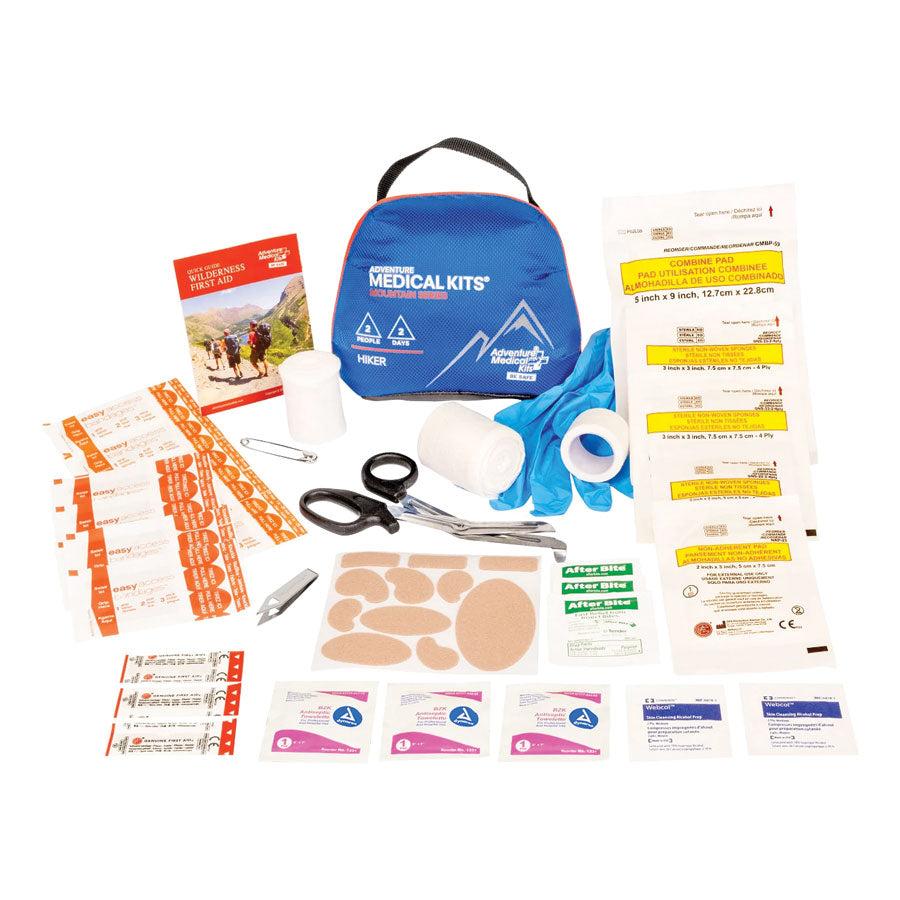
- First aid supplies
- Lighting and batteries
- Repair items
Organize Your Backpack by Priority and Use
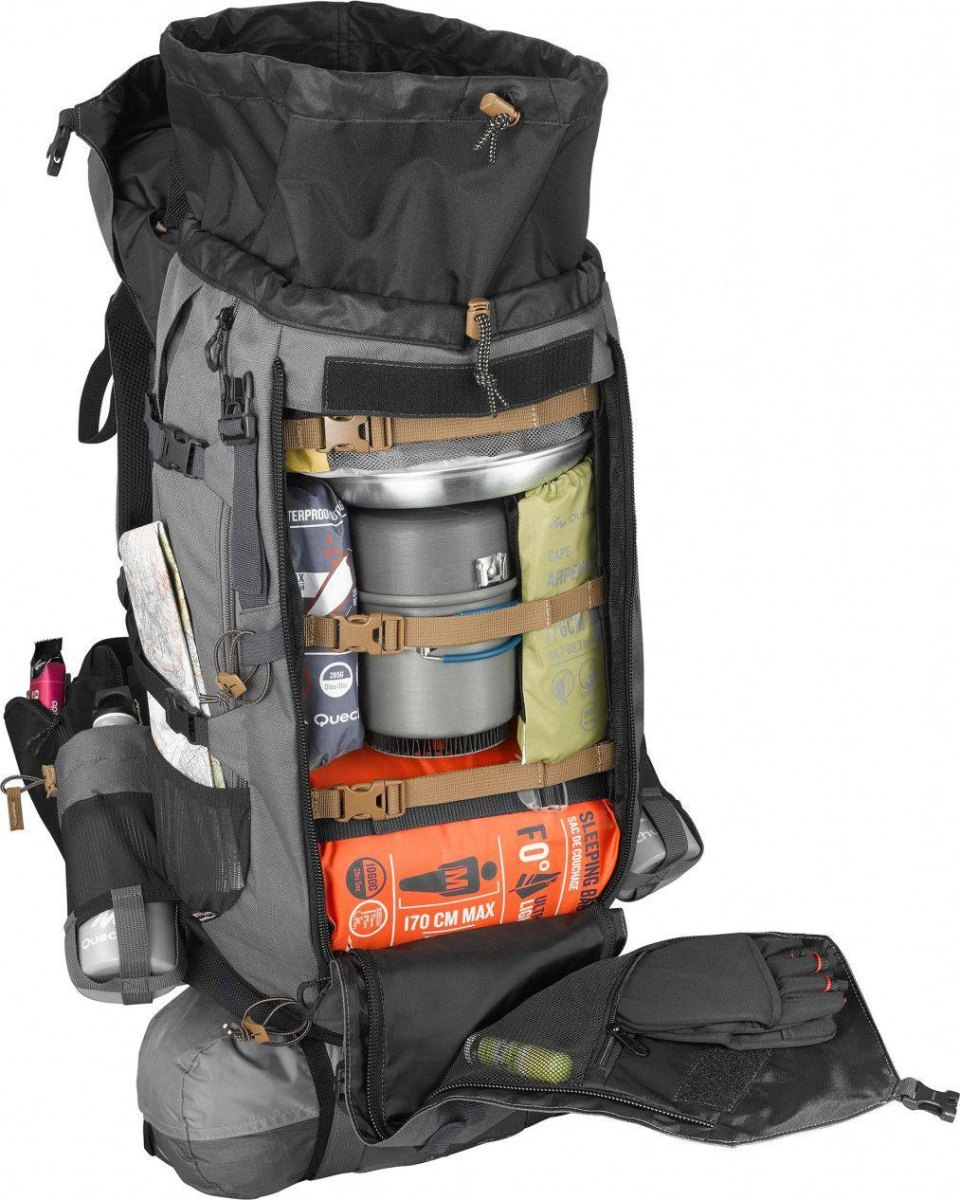
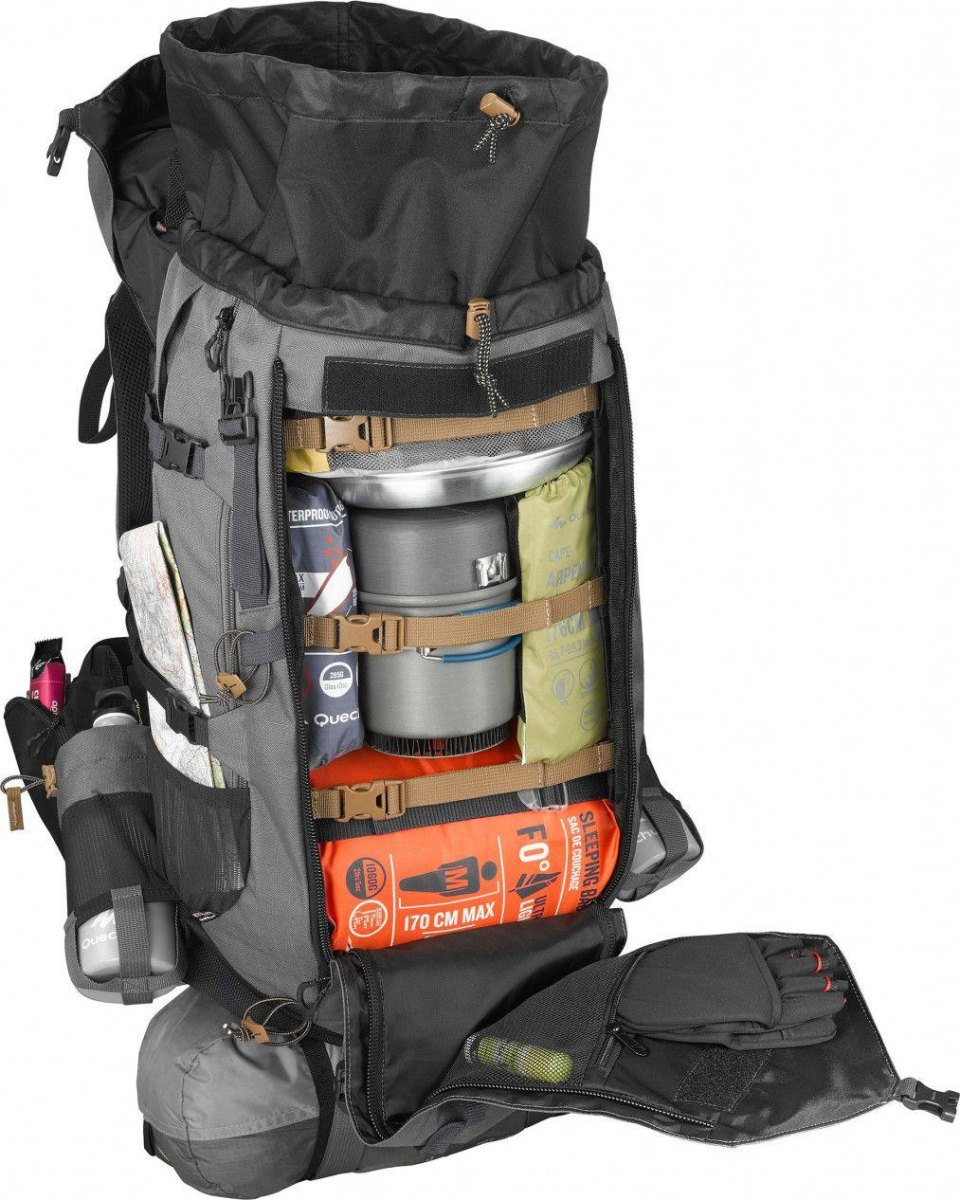
A backpack should be organized before the trailhead, not while standing beside the car. I pack according to access needs, keeping important trail gear where I can reach it quickly.
My rain shell, snacks, map, and first aid kit have predictable homes. That consistency matters when weather changes or a simple problem needs fixing.
| Pack Area | Stored Items |
|---|---|
| Top pocket | Quick-access essentials |
| Main compartment | Layers and larger equipment |
| Side pockets | Water and frequent-use items |
Store Hiking Clothing by Layer System
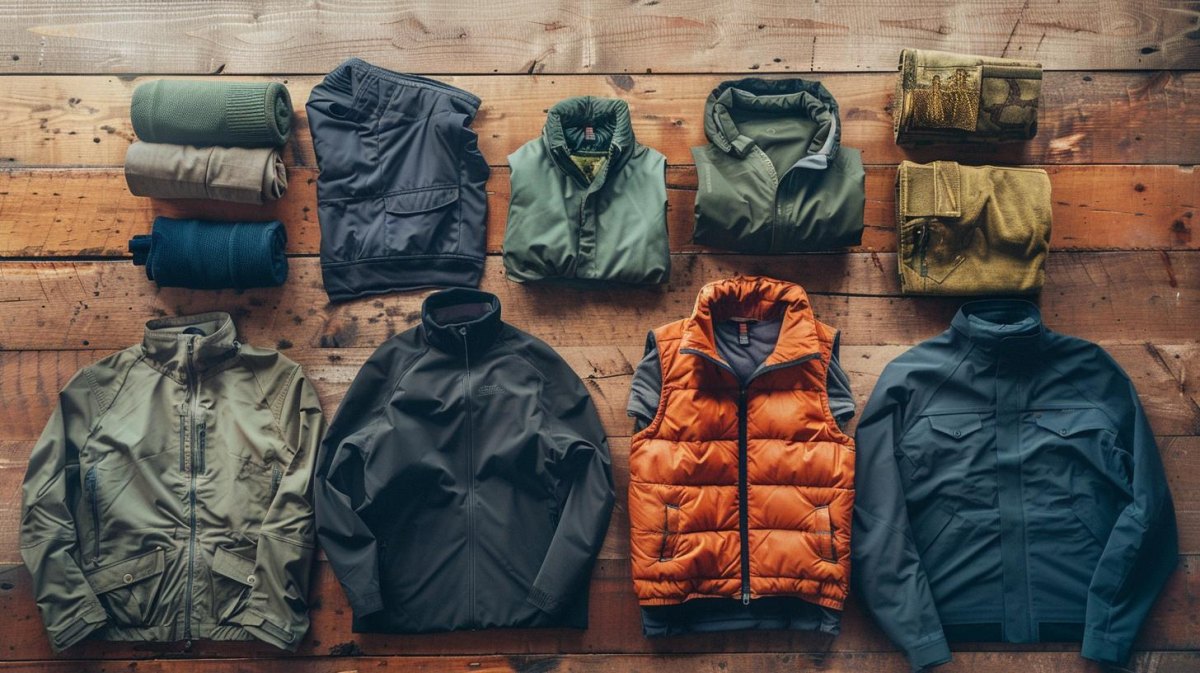
I organize hiking clothing around the layering system instead of seasons alone. A base layer, insulation layer, and shell each have a job, which makes packing decisions easier.
This also stopped me from bringing too much clothing. Layer-based storage lets me grab exactly what conditions require instead of guessing.
- Separate. Keep base layers away from bulky insulation.
- Group. Store rain shells and wind layers together.
- Review. Remove worn items after each season.
Keep Footwear Clean and Ready for Trails
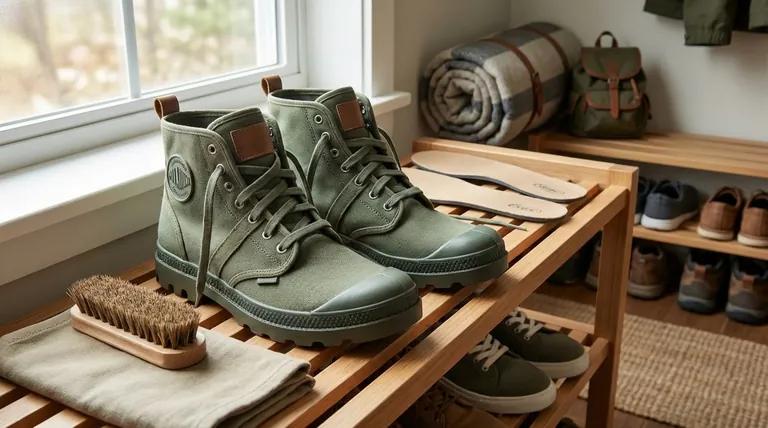
Boots are where my old retail job still shows up. I have fitted enough feet to know that neglected footwear eventually becomes uncomfortable footwear. Clean, dry boots are ready trail boots.
I brush off mud, remove insoles, and let boots dry naturally. Heat sources can damage materials and adhesives, so I avoid the temptation to put boots beside a heater.
Good habits
- Clean dirt after muddy hikes
- Air dry completely
Avoid
- Storing wet boots
- High heat drying
Arrange Navigation and Safety Equipment Together
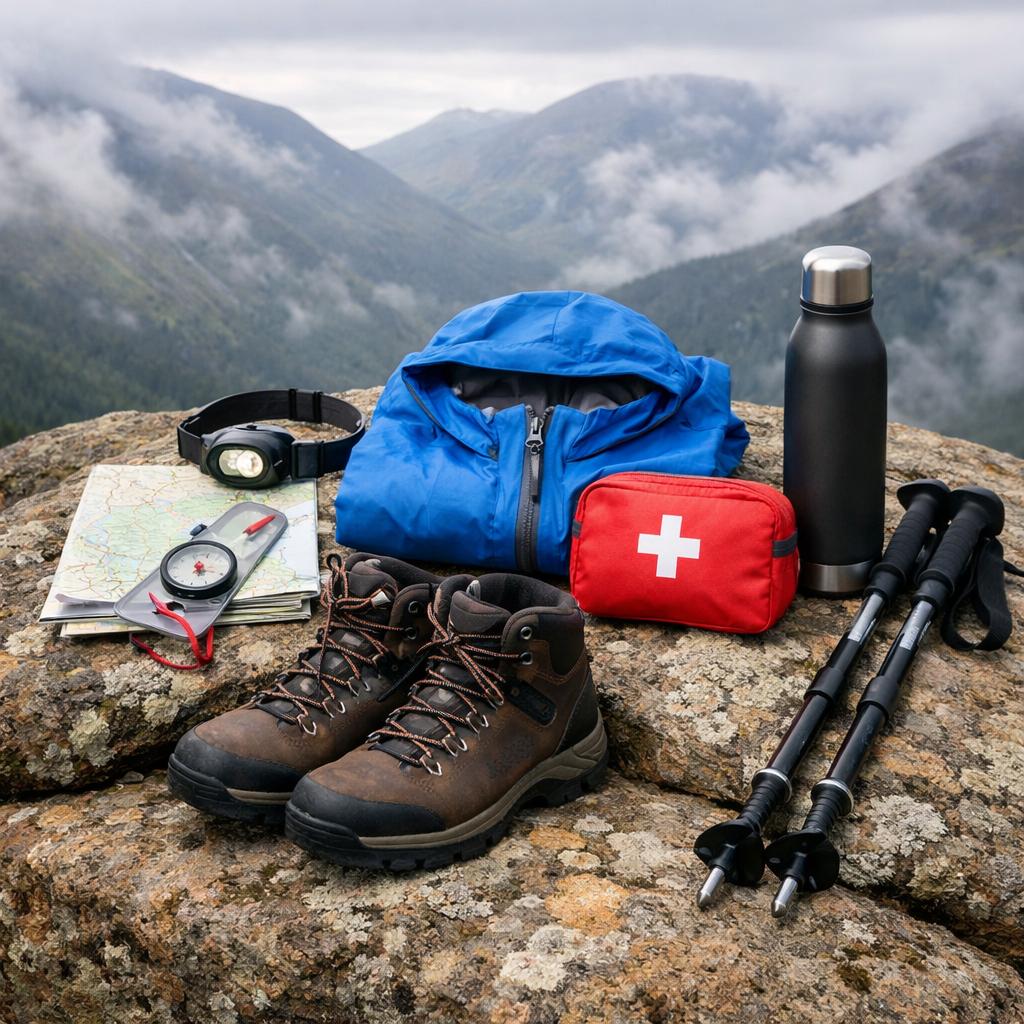
My SAR years changed how I think about small items. The people needing help are often not on dramatic expeditions; they are on normal hikes that went sideways. I keep safety equipment together so it is never forgotten.
The Ten Essentials include navigation, light, first aid, extra food, water, and other systems that should match the trip.
Do not separate emergency gear
A headlamp in one drawer and spare batteries in another is how important gear gets left behind.
Manage Small Hiking Accessories Efficiently
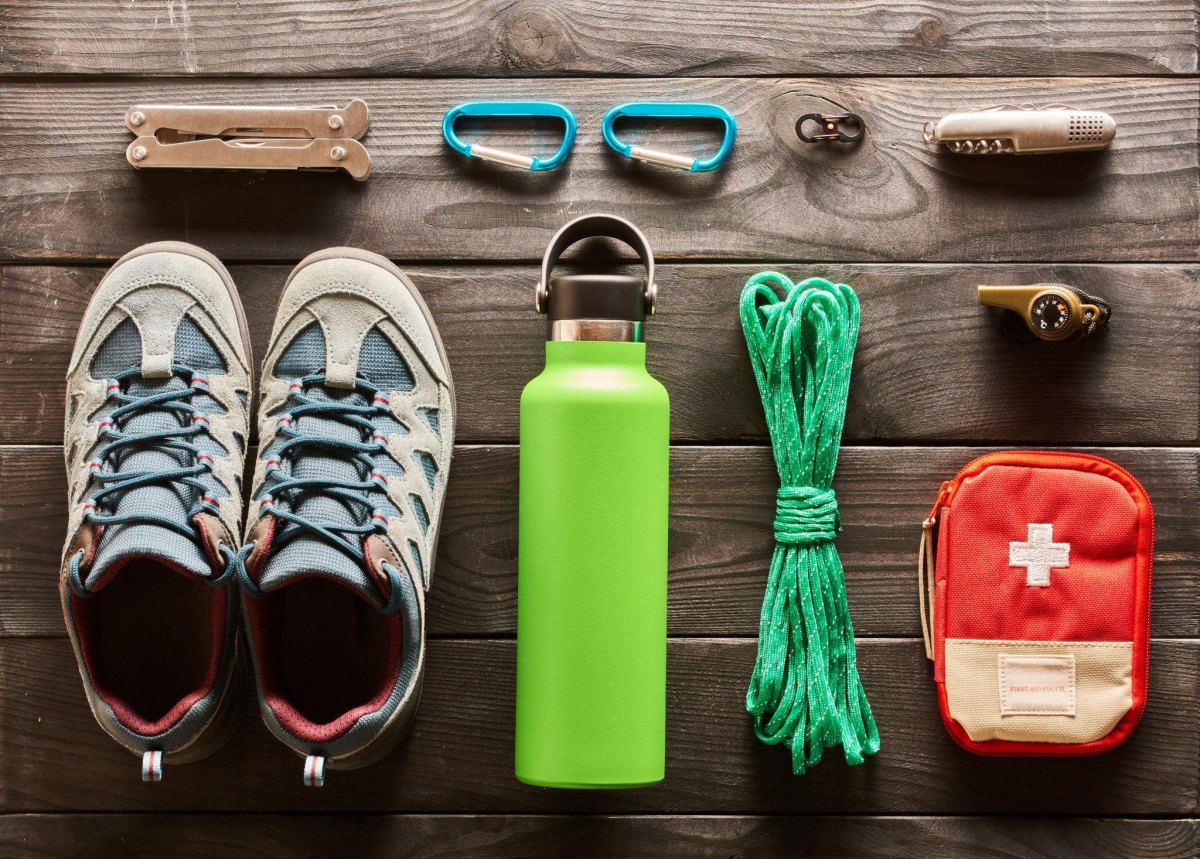
Small gear creates the biggest mess. Carabiners, whistles, cords, and repair pieces multiply like they have their own hiking plans. I use small pouches for tiny trail accessories.
Each pouch has a purpose, which means I spend less time hunting for a missing buckle or battery.
- Battery pouch
- Repair pouch
- Navigation pouch
- Dog hiking supplies for allowed trails
Prepare Seasonal Hiking Gear Storage
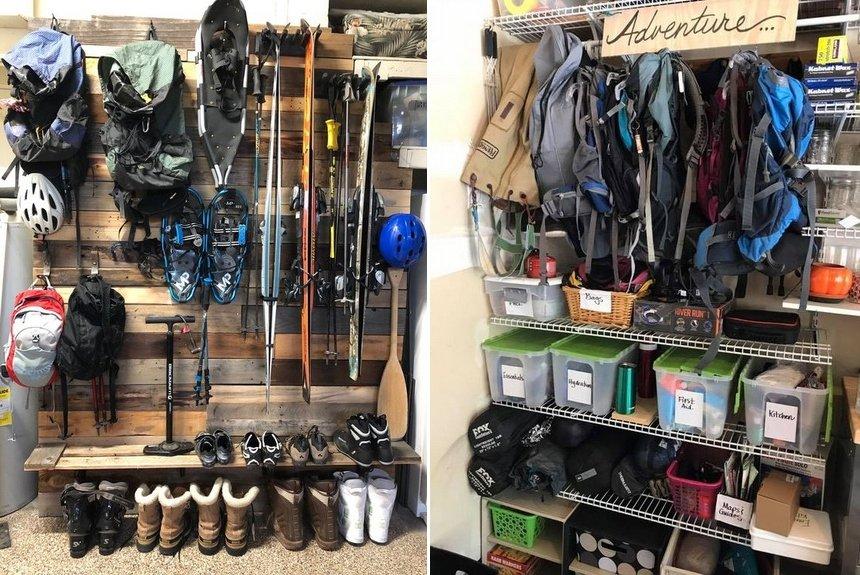
I rotate equipment as the weather changes. My summer setup does not need to sit in front of winter insulation, and seasonal gear rotation keeps my storage space usable.
Before storing anything long term, I clean it, dry it, and check for repairs. A forgotten damaged zipper is much less funny at a rainy trailhead.
| Season | Gear Focus |
|---|---|
| Cold months | Insulation and gloves |
| Warm months | Hydration and sun protection |
Maintain a Trail-Ready Gear Checklist
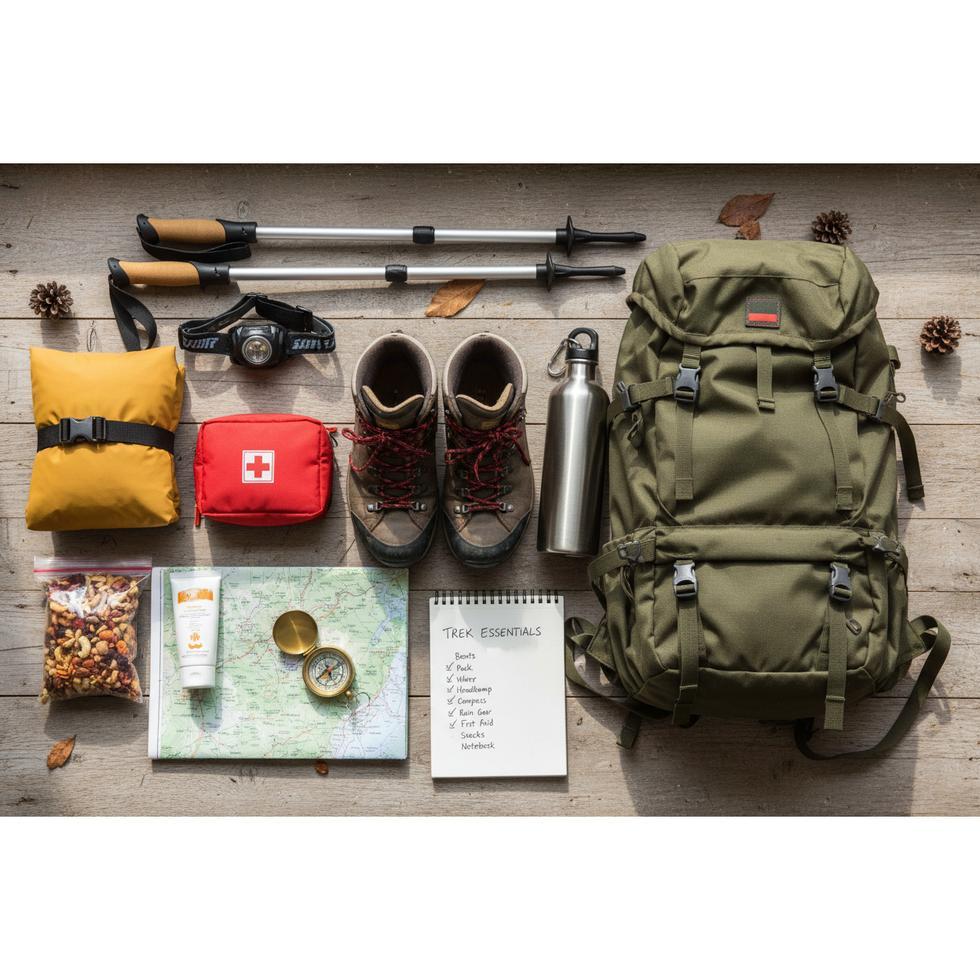
I keep a checklist because memory is unreliable, especially before an early morning start. A simple list protects the important hiking systems from being forgotten.
I adjust the list for distance, weather, and terrain rather than blindly packing everything. REI also recommends adapting checklists to the specific hike rather than treating them as identical trips.
- Pack and water system checked
- Navigation tools packed
- Weather layers added
- First aid supplies reviewed
Dry and Store Gear After Every Hike
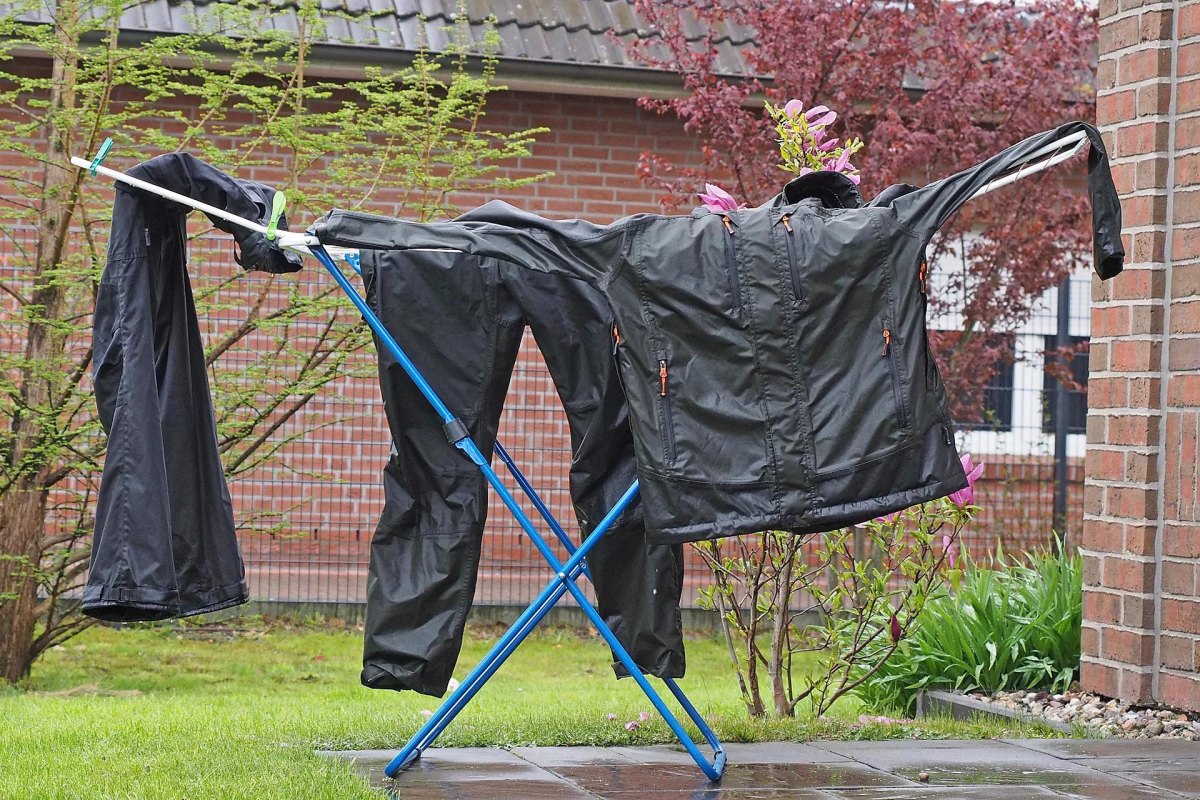
The worst storage habit is putting wet gear away and pretending tomorrow's problem is future-you's problem. Future-me is usually annoyed. I dry everything because post-hike maintenance extends gear life.
Jackets, packs, and footwear all get inspected before returning to storage. This takes minutes and prevents unpleasant surprises.
Common mistake
Do not seal damp clothing or gear into closed containers. Moisture needs a way out.
Review and Upgrade Your Hiking Gear System
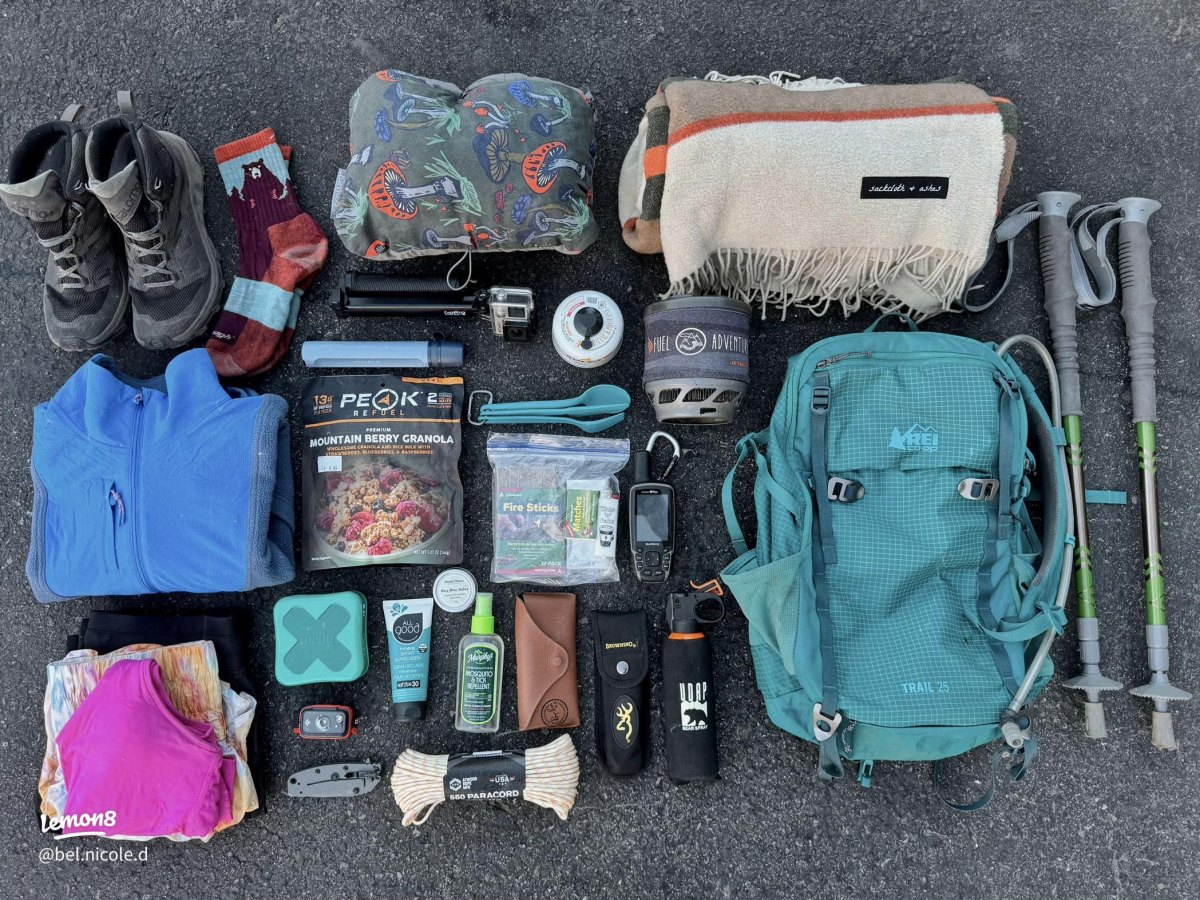
I do not replace gear just because a newer version exists. My outdoor retail years taught me that marketing moves faster than durability. I review what actually gets used and improve my gear organization system slowly.
Every few months I check for broken items, duplicates, and things I have carried for years without touching. Sometimes the best upgrade is removing something.
My rule from the gear room
If I cannot explain why an item belongs in my kit, it probably needs a new home.

More Pinterest Visuals