
I have packed enough overnight loads to know that a backpack rarely fails because of one missing gadget. It usually fails because the wrong items are buried, the weight is fighting your stride, or the things you need in bad weather are impossible to reach. I use a simple system built from years of outdoor retail, trail work, and carrying packs through real conditions.
The goal is not a perfect ultralight setup. The goal is a pack where every item earns its place, stays protected, and can be found when daylight, weather, or energy starts running out.
Choose and Organize Essential Backpacking Gear
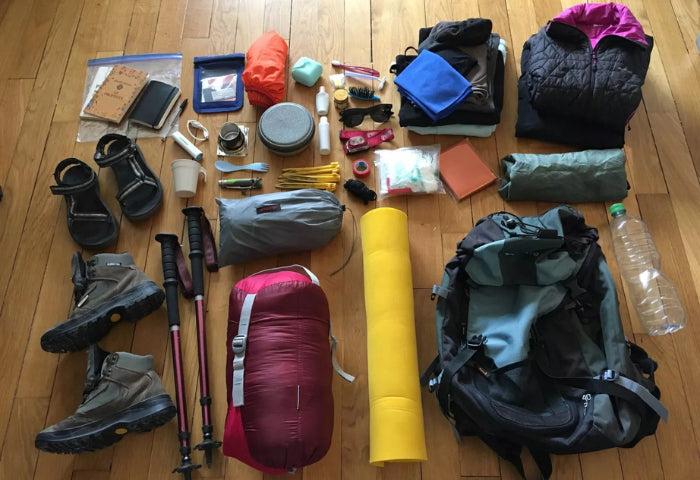
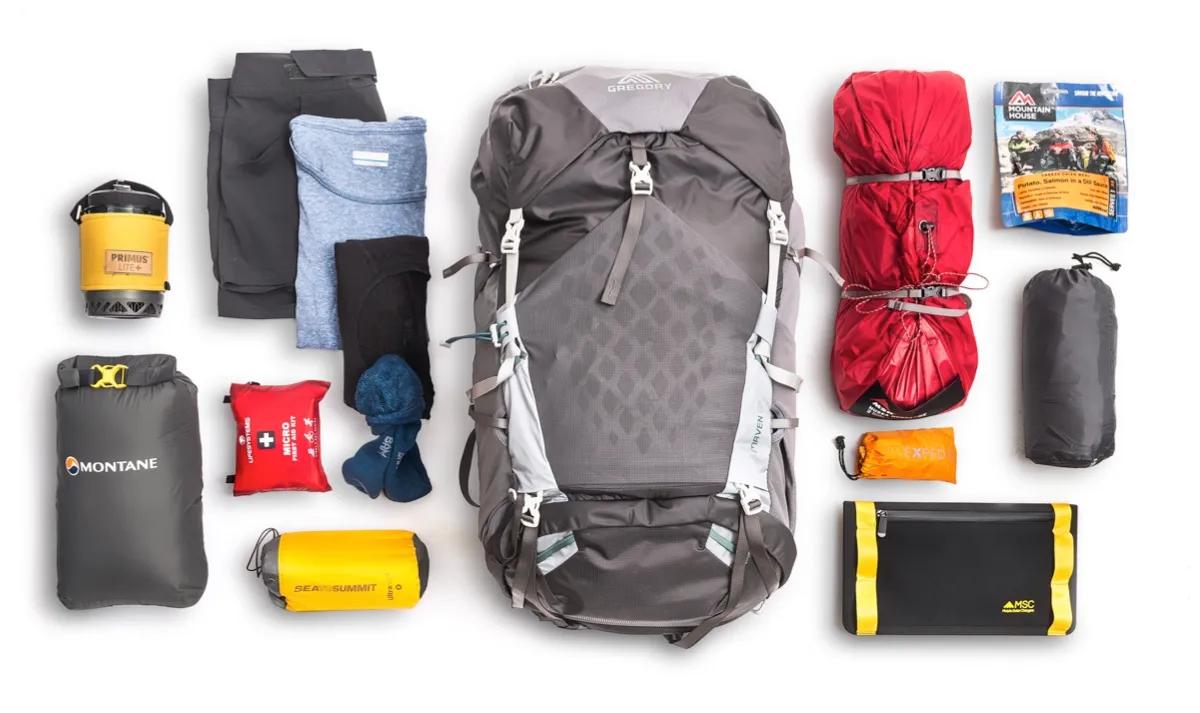
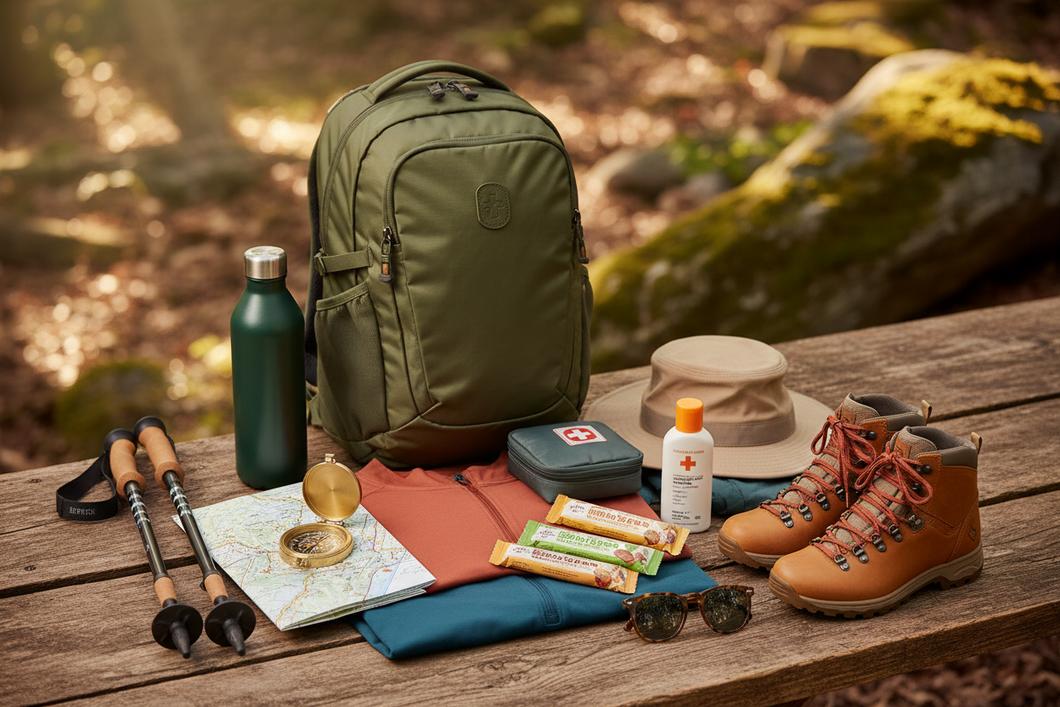
Before anything goes into my pack, I make a complete pile and separate must-have systems from nice-to-have extras. The Ten Essentials remain my starting point because they cover navigation, light, first aid, shelter, food, water, and other emergency needs.
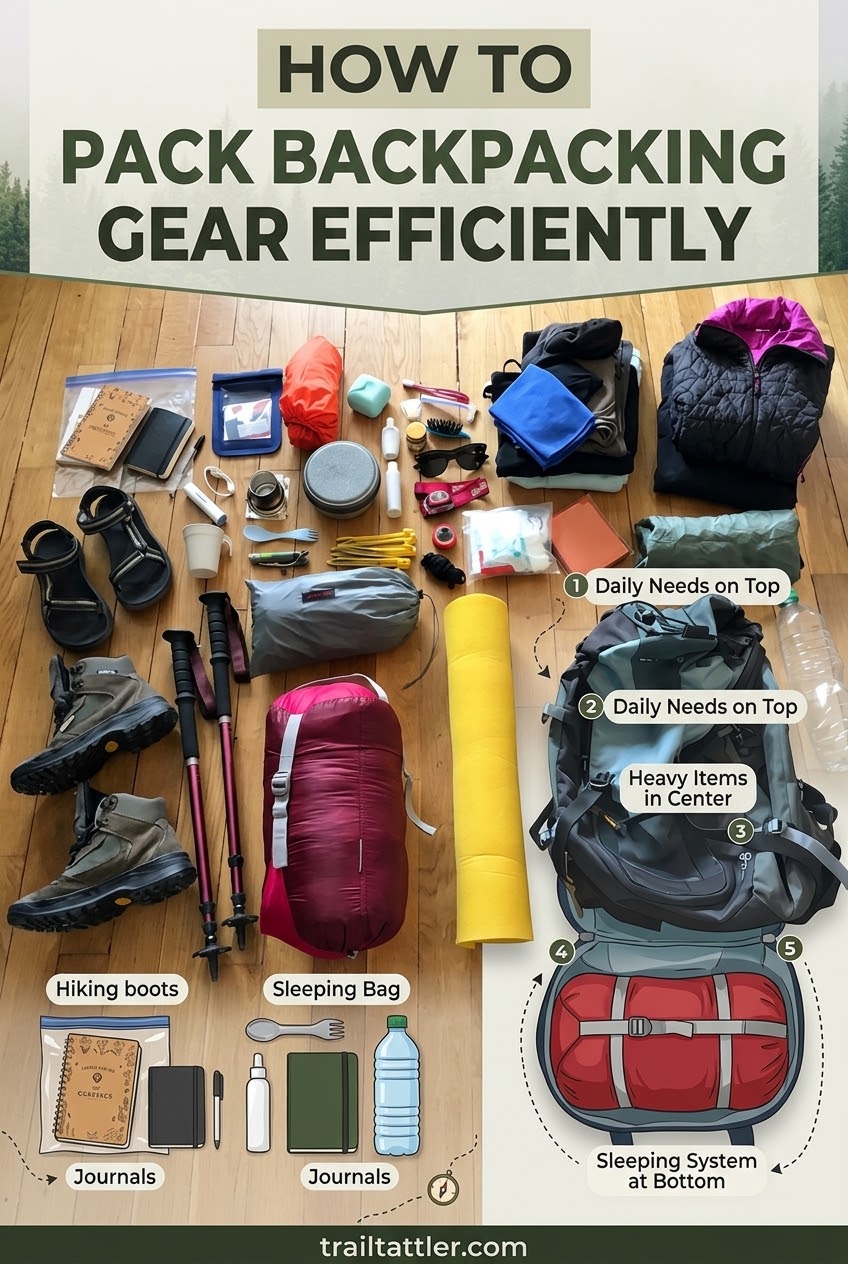
- Backpack, shelter, sleeping system, and insulation layers
- Navigation tools, headlamp, first aid, and repair supplies
- Food, water storage, treatment method, and cooking kit
- Weather protection and a dry clothing layer
My old outdoor retail rule still works: if I cannot explain why I am carrying something, it probably stays home. A lighter pack is not about owning less gear; it is about carrying only useful gear.
Pack the Backpack by Weight Distribution
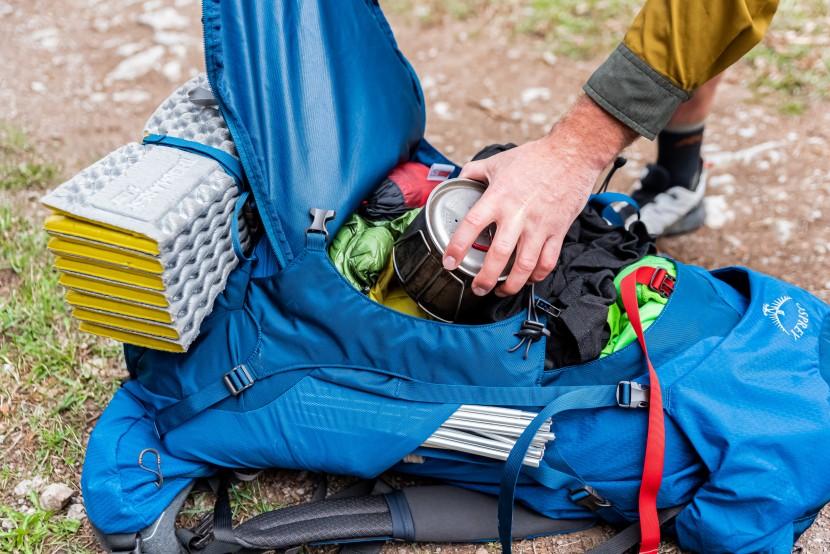
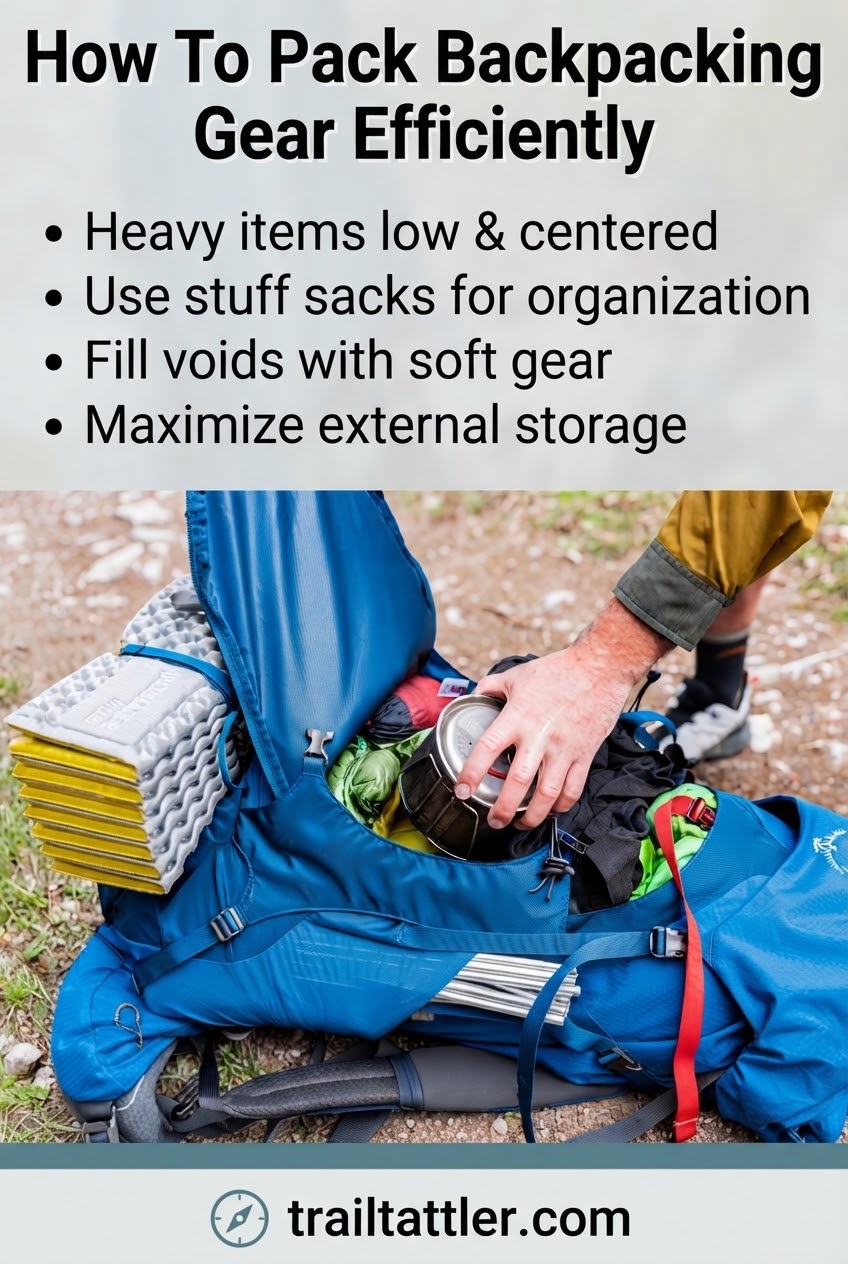
The biggest packing mistake I see is treating a backpack like a storage bin. I keep heavy items centered and close to my back because that creates a more stable carry on uneven ground.
- Place. Put dense items like food bags, cooking equipment, and water near your spine.
- Surround. Cushion hard objects with softer clothing or sleep layers.
- Balance. Adjust left and right sides so the pack does not pull you sideways.
- Test. Walk around before the trail and fix pressure points early.
I learned this during my boot-fitting years: small adjustments matter because discomfort compounds over miles. A pack that feels fine at the trailhead can become a problem after eight tired hours.
Protect and Store Sleeping and Shelter Equipment
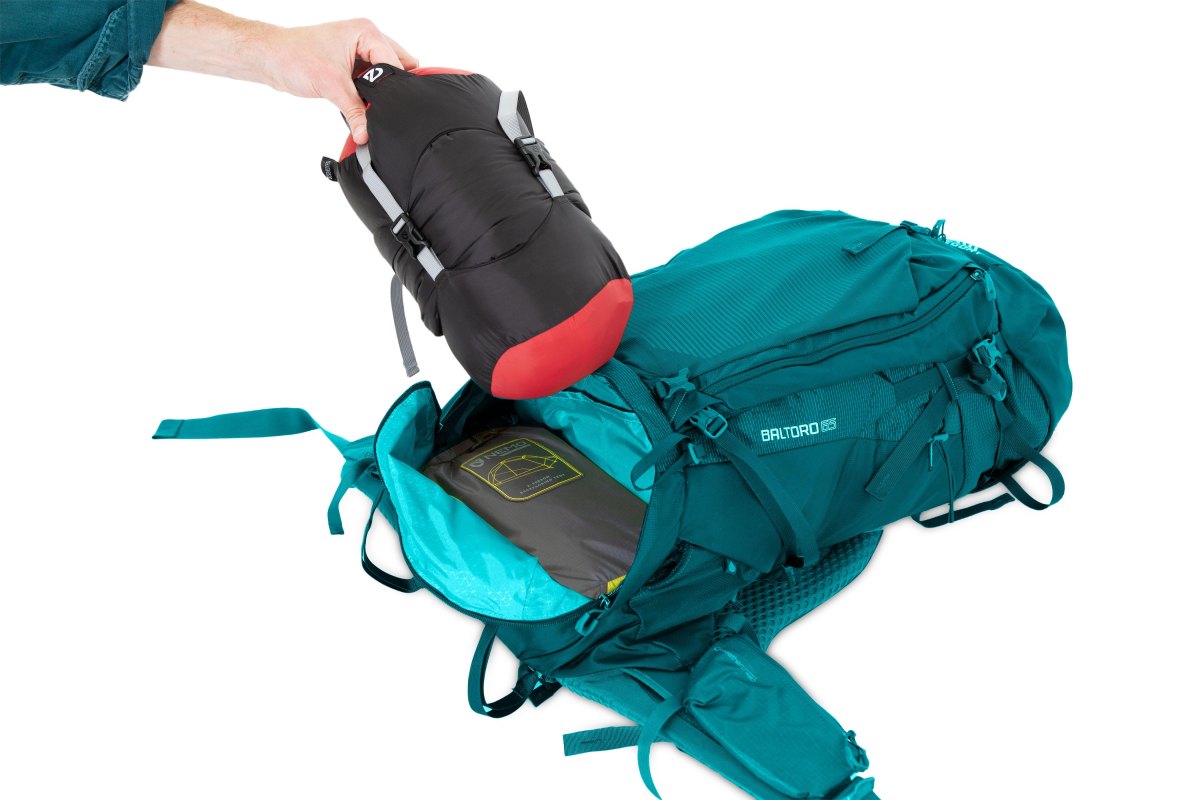
I treat my sleeping bag, sleeping pad, and shelter as the gear that protects tomorrow's hike. These items should stay dry and protected because a wet sleep system can turn a normal trip into a serious problem.
Trail tip
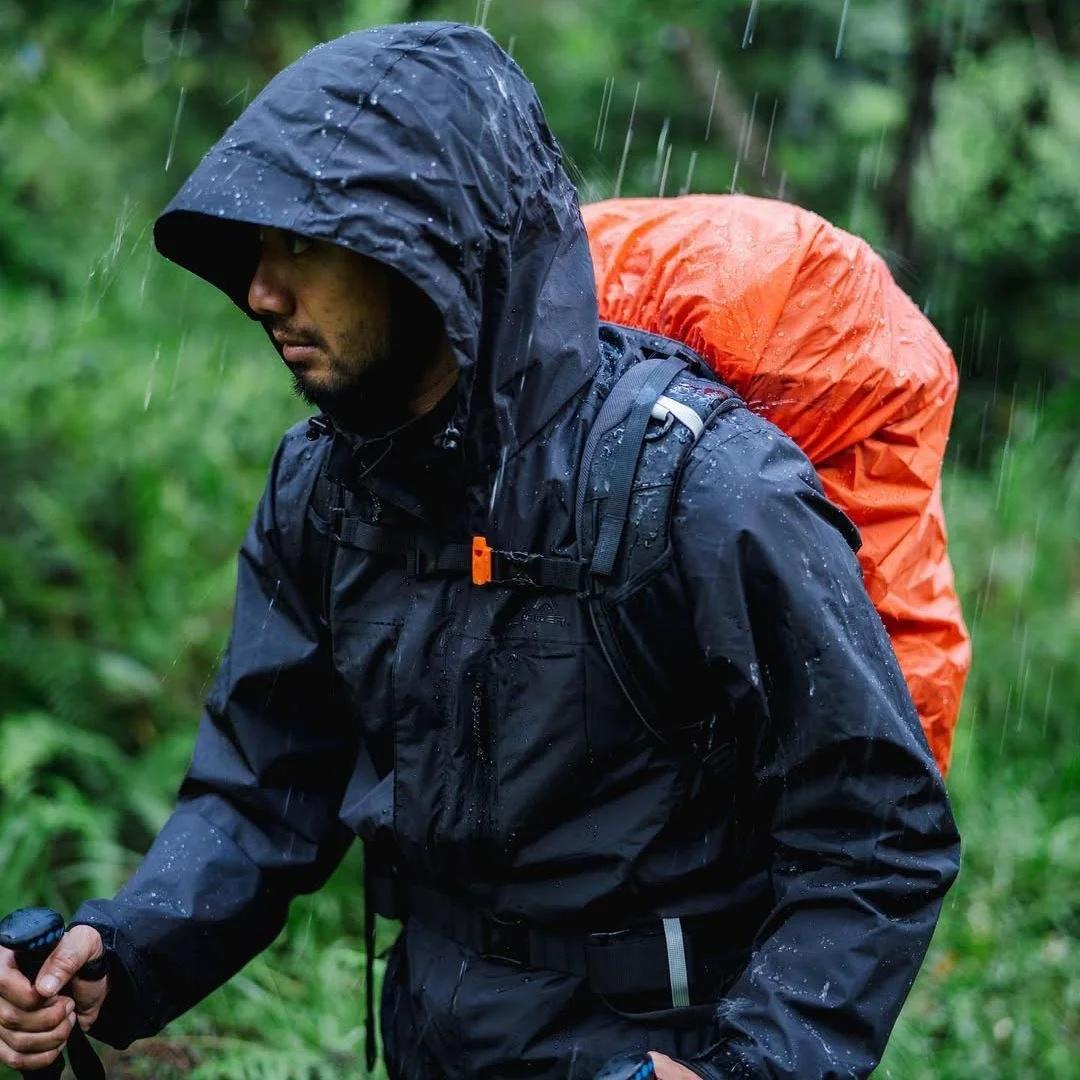
Use a pack liner or waterproof bag for your sleep system. Rain covers help, but I never trust one layer of protection for the gear that keeps me warm.
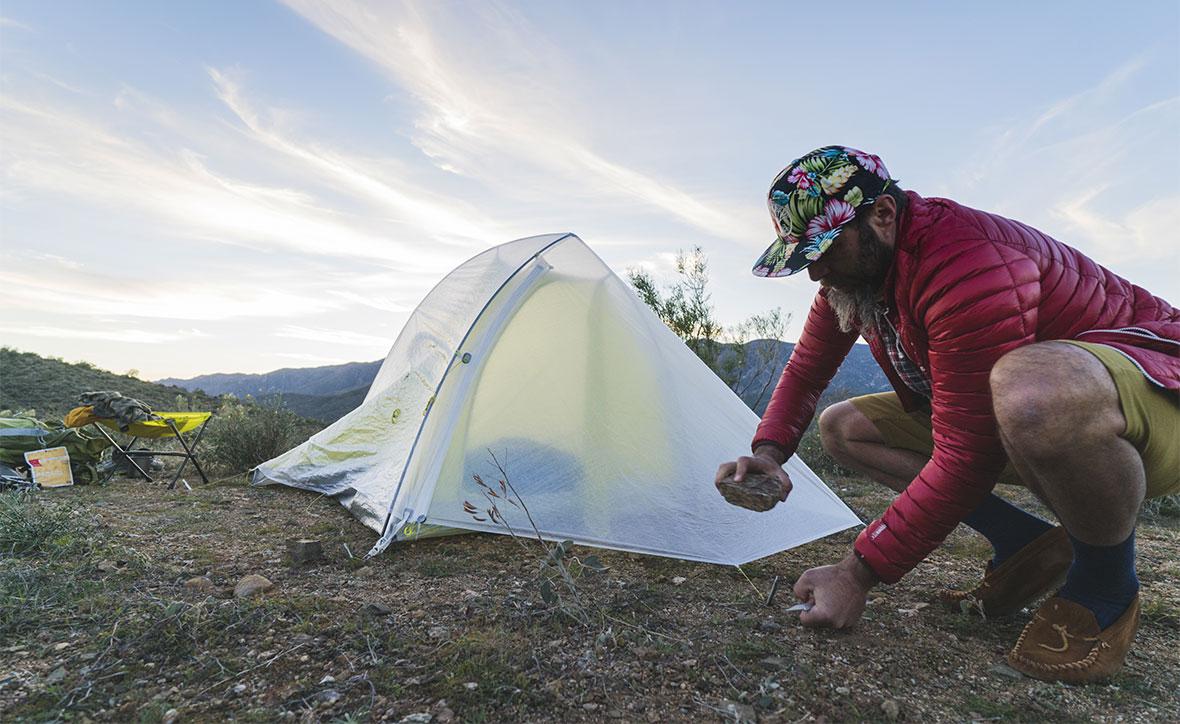
I usually place my sleeping bag low in the pack because I only need it at camp. My shelter stays organized with stakes, guylines, and repair items together so I am not searching through gear in a storm.
Arrange Food, Water, and Cooking Supplies
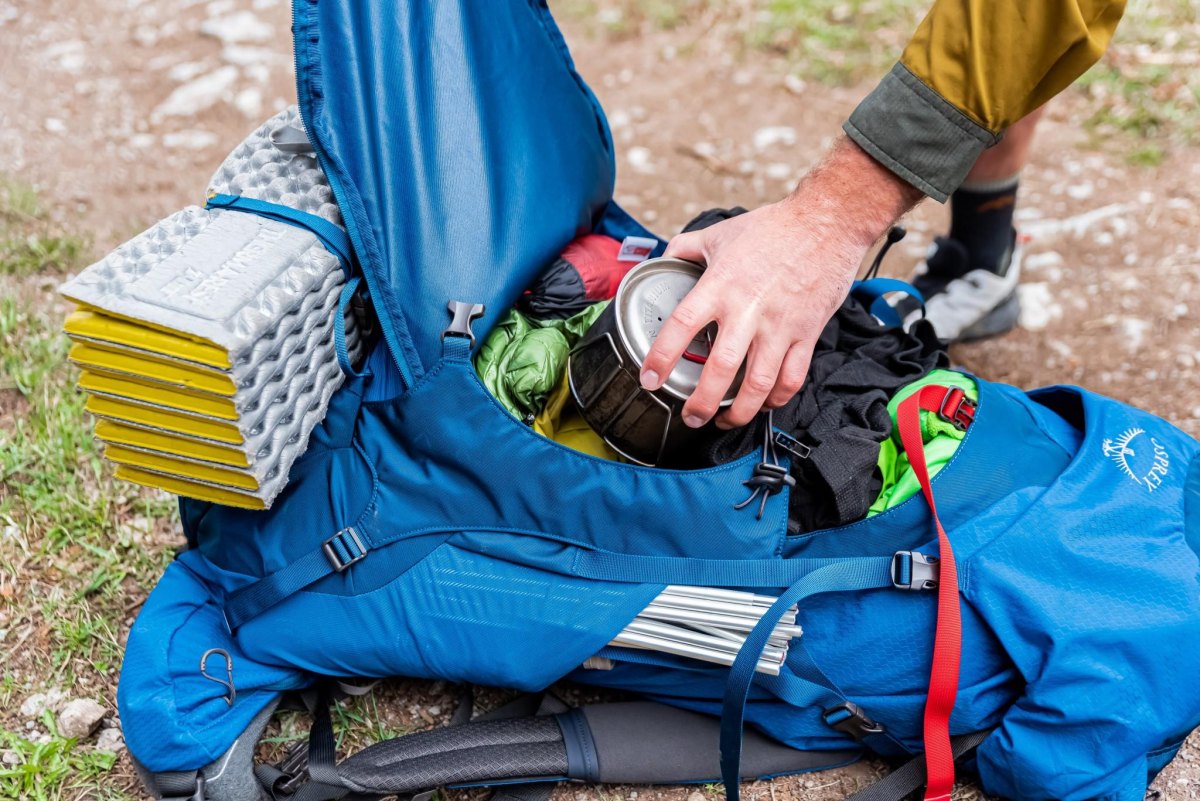
Food planning is where many first backpacking trips get heavy. I choose meals around calories per ounce, then pack only what the route and mileage require. Lightweight shelf-stable foods are common choices for longer trips because they reduce weight and simplify storage.
| Item | Packing location |
|---|---|
| Snacks | Top pocket or hip belt pocket |
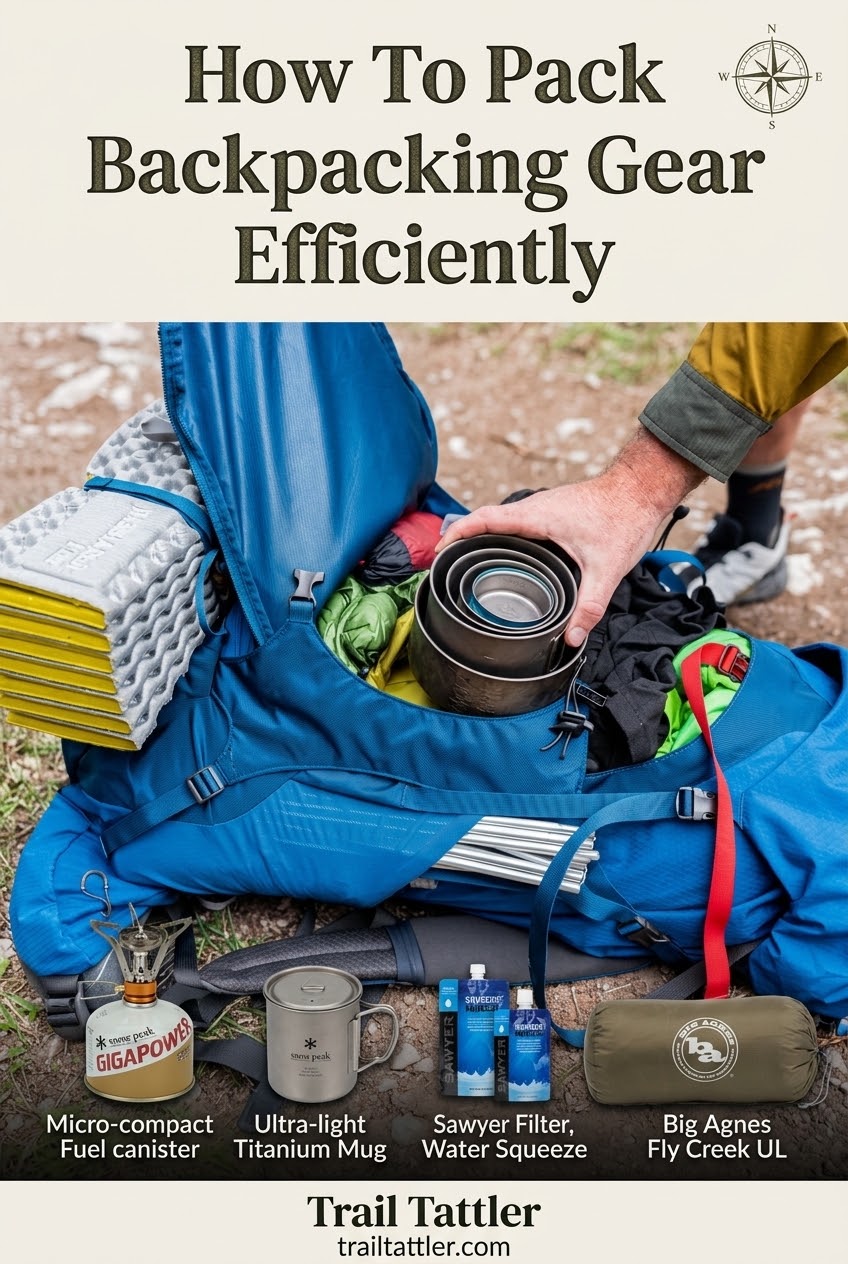
| Stove and fuel | Middle section with protection from impacts |
| Water filter | Quick-access pocket |
I keep emergency food separate from my daily meals because it is not a snack plan; it is a safety margin. Water deserves the same attention, especially where sources are limited or require treatment.
Secure Small Items and Prepare for the Trail
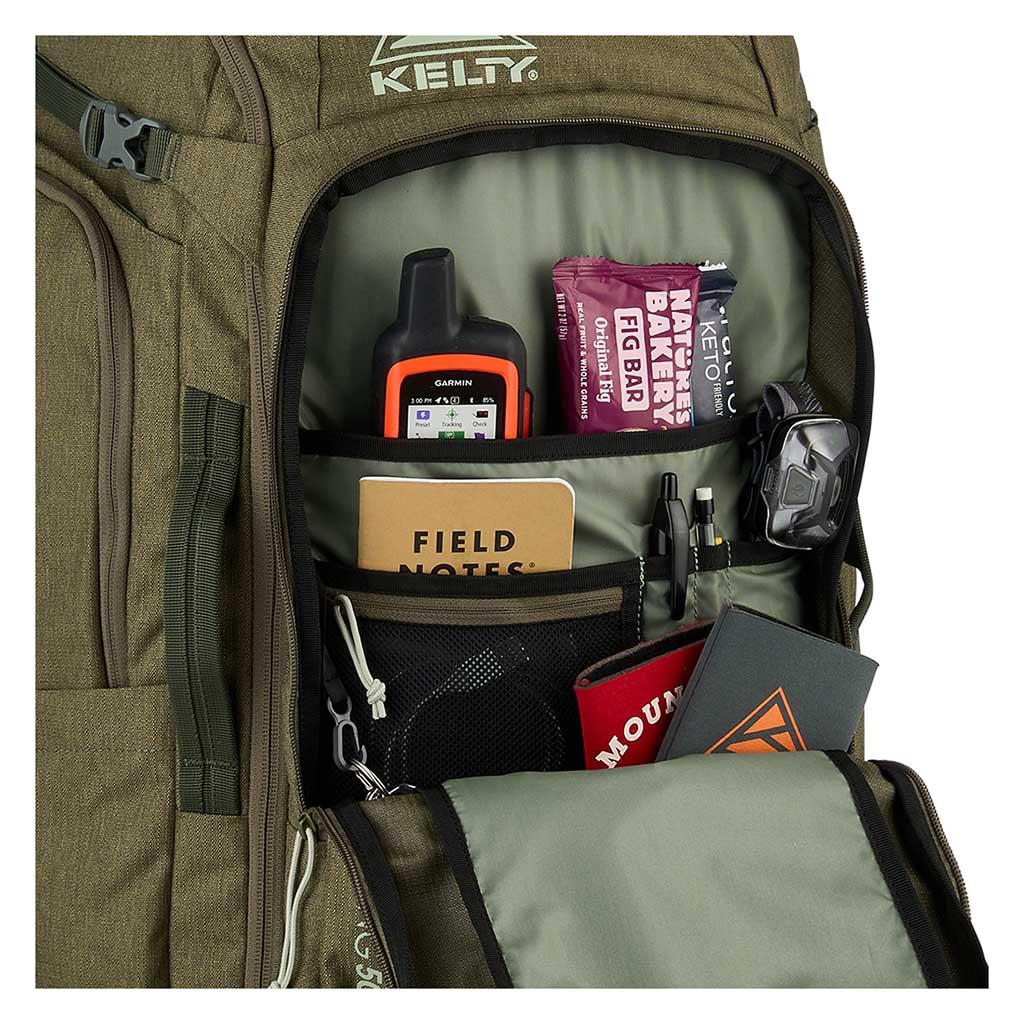
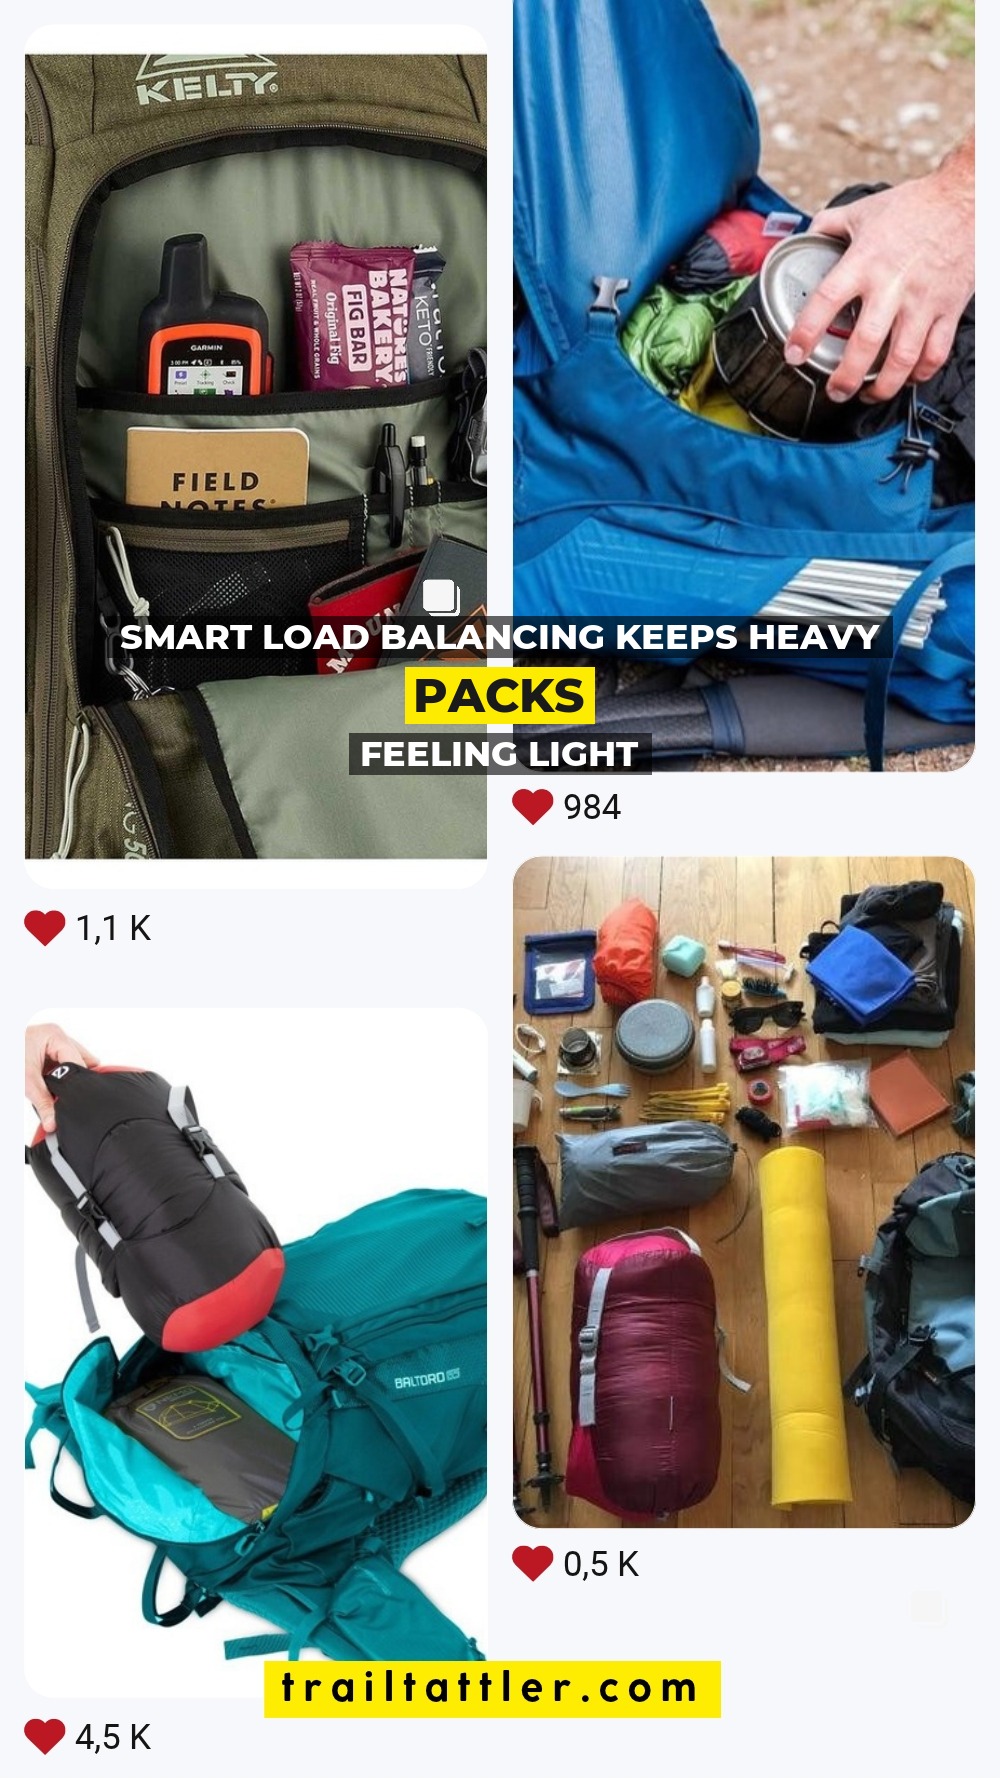
The little things cause the biggest trail delays: a missing headlamp, buried rain shell, or misplaced first-aid kit. I give important items fixed locations so my hands know where to go without a full pack excavation.
- Top pocket: Map, snacks, sunglasses, and quick weather layers.
- Side pockets: Water bottles and items needed while walking.
- Dry bag: Electronics, spare clothing, and critical backups.
- Emergency pocket: First aid, fire starter, and navigation backup.
Before I leave, I do one final check: route, weather, water plan, and daylight. The pack is ready when I can stop thinking about gear and focus on the trail ahead.
More Pinterest Visuals



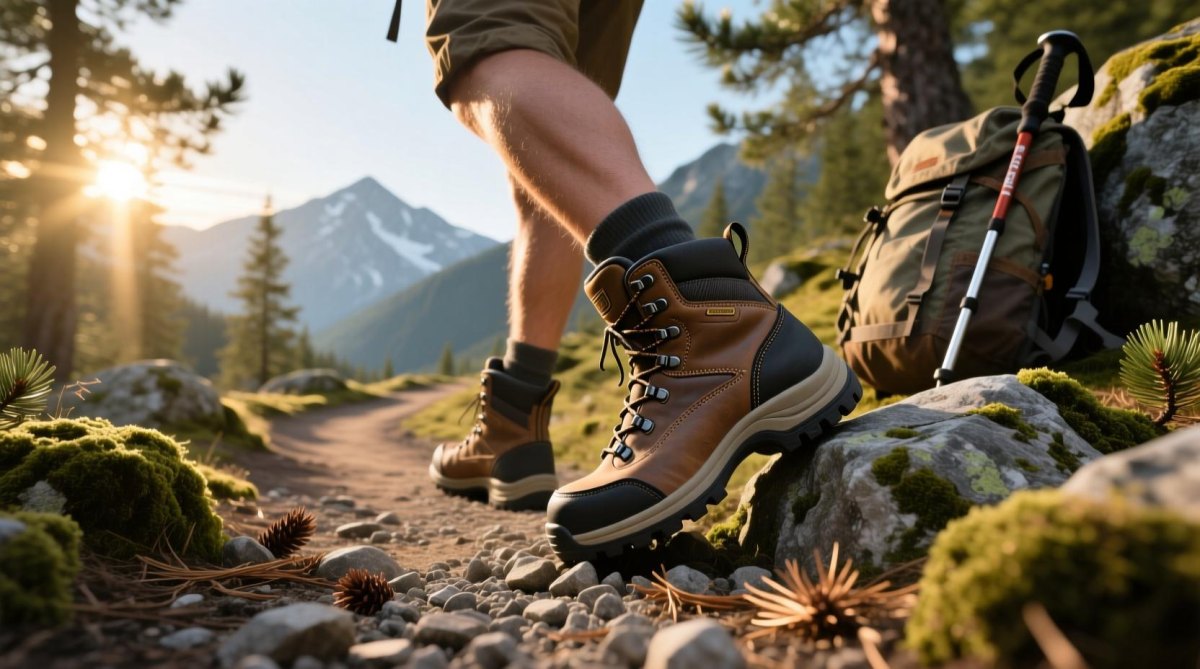 Backpacking Gear & Packing12 Wandern Für Anfänger Packliste – Alles Für Einen
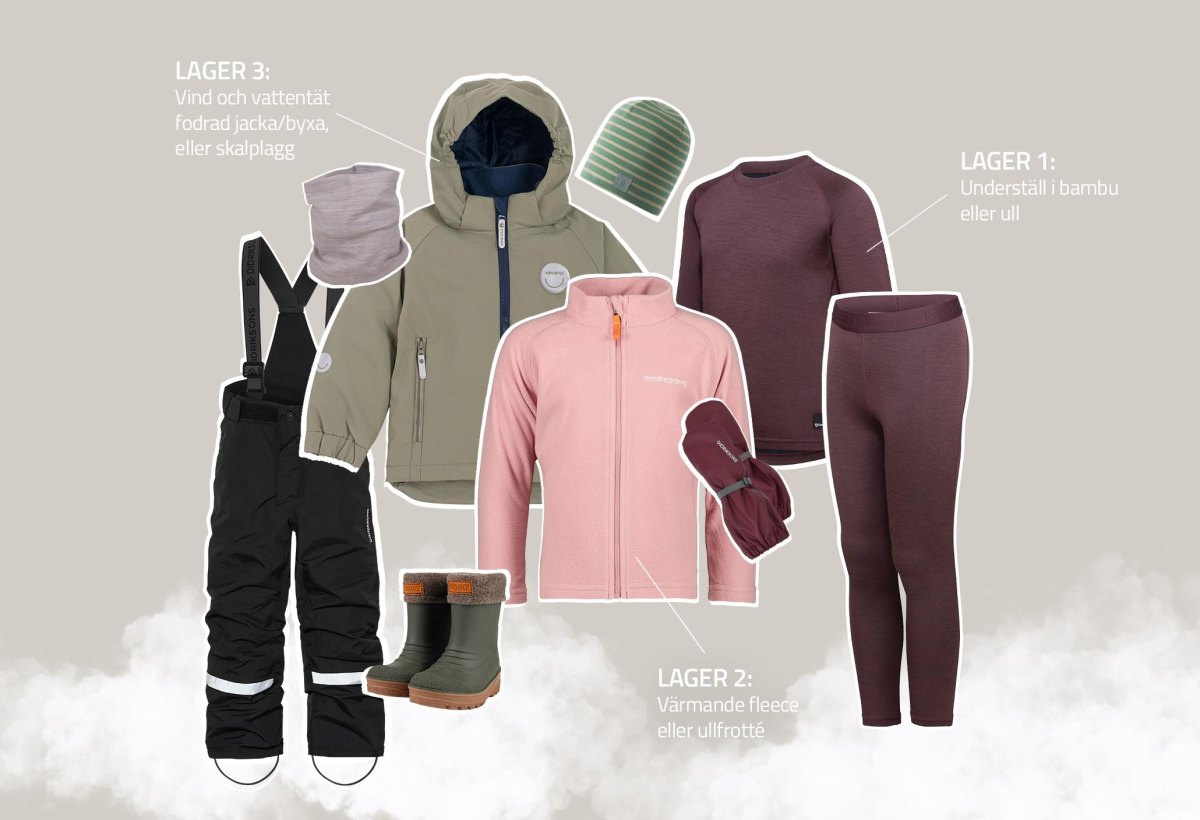 Family HikingHiking With Kids Checklist for a Safer, Happier Trail Day
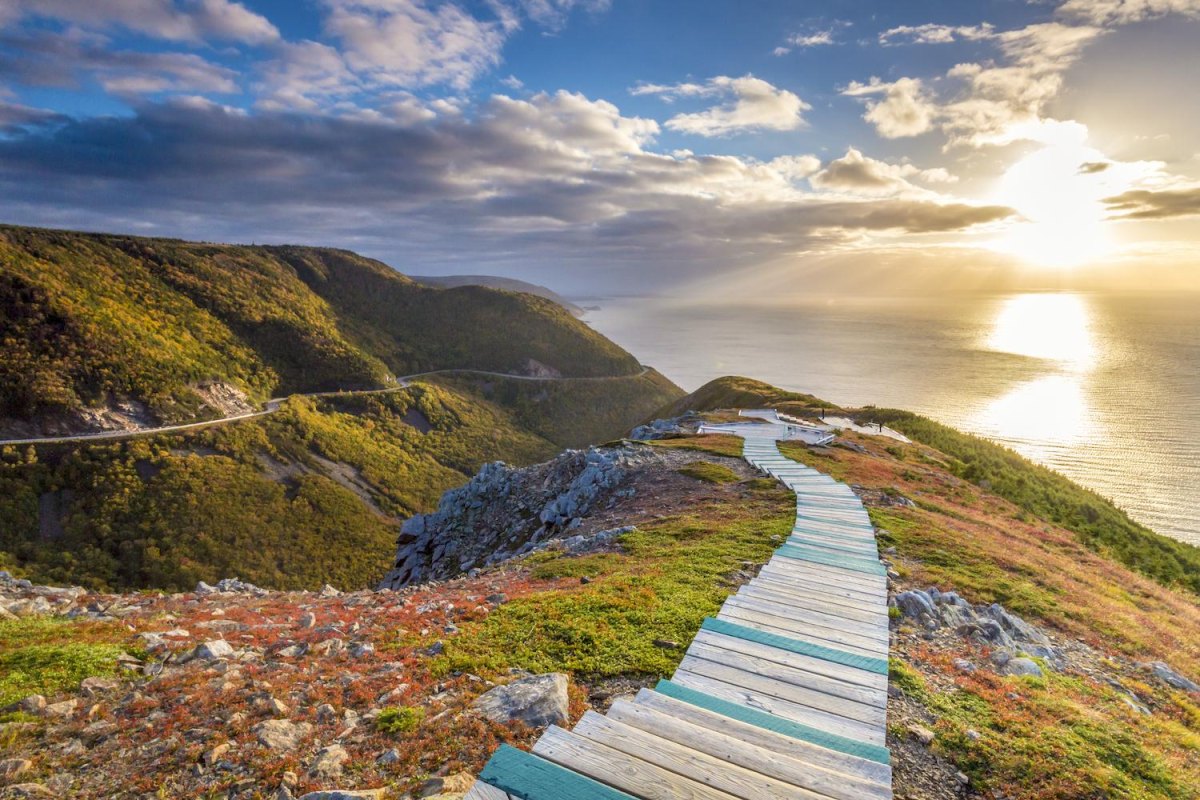 Hiking Destinations17 Best Autumn Hiking Trails In Canada For Fall Color Season
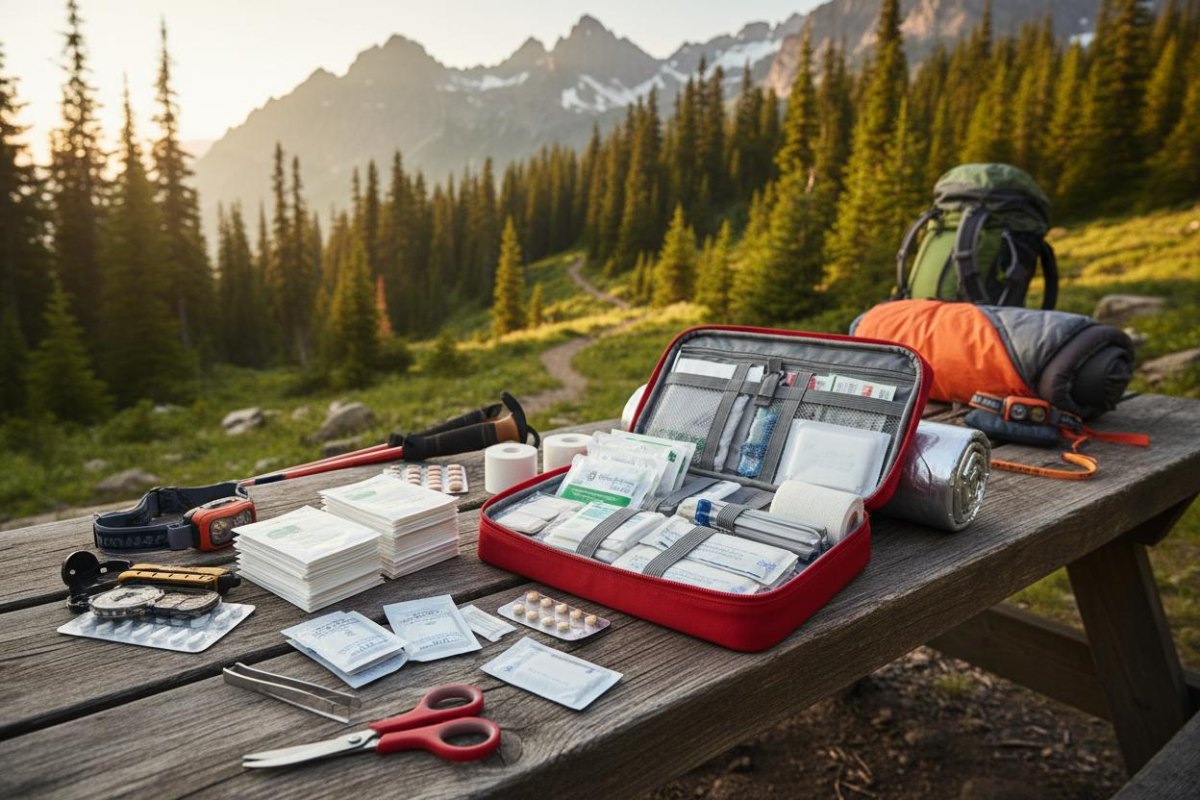 Backpacking Gear & PackingHiking Emergency Gear Checklist for Safer Days on the Trail